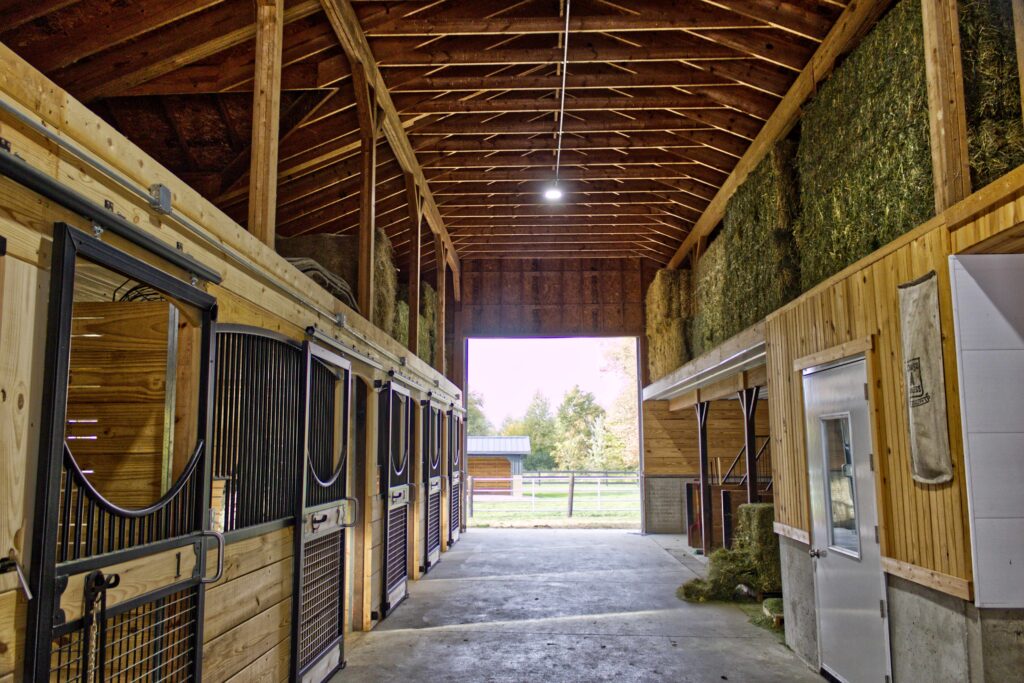
I’ve wanted to do a barn remodel for a long time and I never fully committed to it. Slowly over the past 4 years I’ve modified some of the structure of the barn to accommodate my major barn remodel.
HISTORY
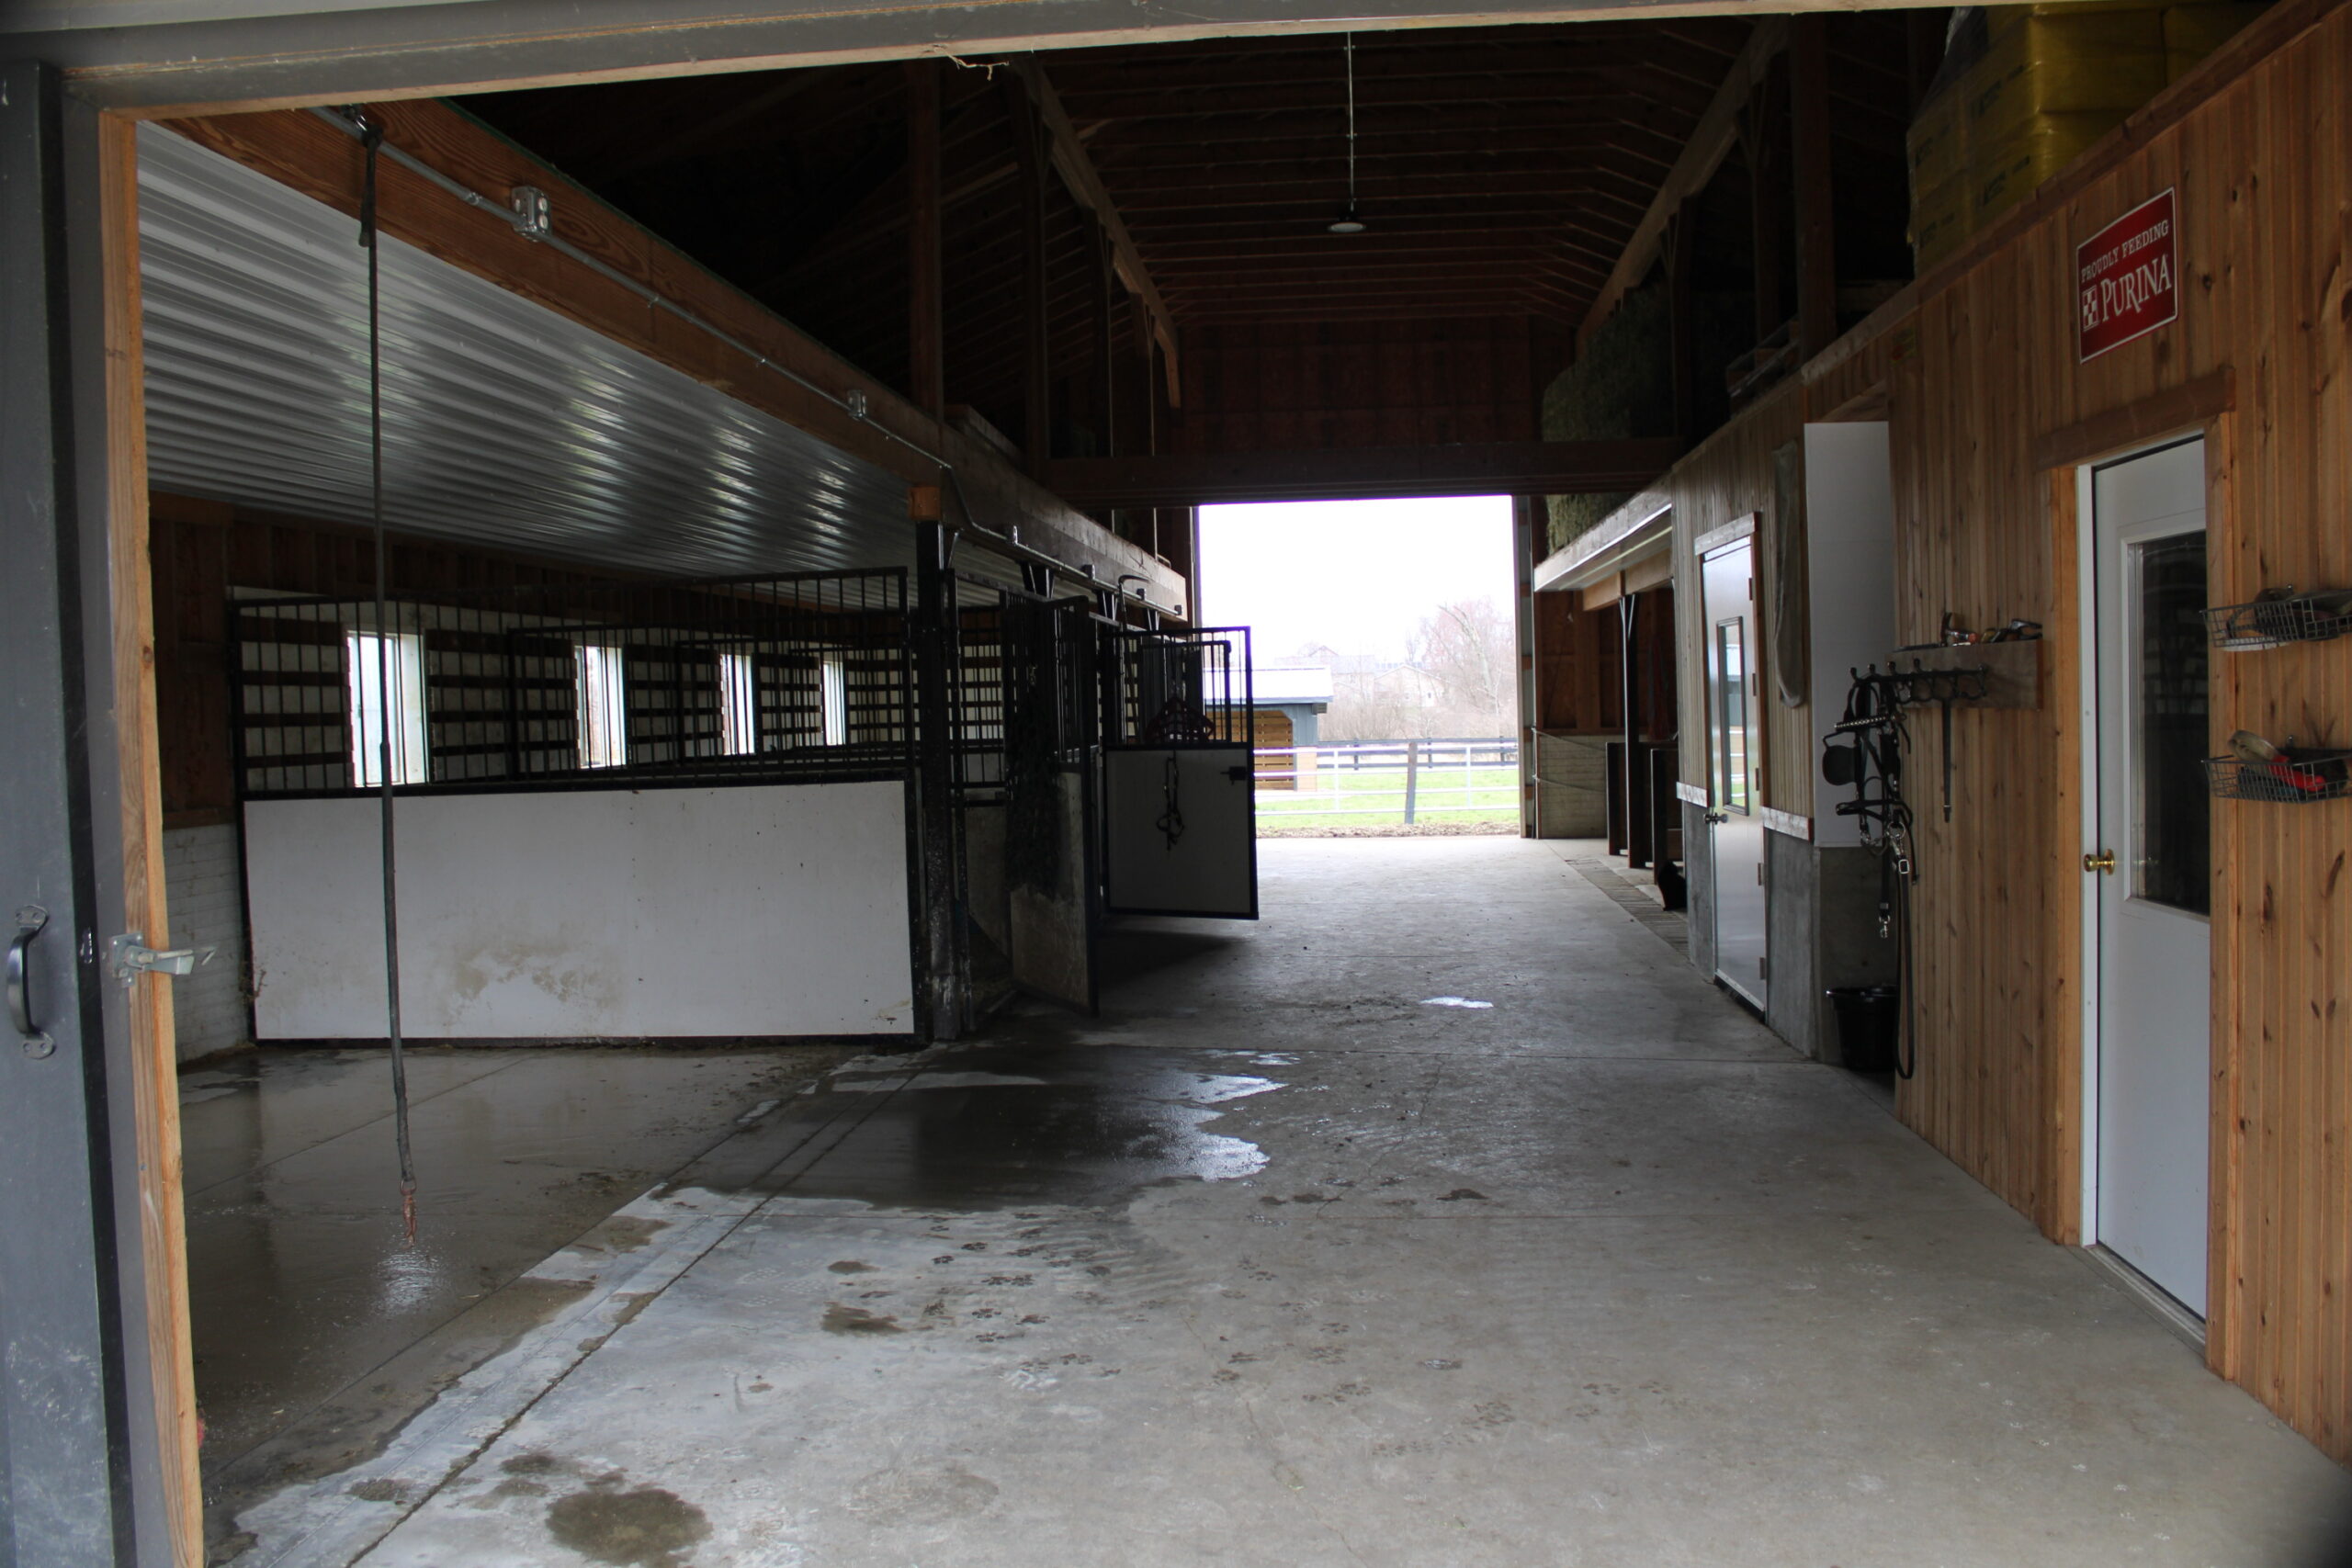
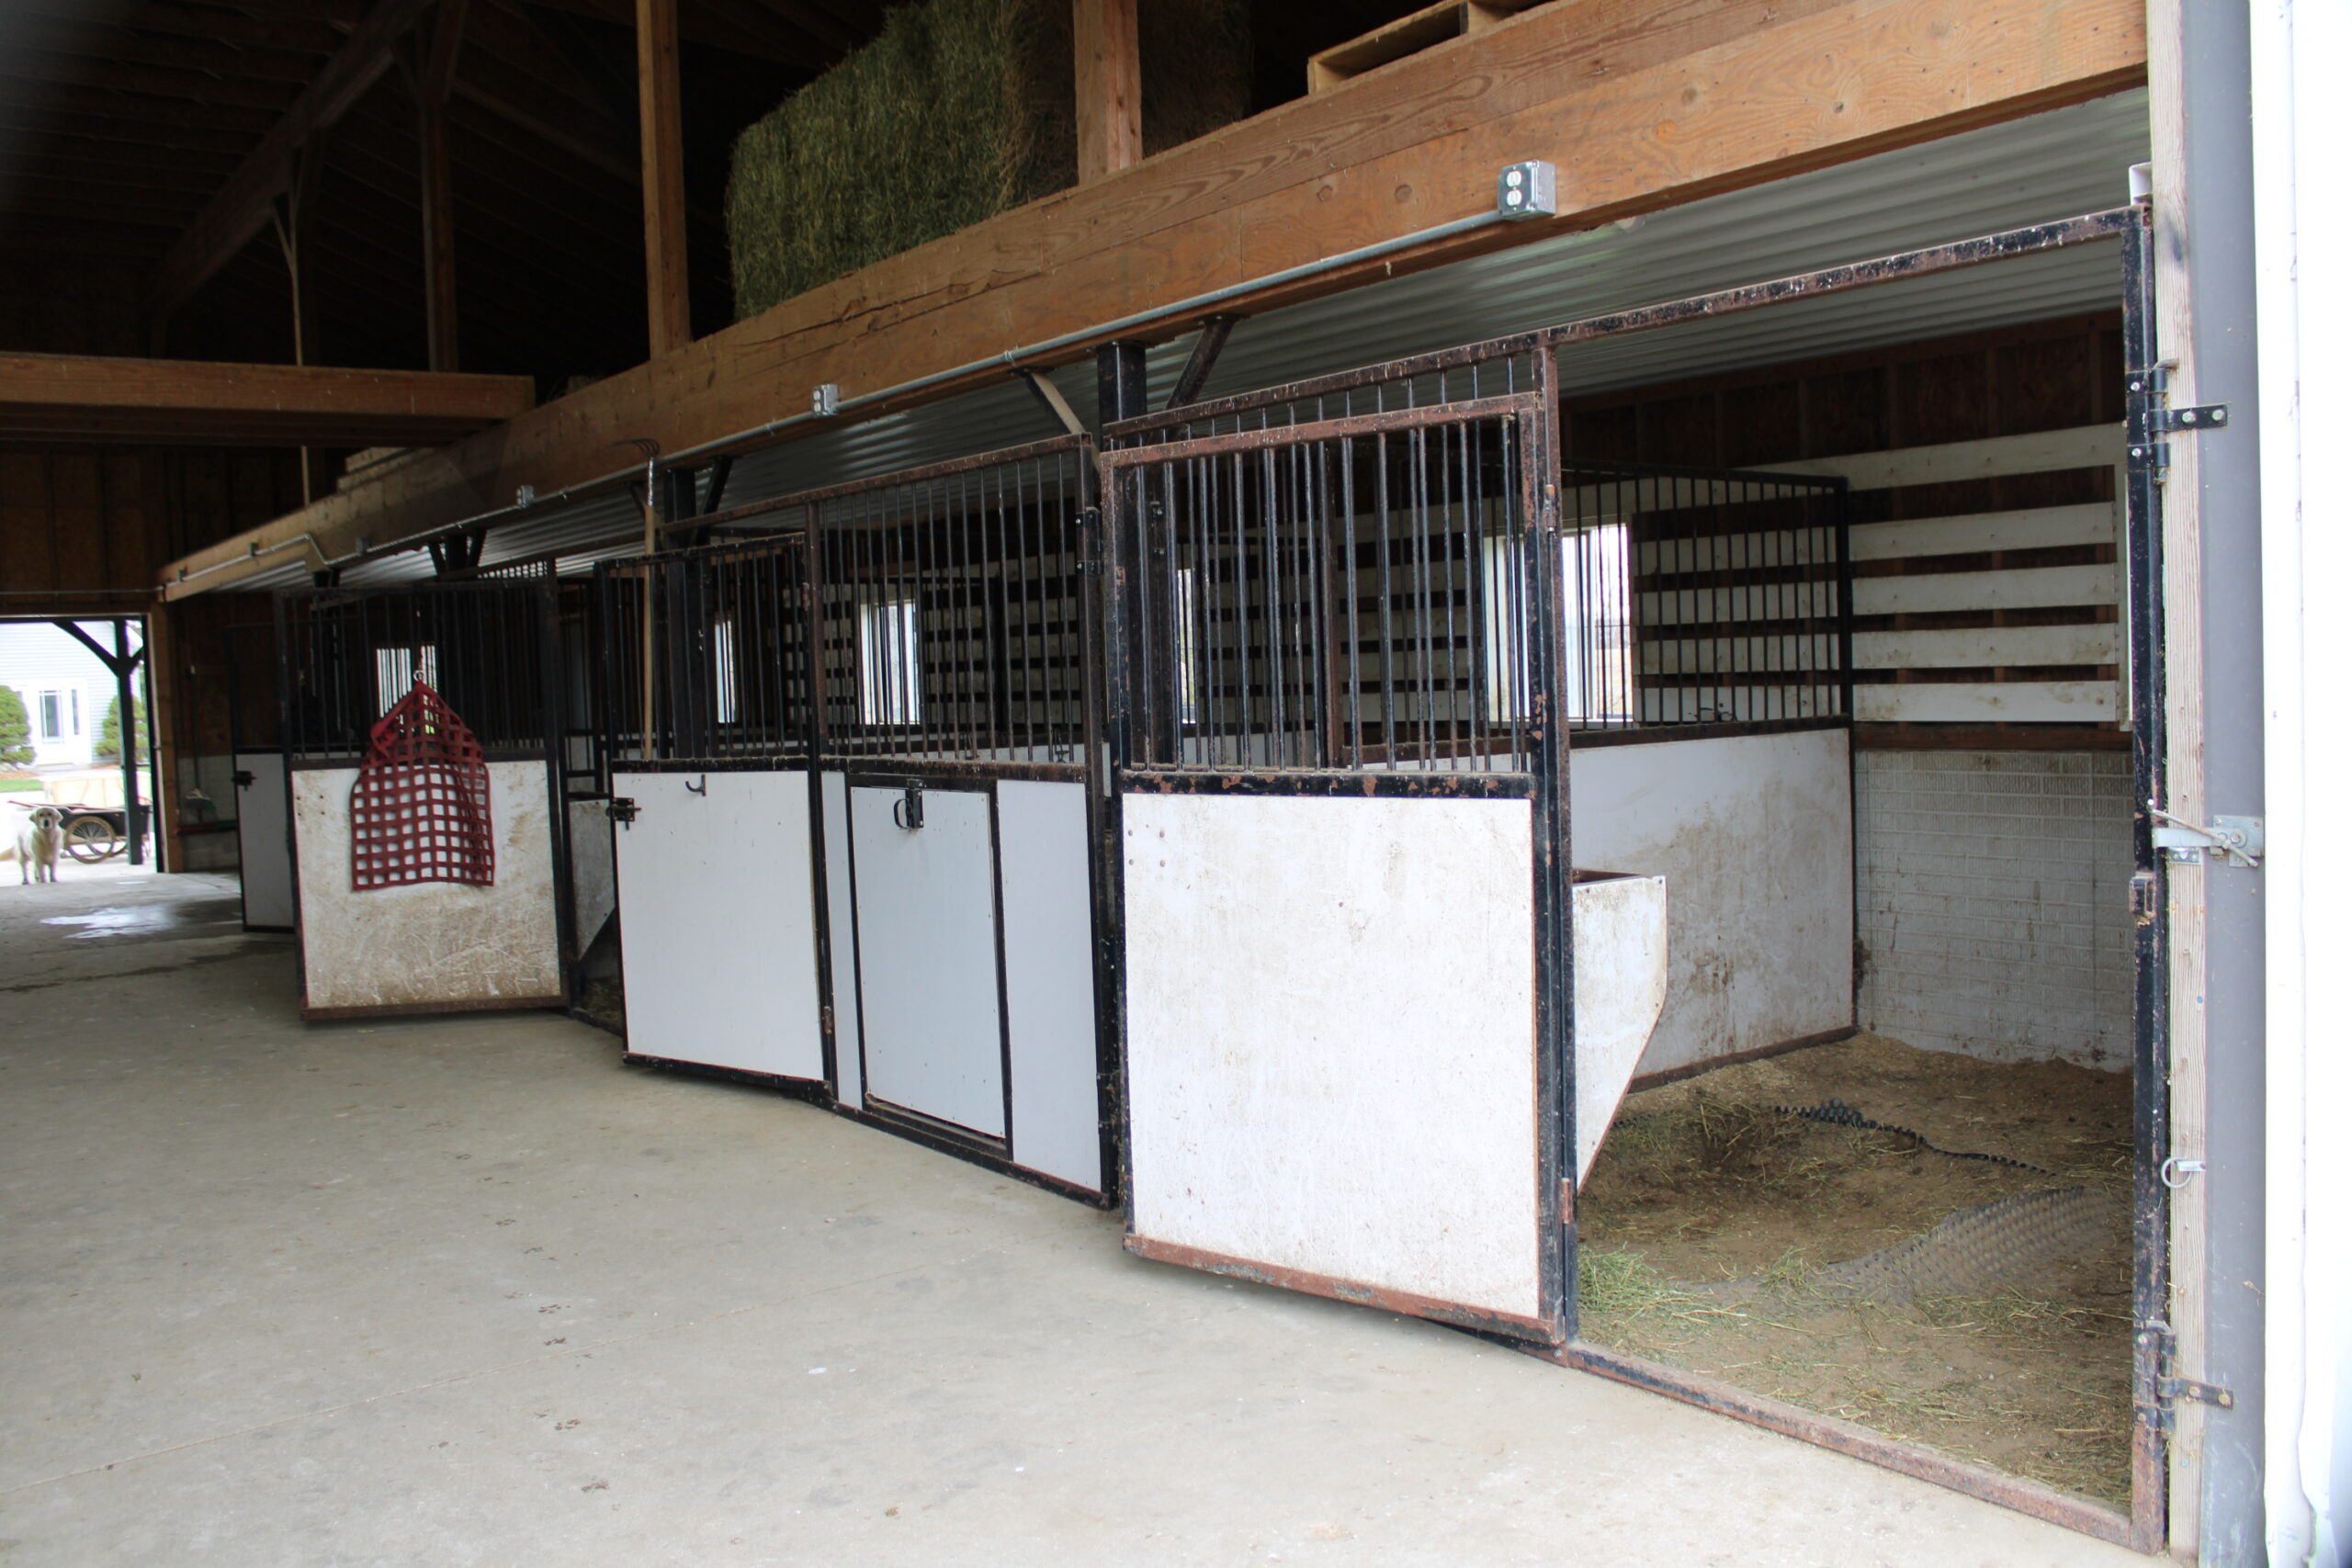
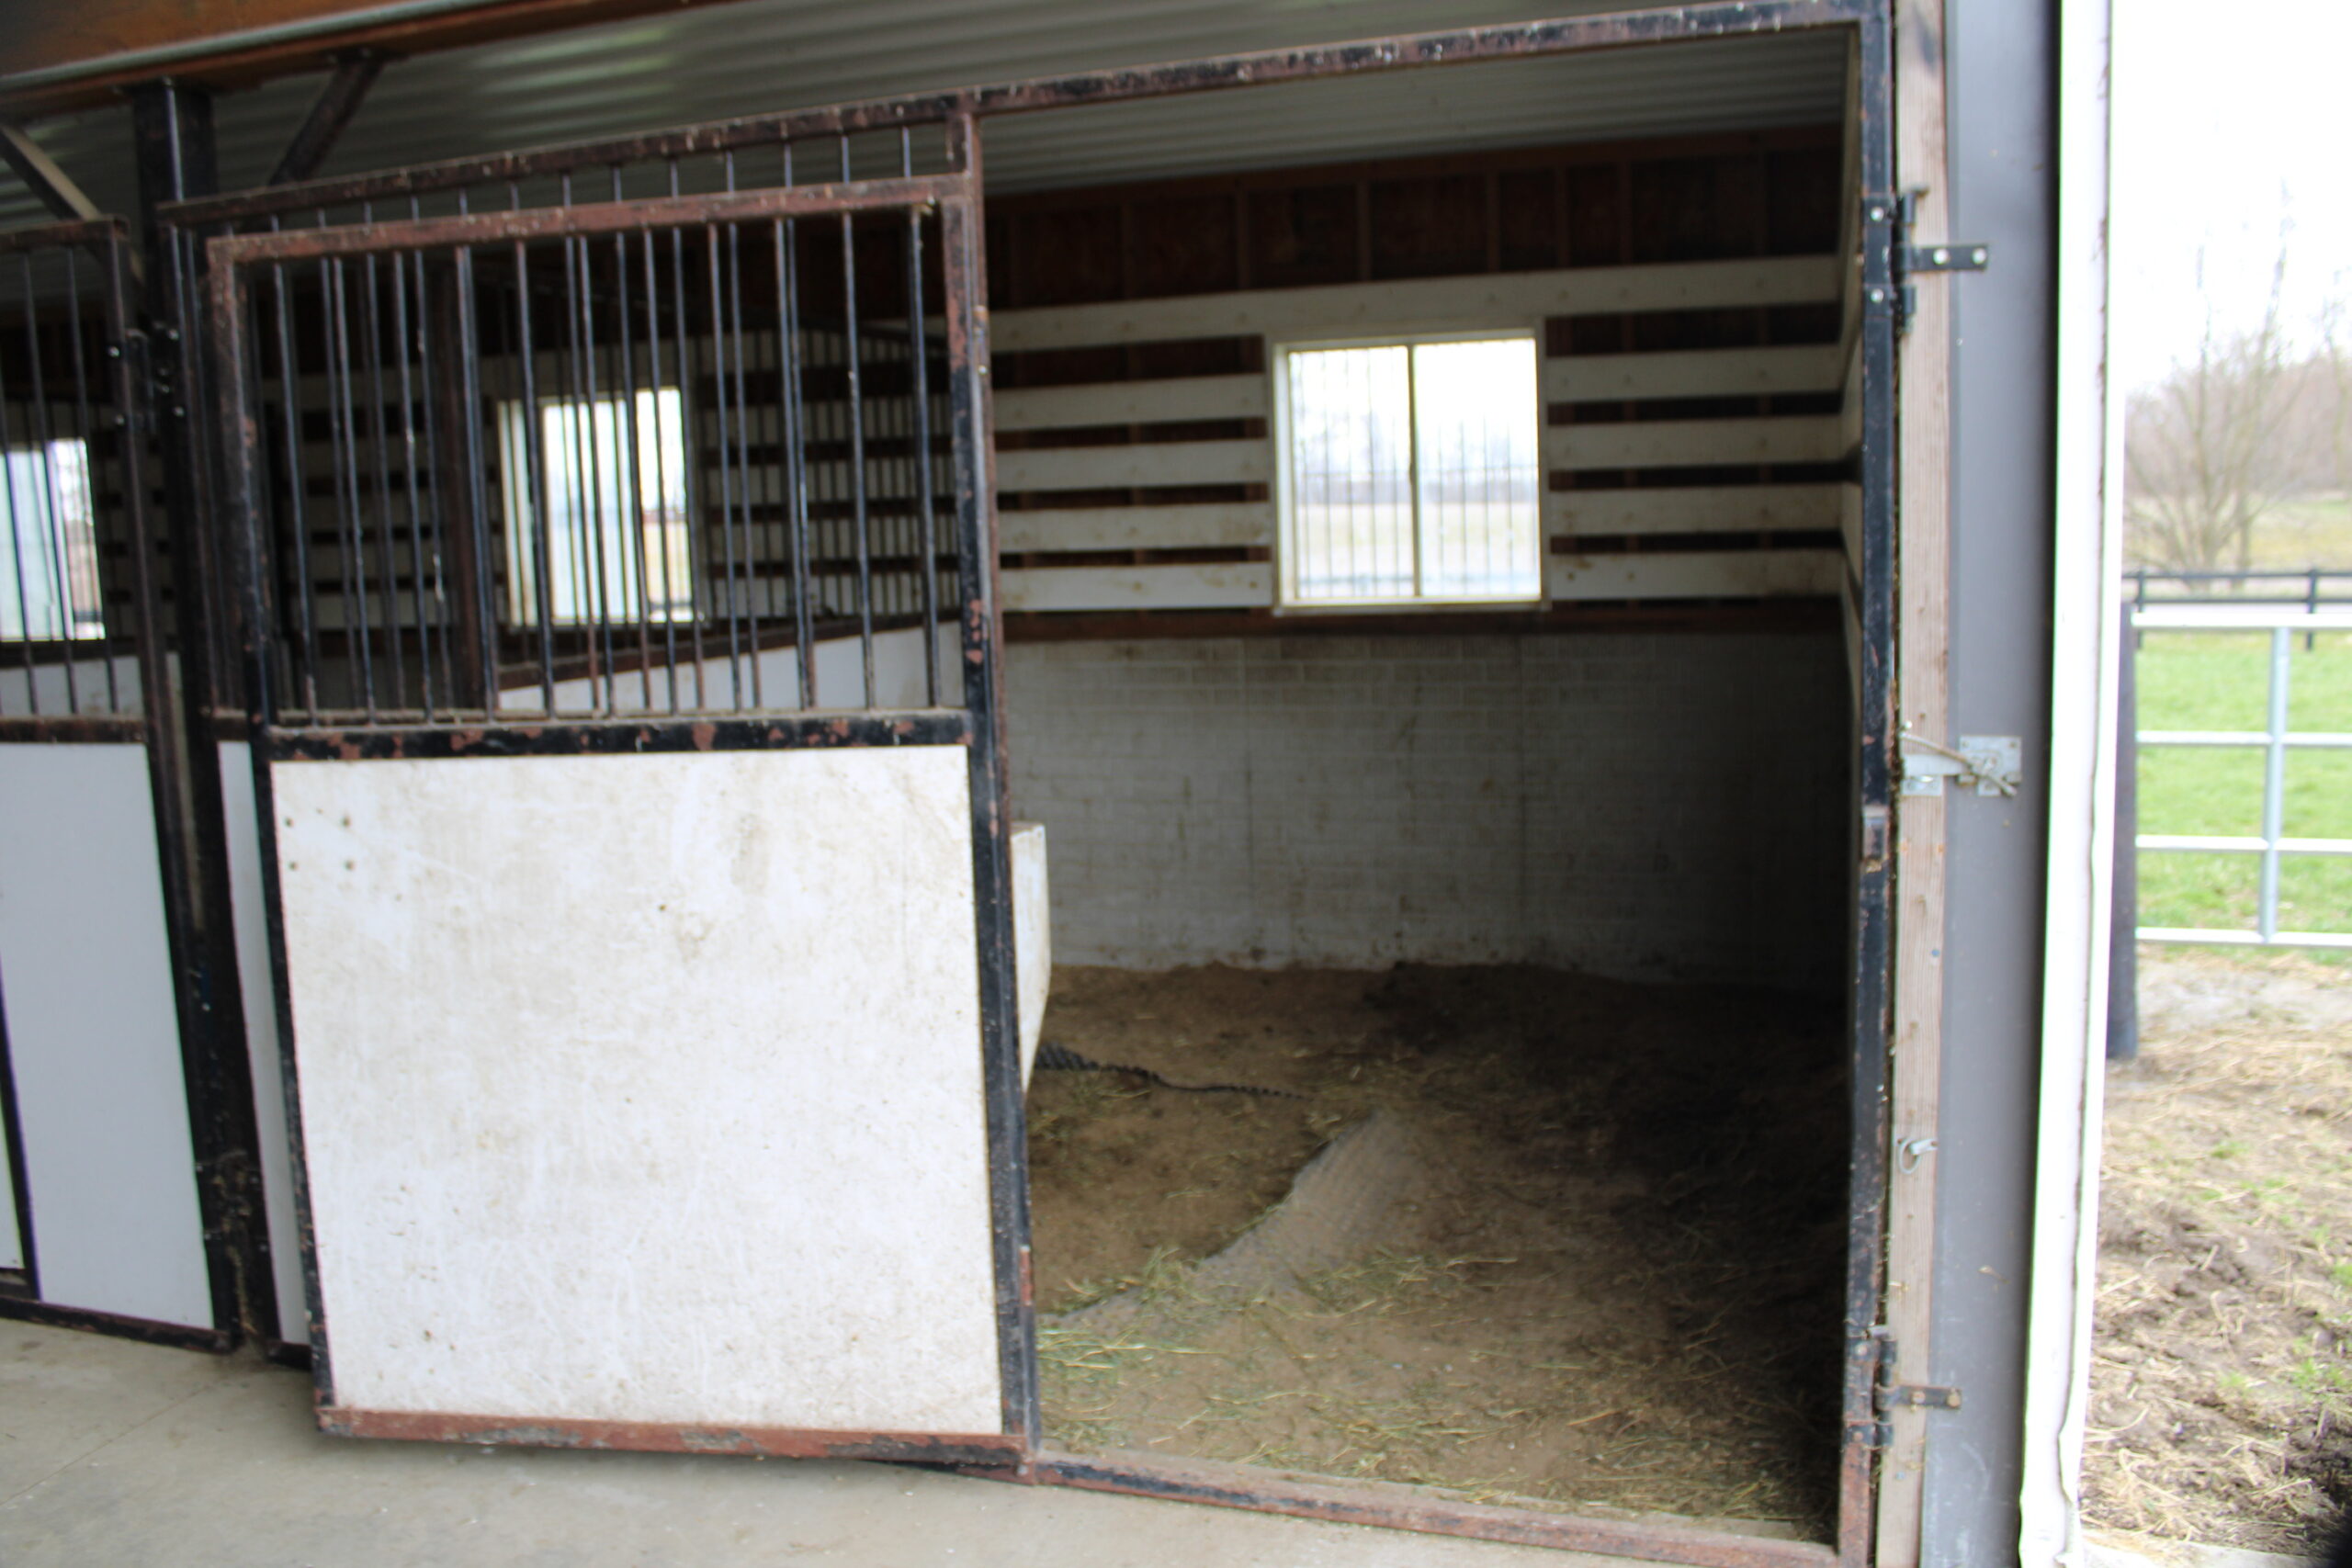
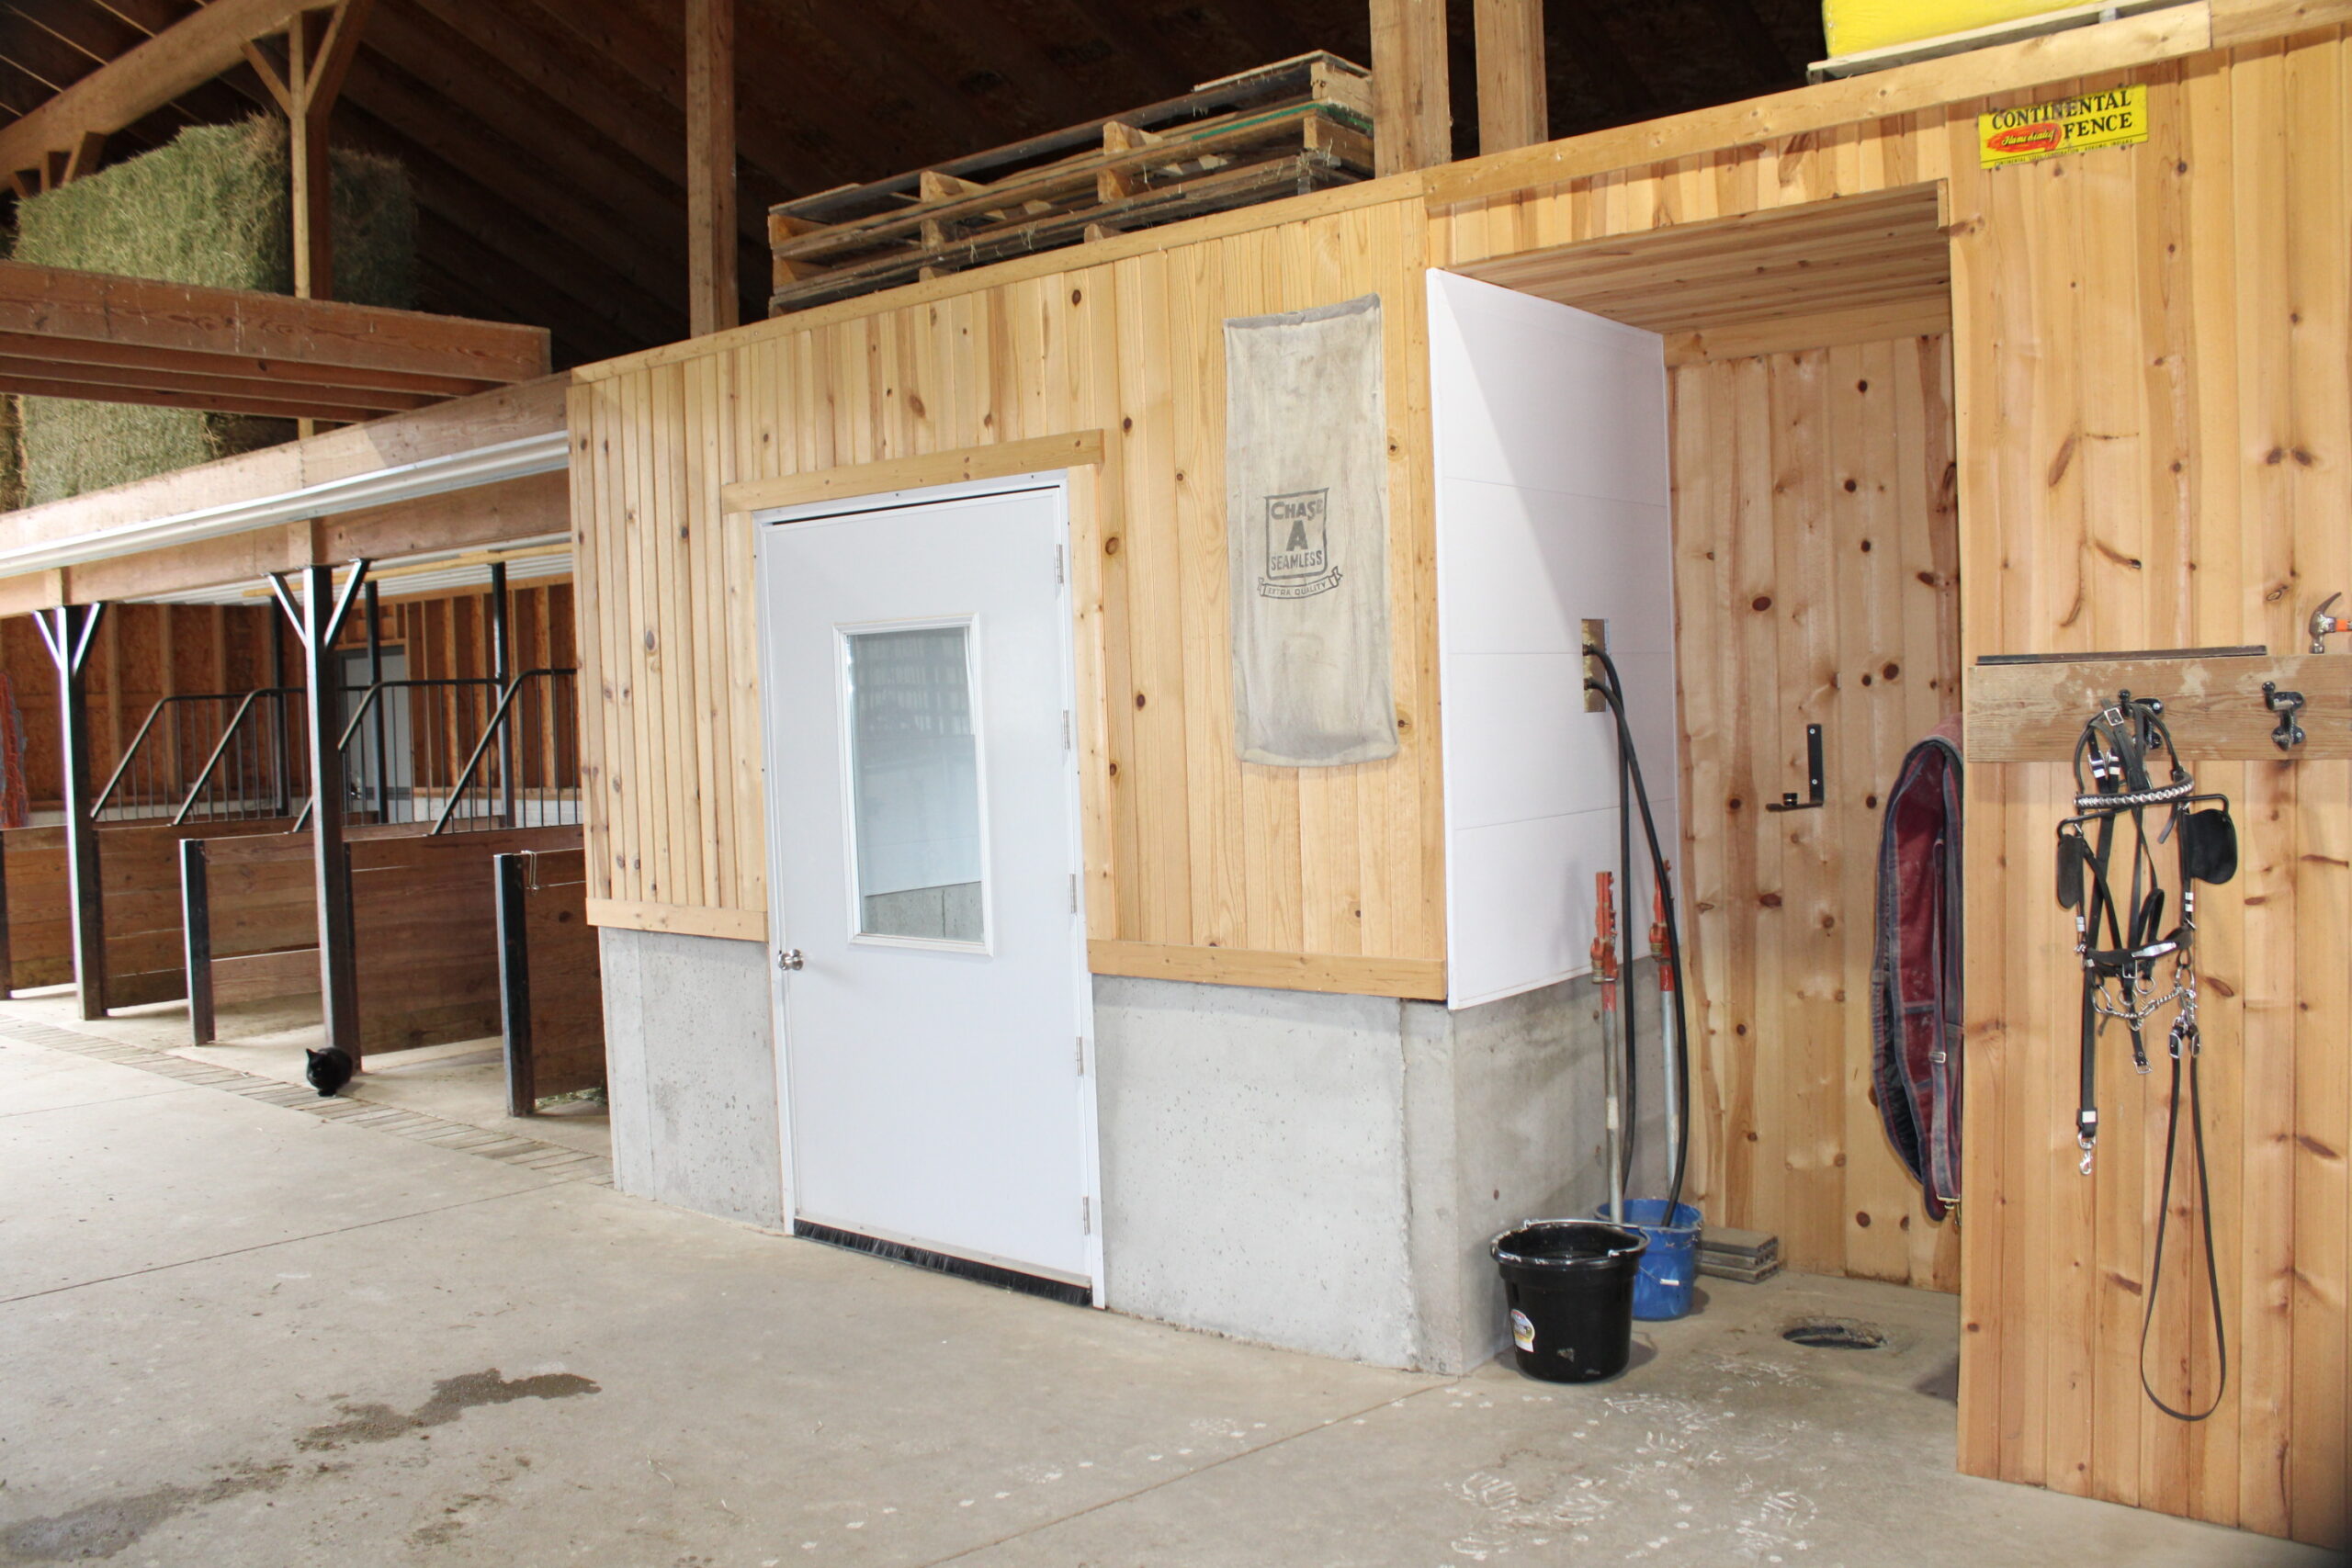
The barn was built in 2006. It is 36 x 60 with a 12′ open center aisle and hay lofts above the boxstalls and tie stalls. It originally had only (4) 10′ x 12′ boxstalls and 6 tie stalls. When I bought the property in 2018, I tore out 2 tie stalls to make room for a wash bay then added a feed/tack room. This served me well until I outgrew my barn with the addition of several mares and needed more boxstalls so that’s why I decided to do it this spring.
PREREQUISITES
I needed to stick to a budget so I decided I wanted/needed to do everything by myself. There were several instances where I needed to hire a specialist but for the most part, everything was done by myself. I really enjoy carpentry work so this has been a fun journey.
There were several things I knew I really wanted in my remodeled barn.
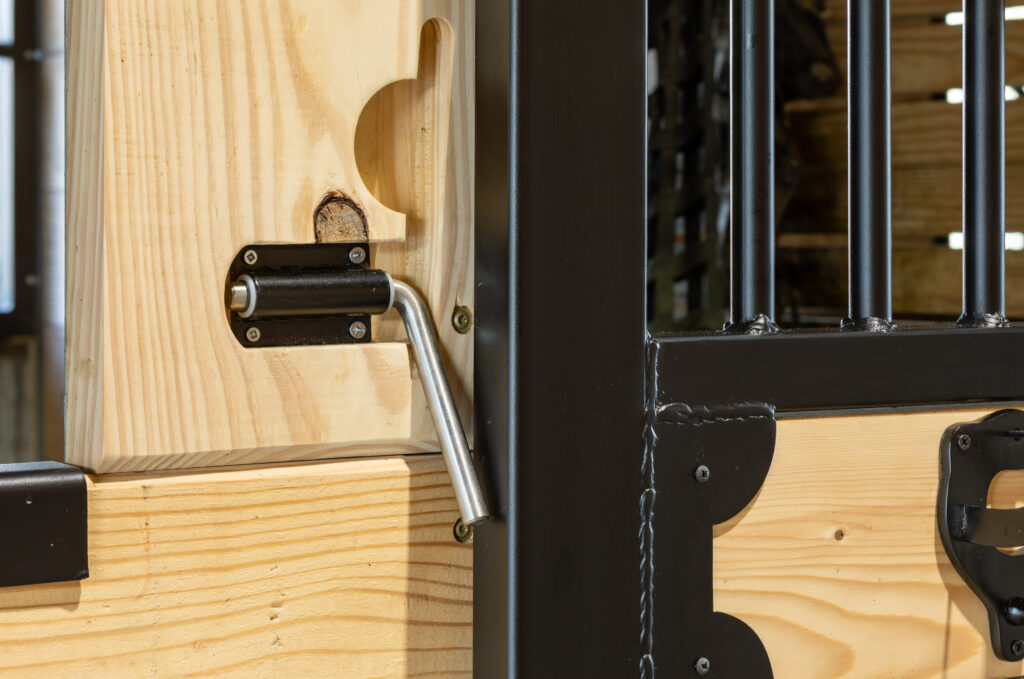
- Sliding doors on stalls: My previous barn had sliding doors and I just never could get used to the swinging doors that these boxstalls had. In my opinion, it is much easier to get a horse in and out of boxstalls with sliding doors vs swinging doors. Another reason that I like sliding doors is it keeps the aisle of the barn obstruction free.
- Bigger stalls: Rarely do I keep horses in the barn all the time but occasionally I need to put a horse on stall rest or I have mares with foals that need to be kept inside because of nasty weather. Because of this, I wanted 2 big stalls that allows plenty of room for horses to move around and be comfortable.
- Automatic waterers: This item was something that I did not want to skimp on. I wanted an automatic waterer that I did not have to worry about freezing during the winter. Again, because I rarely keep more than 2 horses in the barn all the time, I decided I would only put in these auto waterers in the 2 big box stalls.
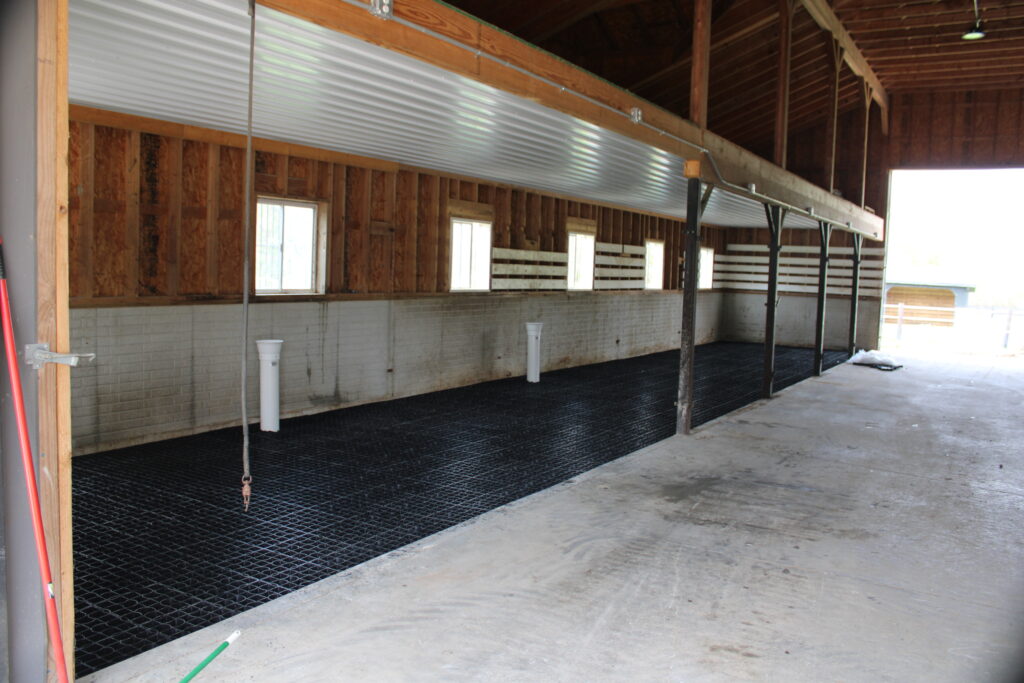
- Drainable flooring: The existing flooring that was in the old stalls was in terrible shape. The horses had torn up some of it and it was time for an upgrade. After much research, I settled on Hoof Grid. This is a durable plastic material that interlocks and is filled fine stones and compacted. It has good drainage and prevents horses from digging.
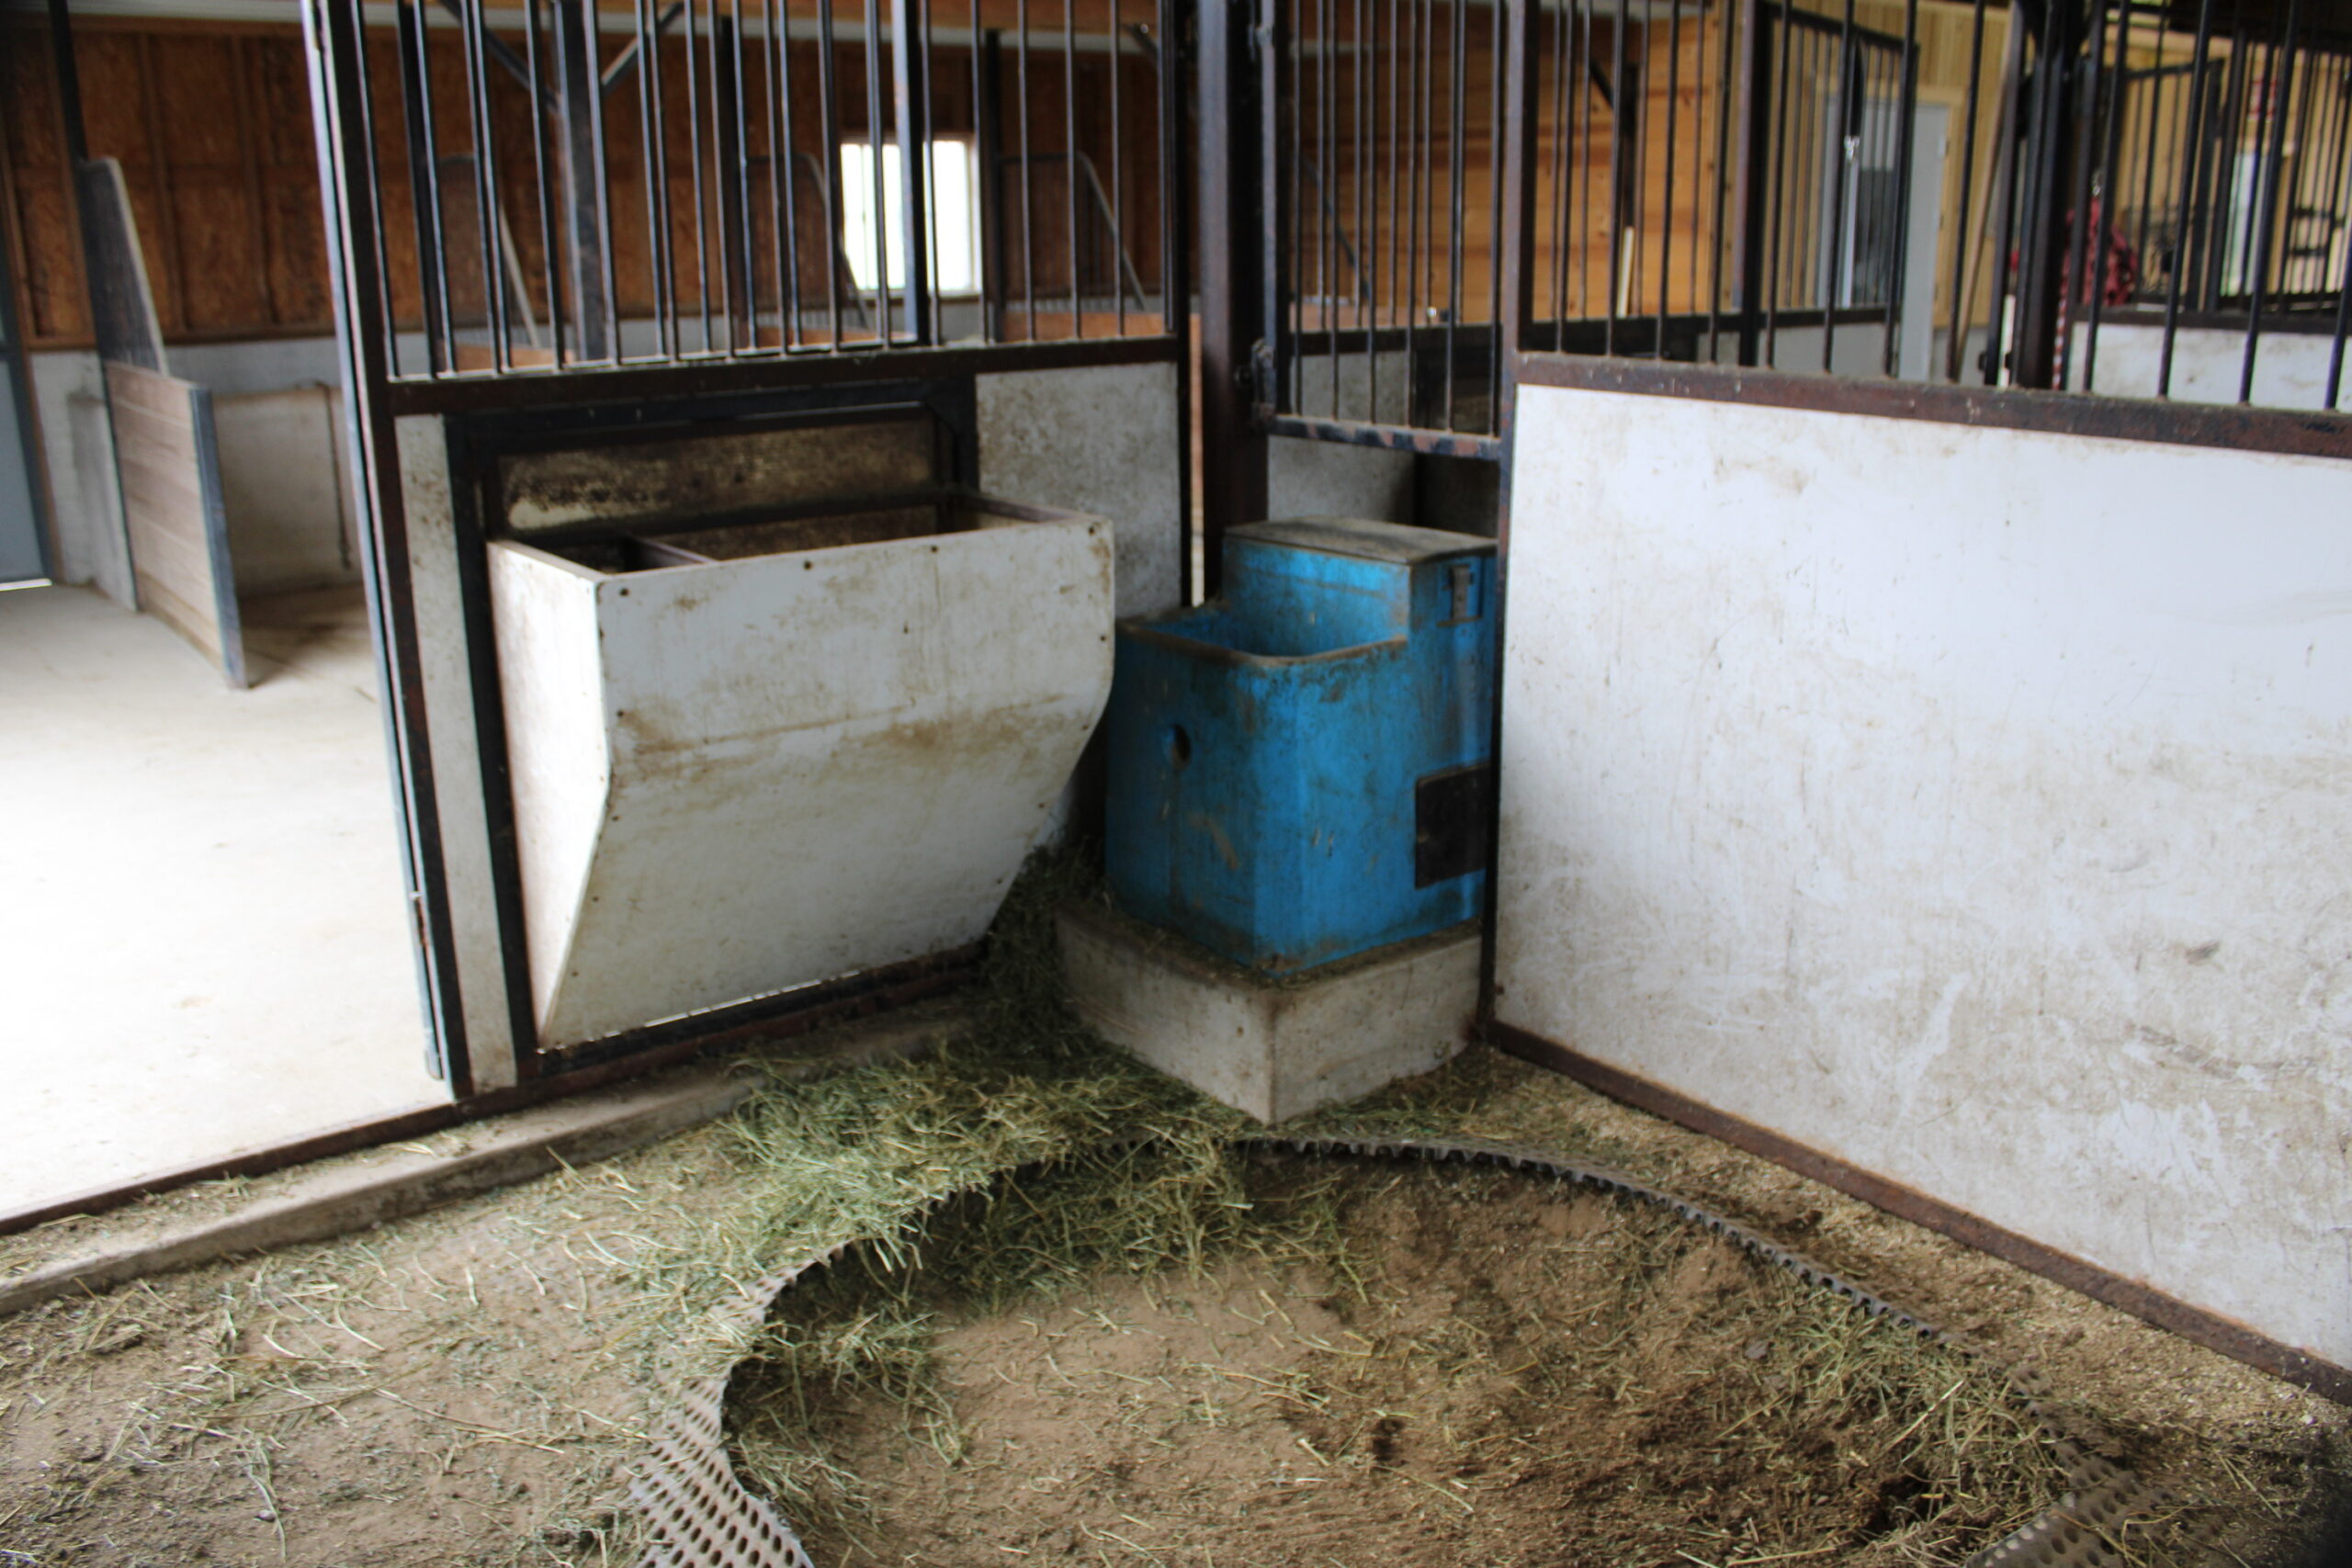
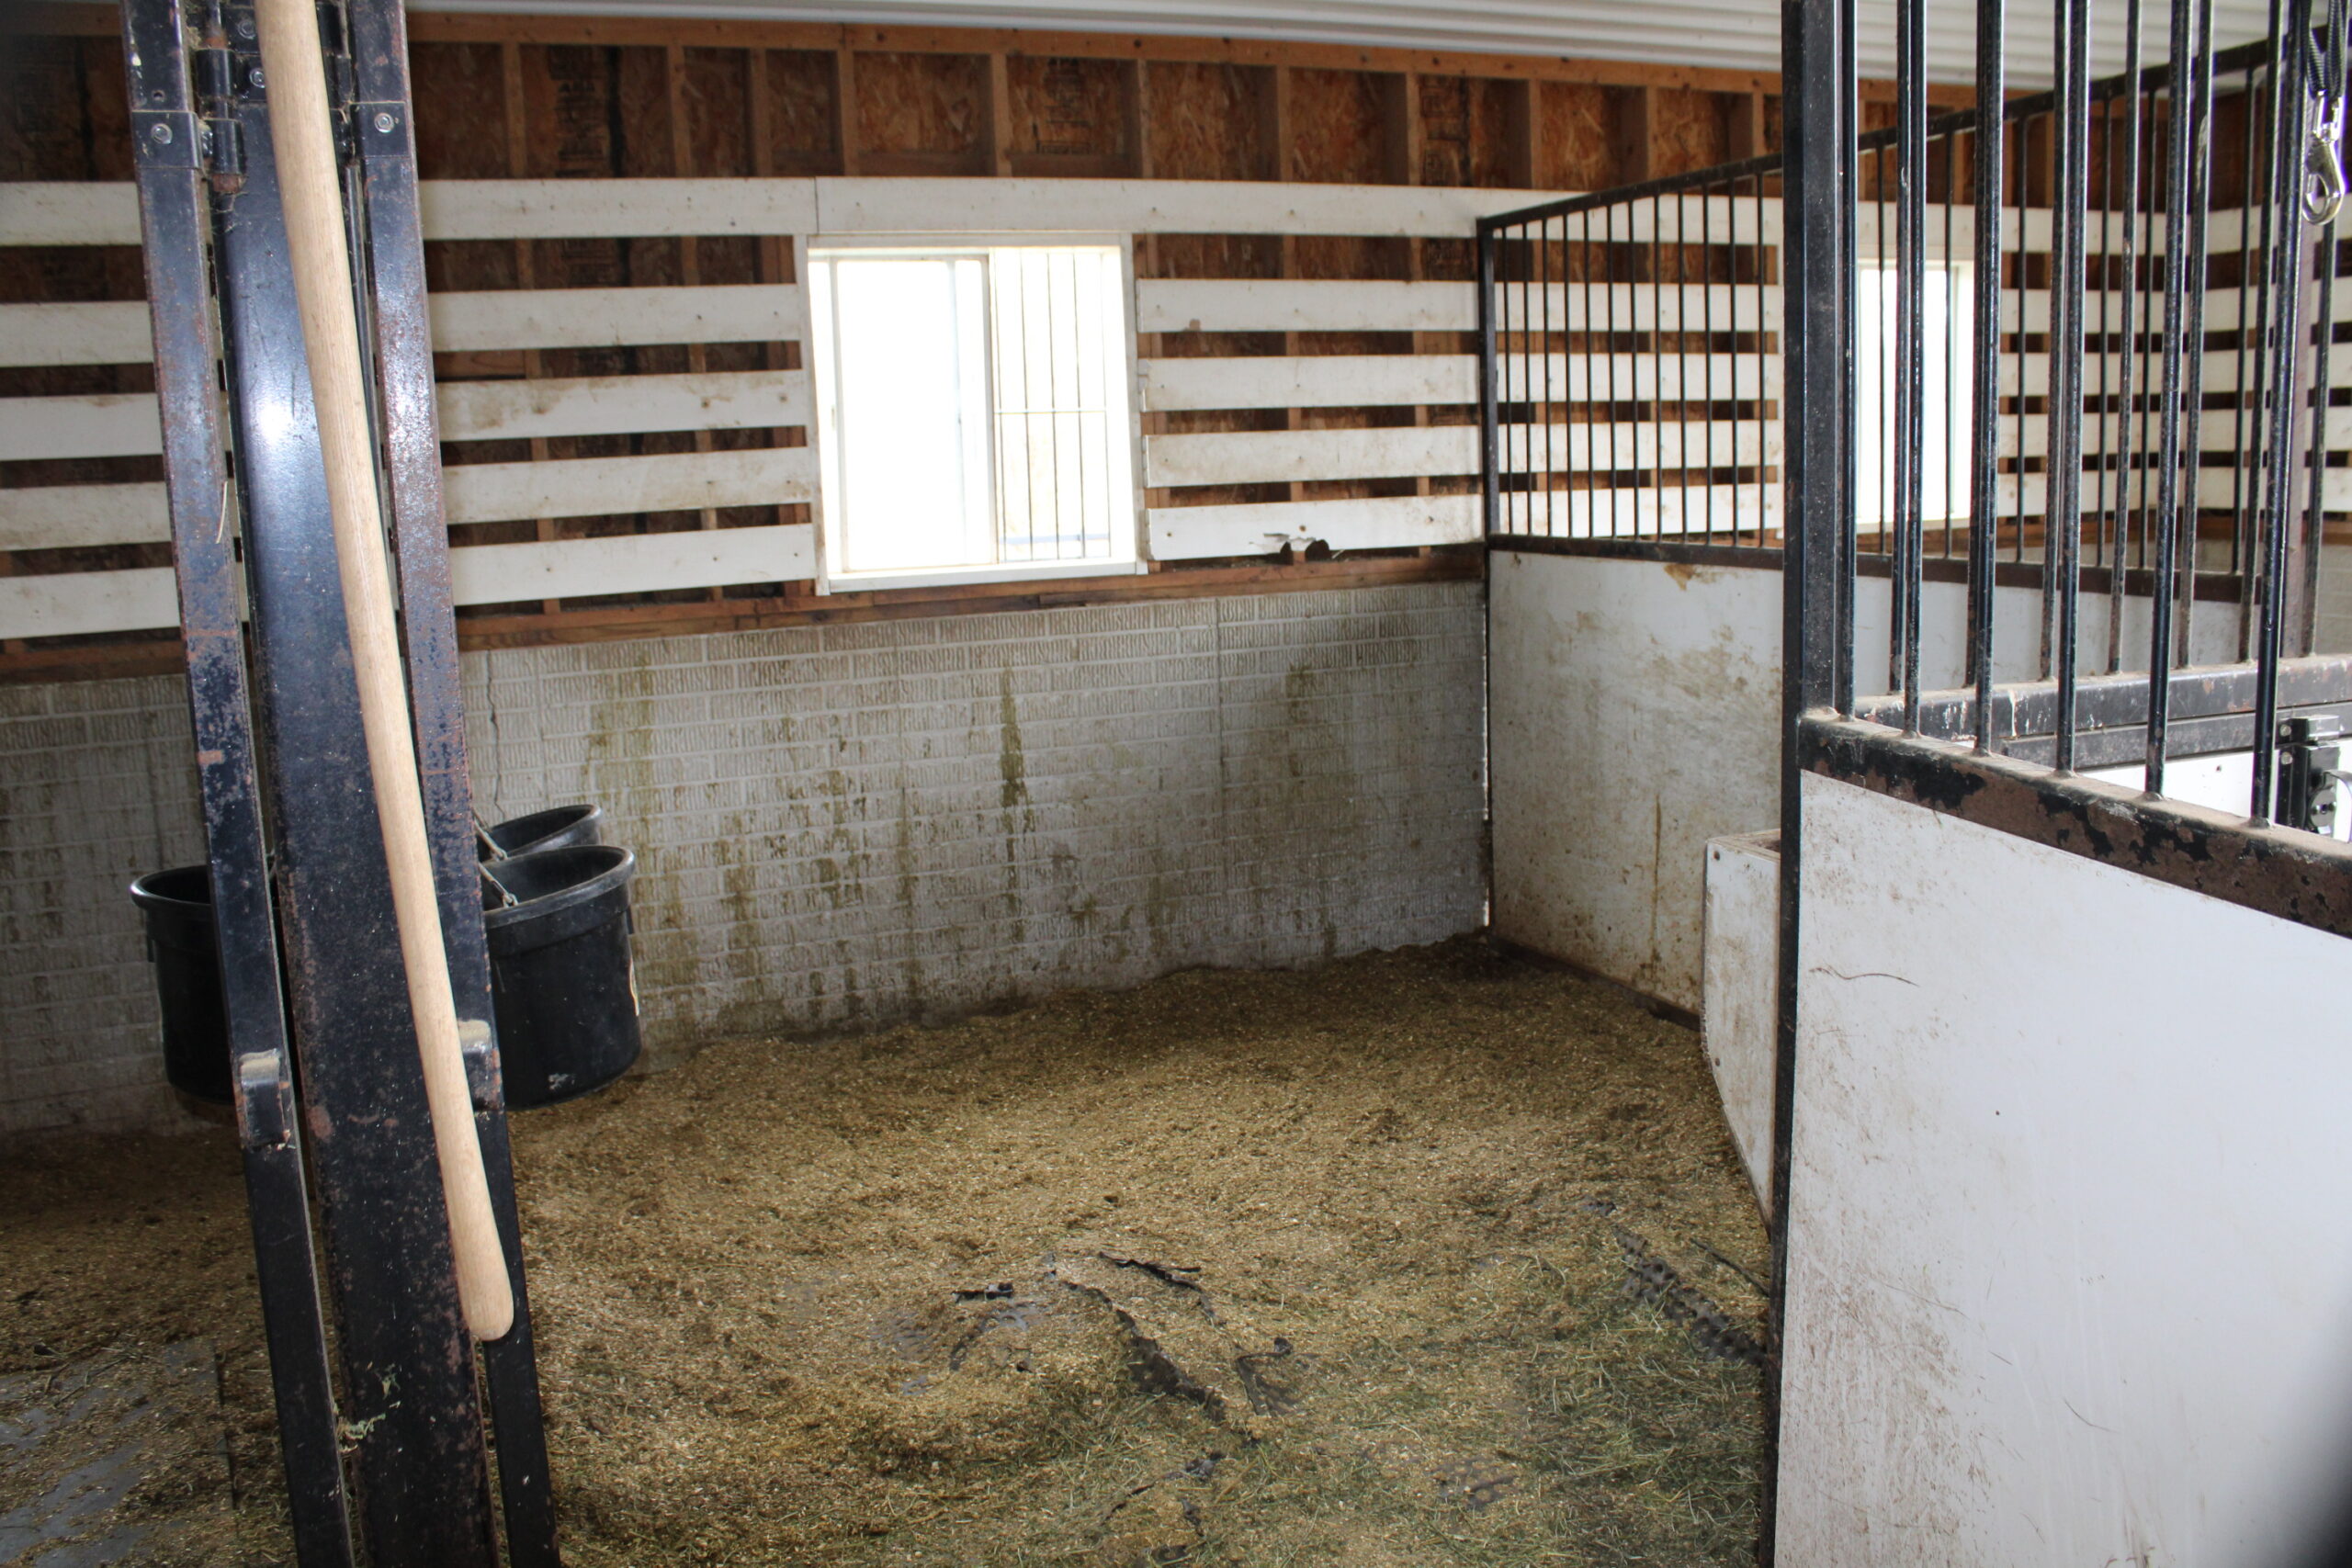
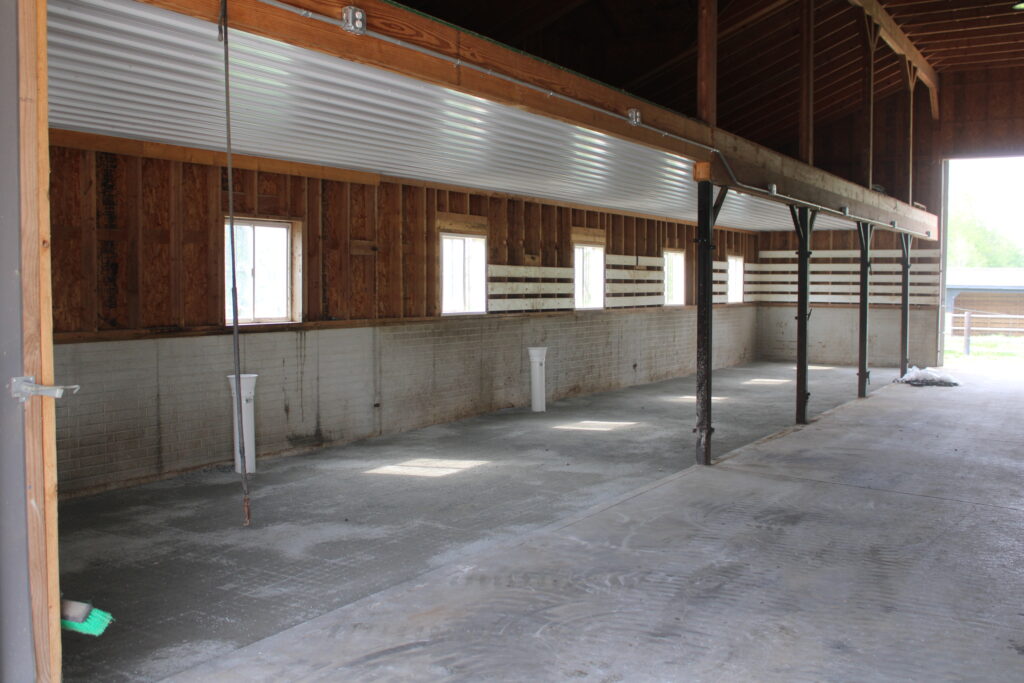
A TOUR OF THE BARN BEFORE
PHASE 1: PLANNING AND LAYOUT
Because I’m remodeling, I had to work around the existing structural elements of the barn. This barn is a post and beam construction so it was critical to keep all the supports beams, windows etc in the same spot as originally designed. That made the sizes of the stalls a bit odd but overall I’m happy with the layout. The first stall is my foaling stall. That one measures 12′ x 16′. The second stall measures 12′ x 14′ and can also be used as a foaling stall if needed or just an overnight stall. The remaining 3 stalls are all 12′ x 10′. When I was originally designing the barn, my plan was to have (6) 12′ x 10′ stalls. It would have been nice to have that extra stall however, I’d rather have ample room for my horses to move around rather that squeezing in another stall.
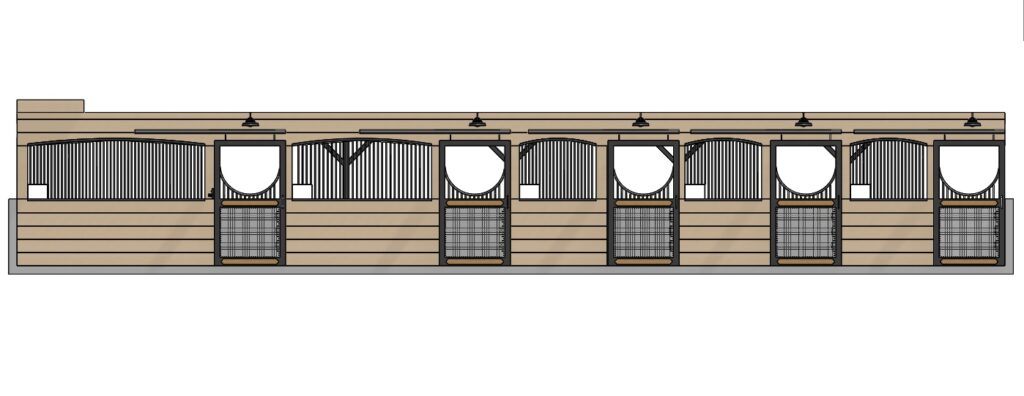
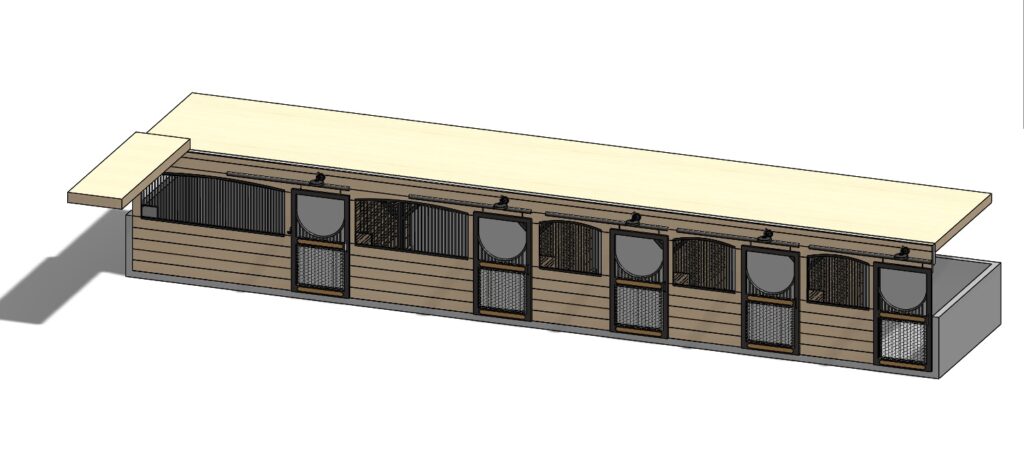
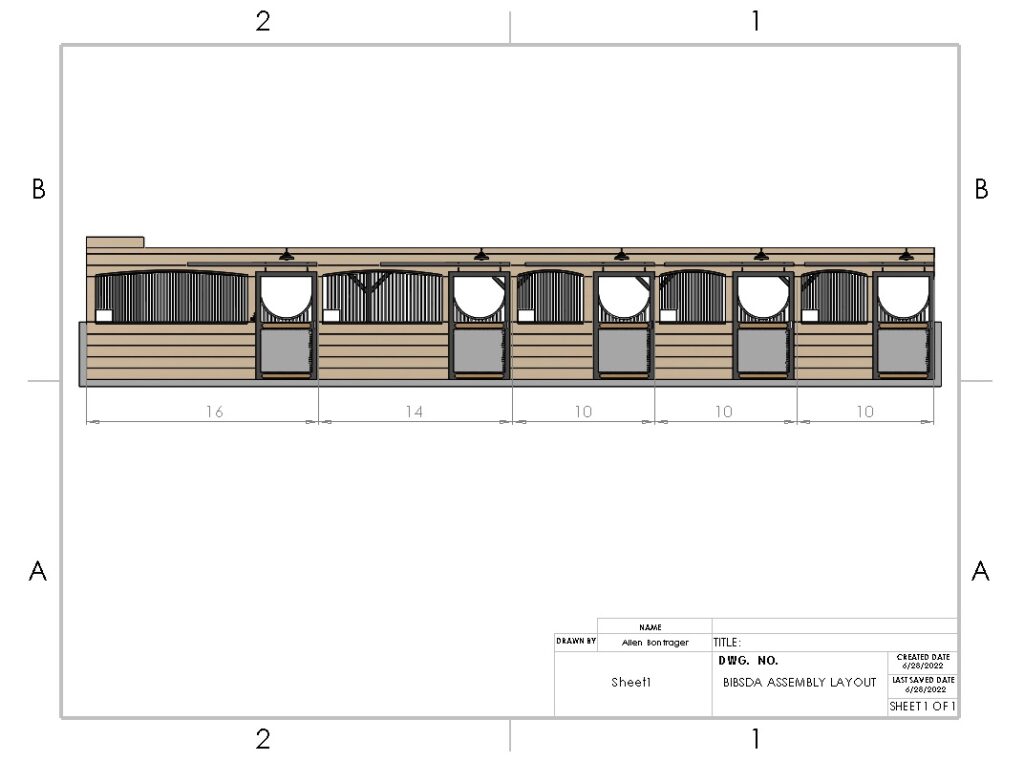

I wasn’t sure what style of stalls I wanted to go with and I modeled up several different versions including a Euro-type stall system. Of all the stall systems I looked at, it came down to built-in vs Euro stalls. After weighing in the pro’s and cons of both style of stalls, I decided I wanted the built in for these reasons: cost, ability to have sliding doors, and lead time. Cost: there wasn’t a HUGE price different between these style of built in vs Euro stalls because the price of lumber is crazy right now but it was still about $1000 cheaper. Sliding Doors: like I mentioned earlier, sliding doors was pretty high on my list of things I wanted. The Euro stalls do not have the option of sliding doors. Lead time: If I had gone with the Euro stalls, the lead time would have been several months. With these built in style stalls, I could get started right away.
PHASE 2: DEMOLITION
The fun part of remodeling. The 1st thing I needed to do was remove a 12′ x 20′ section of cement in the front portion of the barn. This is where the foaling stall would be placed at. Luckily I’ve got a good friend in the masonry field and he came over and cut it up into 4 manageable sections with his concrete saw. I then was able to use the skid steer to haul out these pieces.
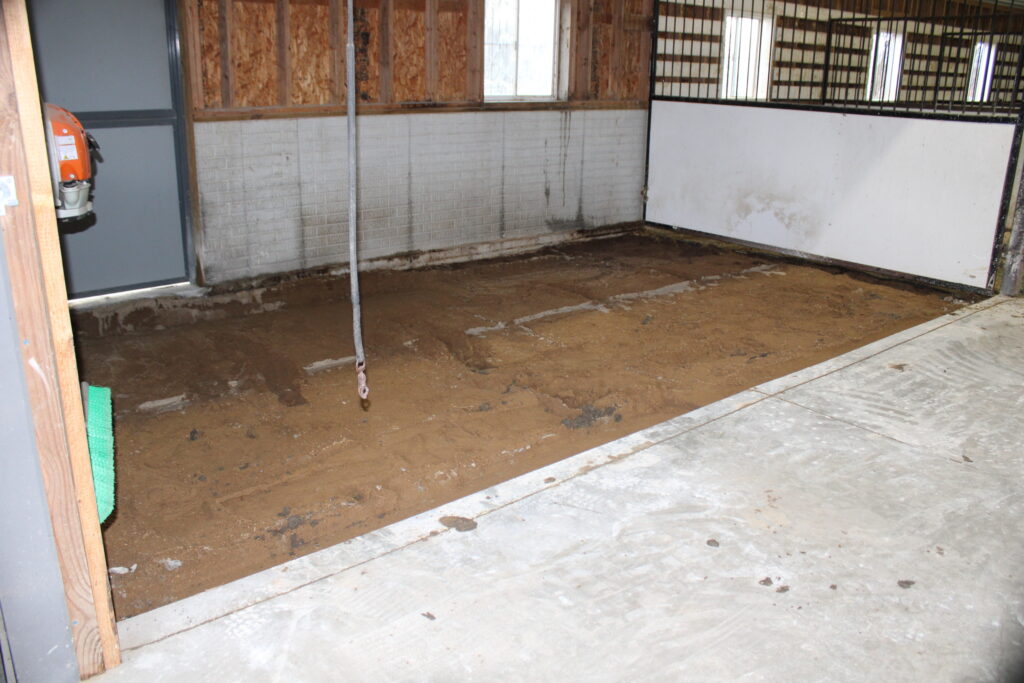
Next I removed all the old flooring and the old Miraco waterers.
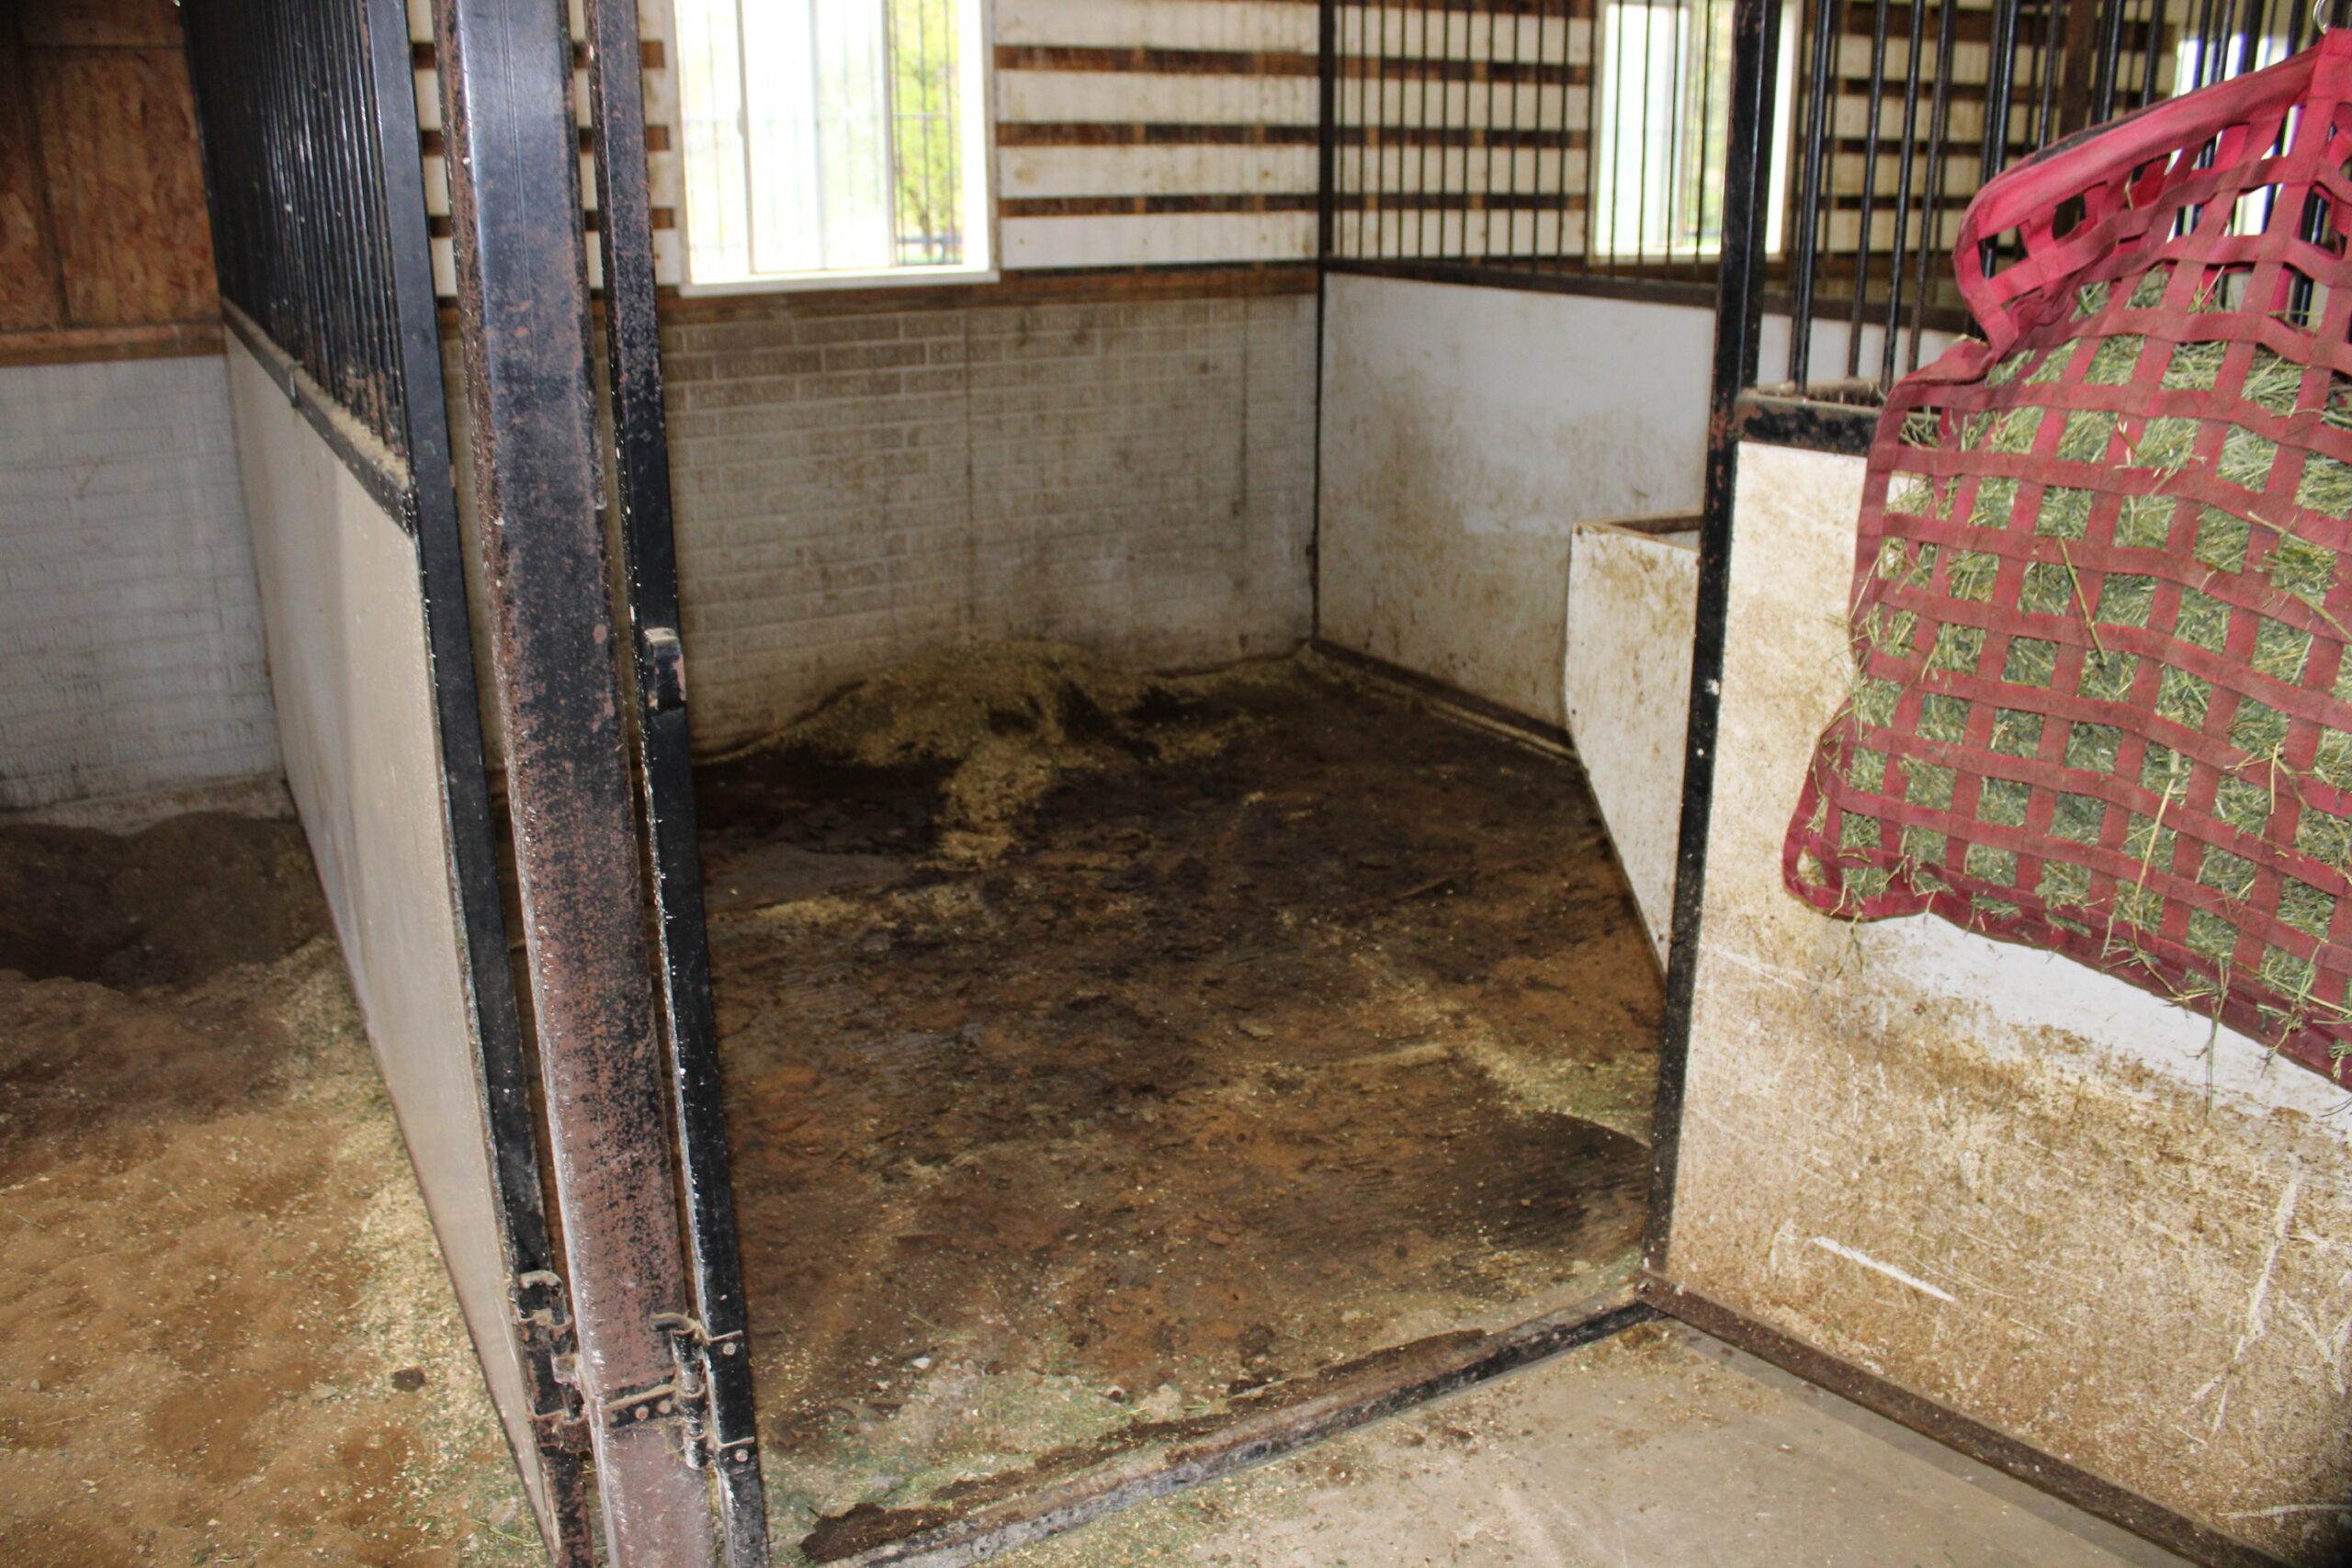
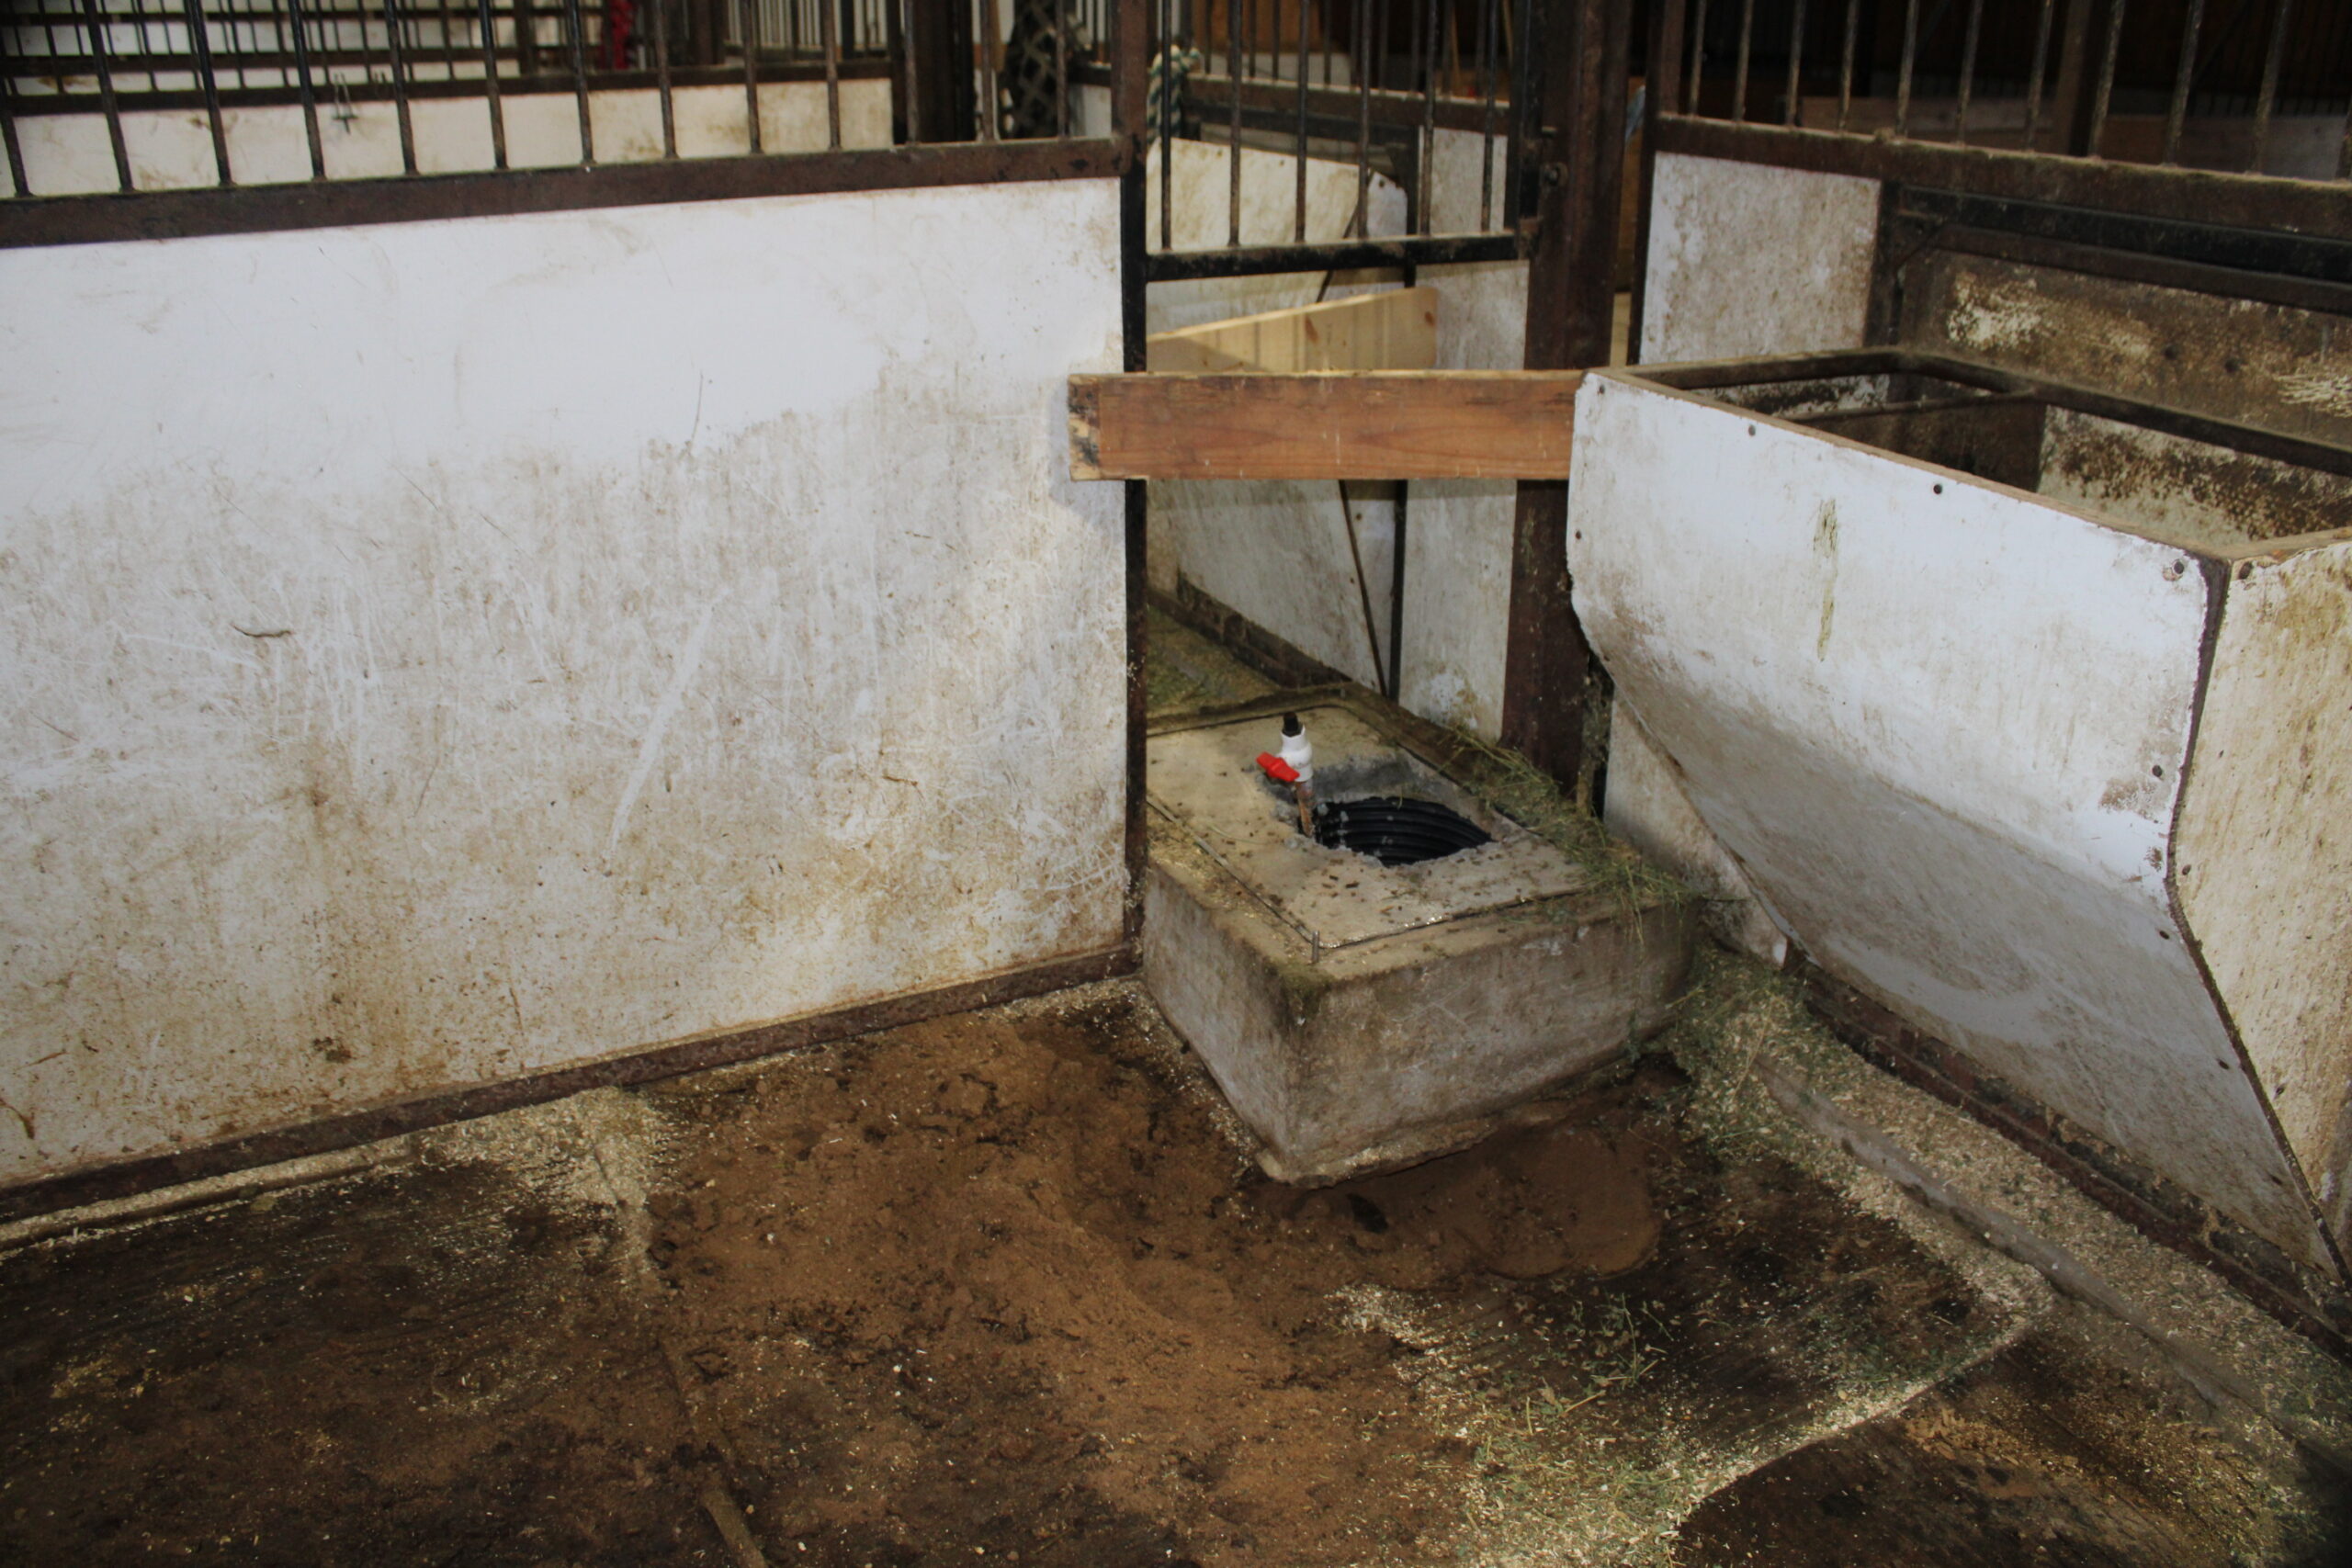
The old stalls were then removed.
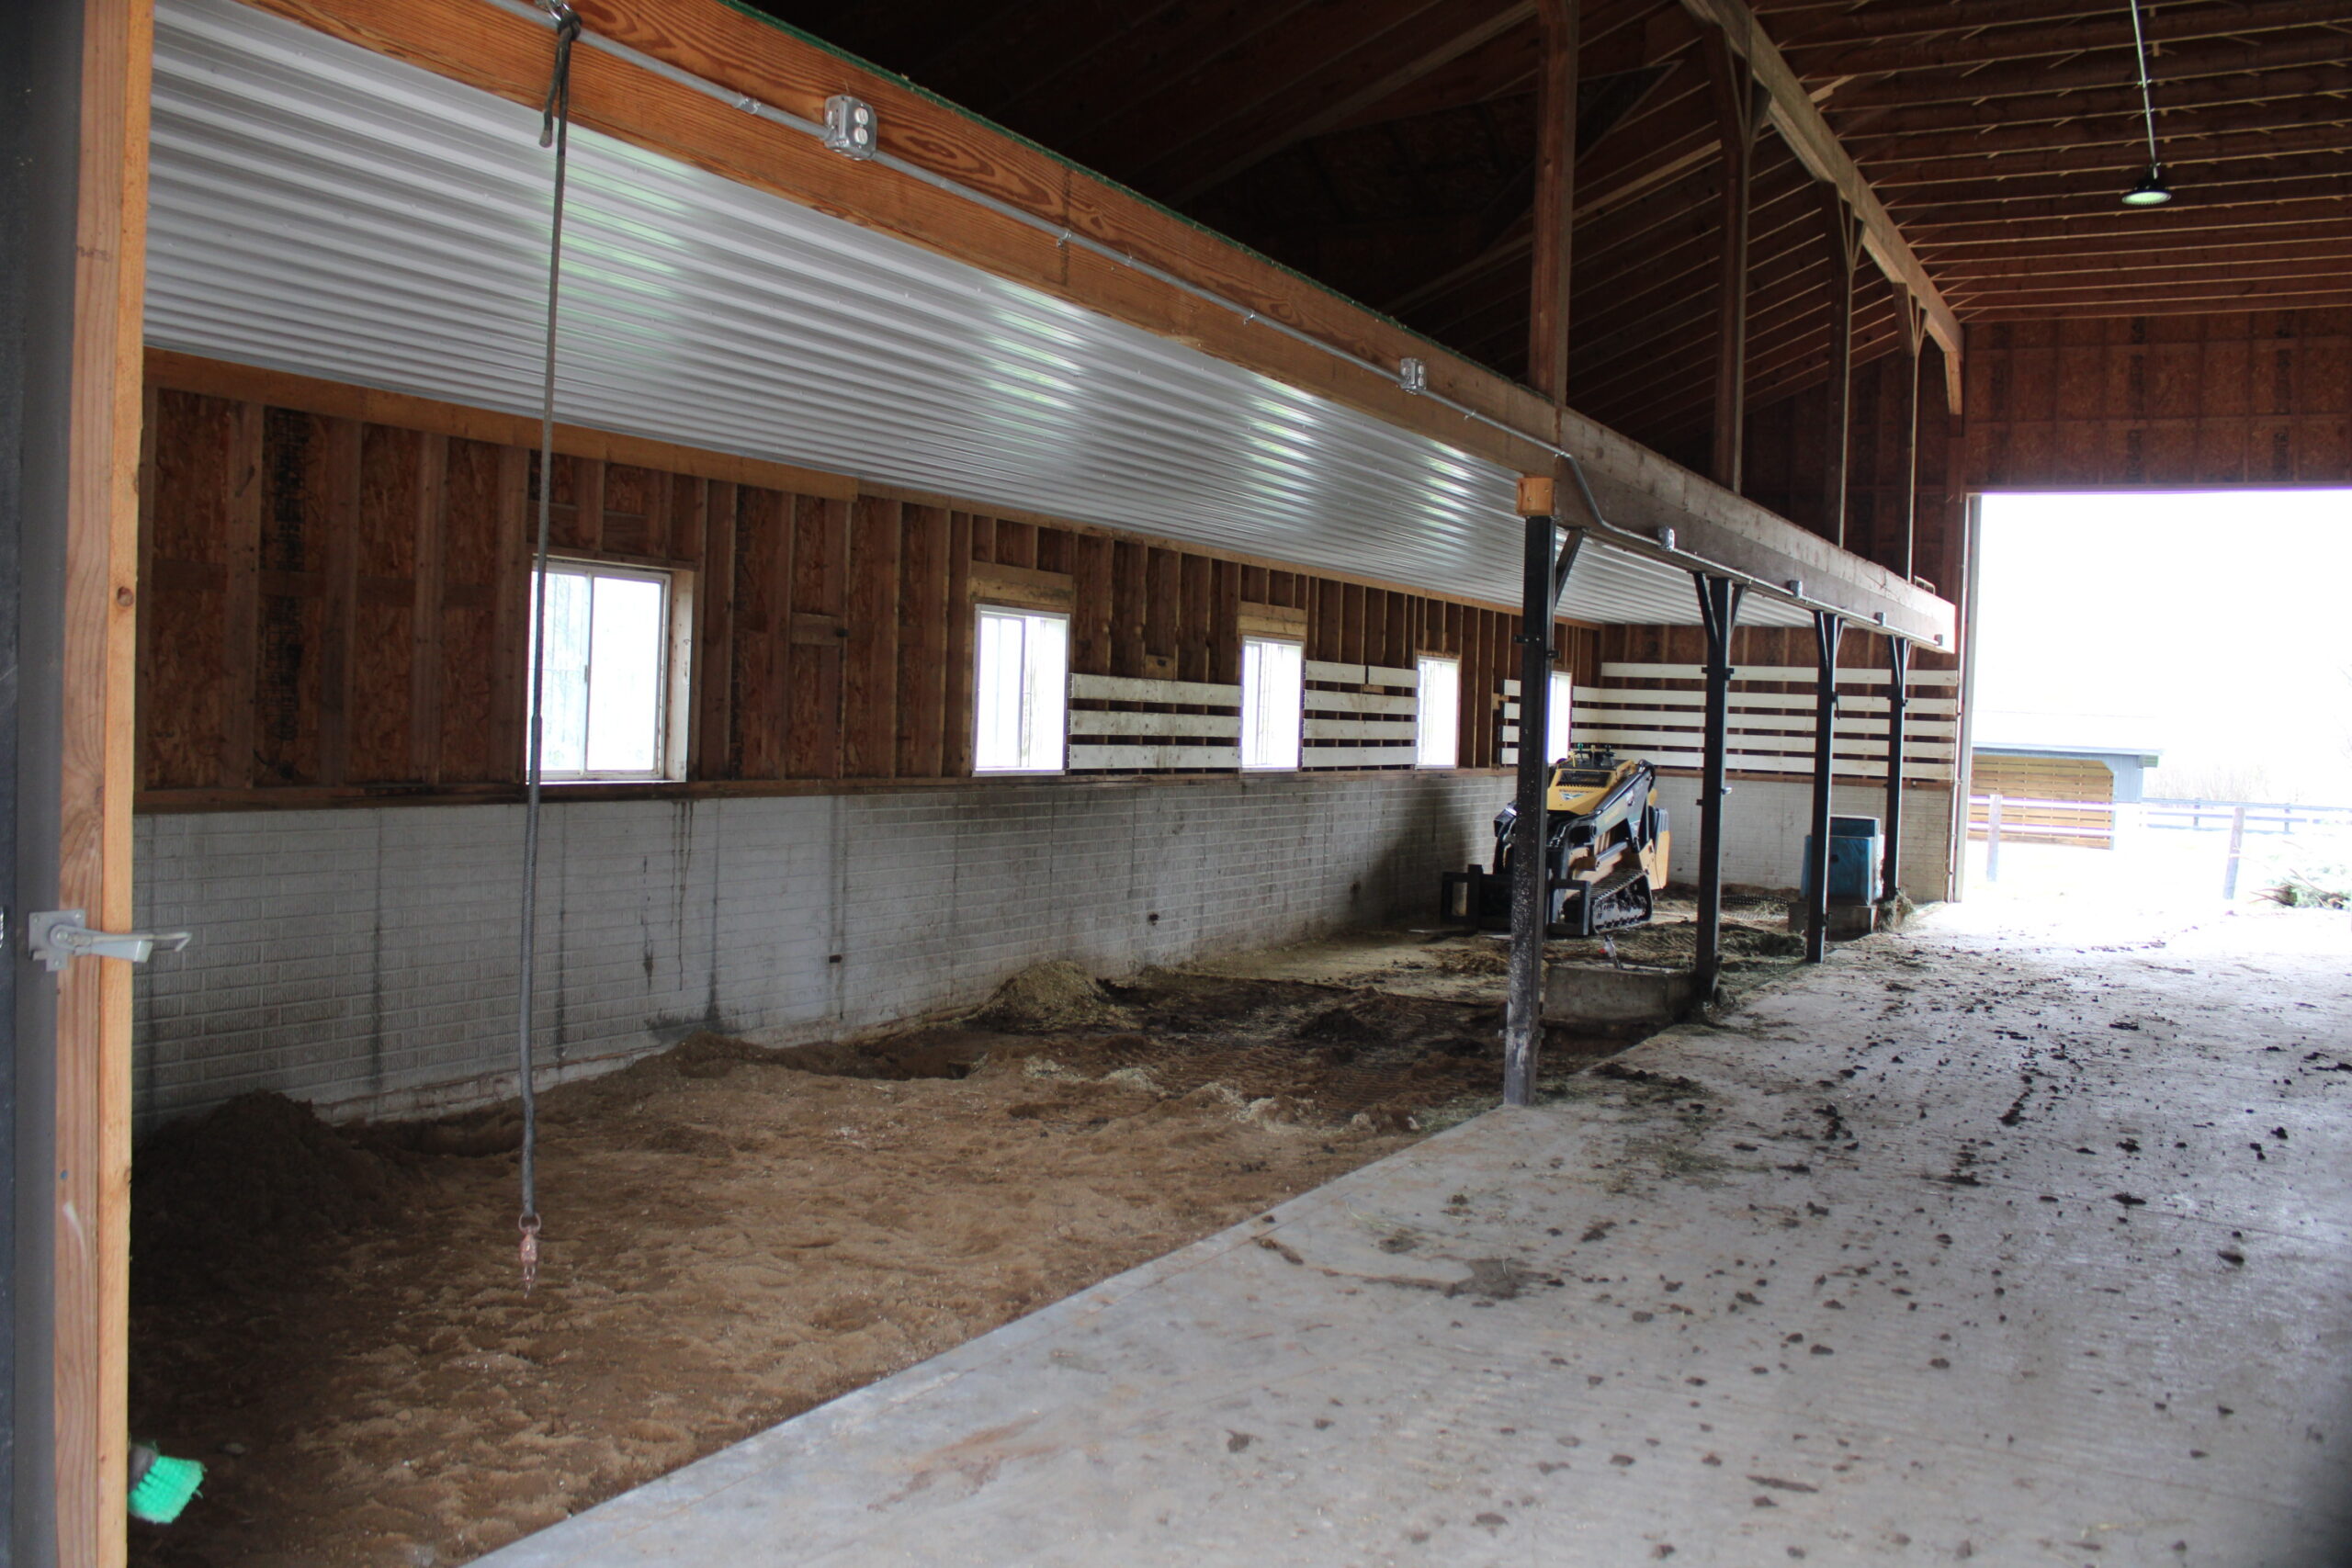
PHASE 3: AUTOMATIC WATERERS
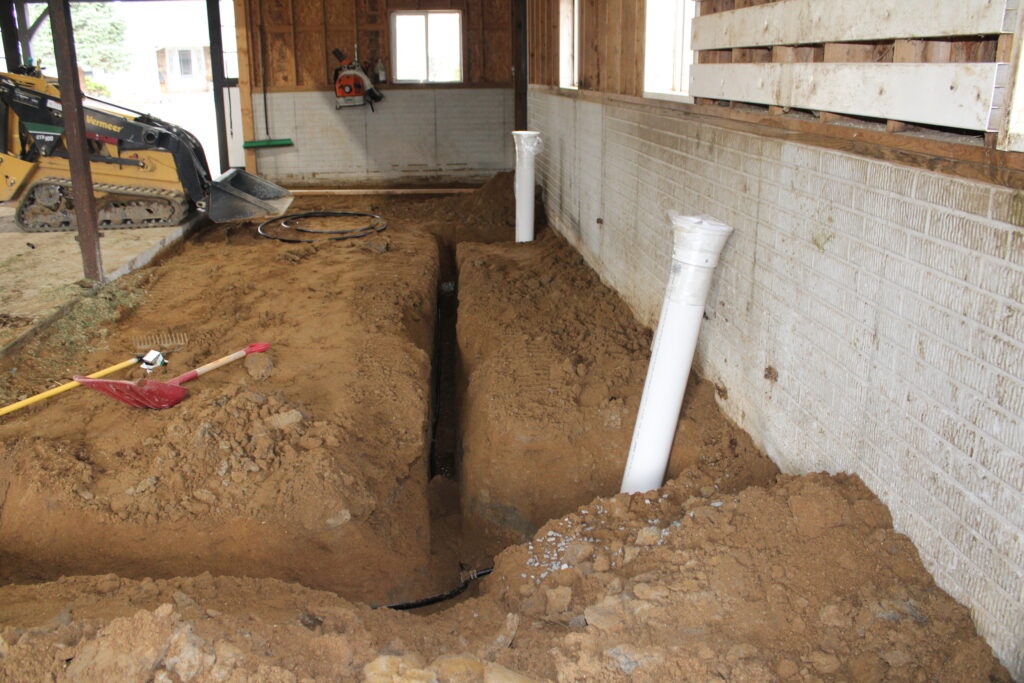
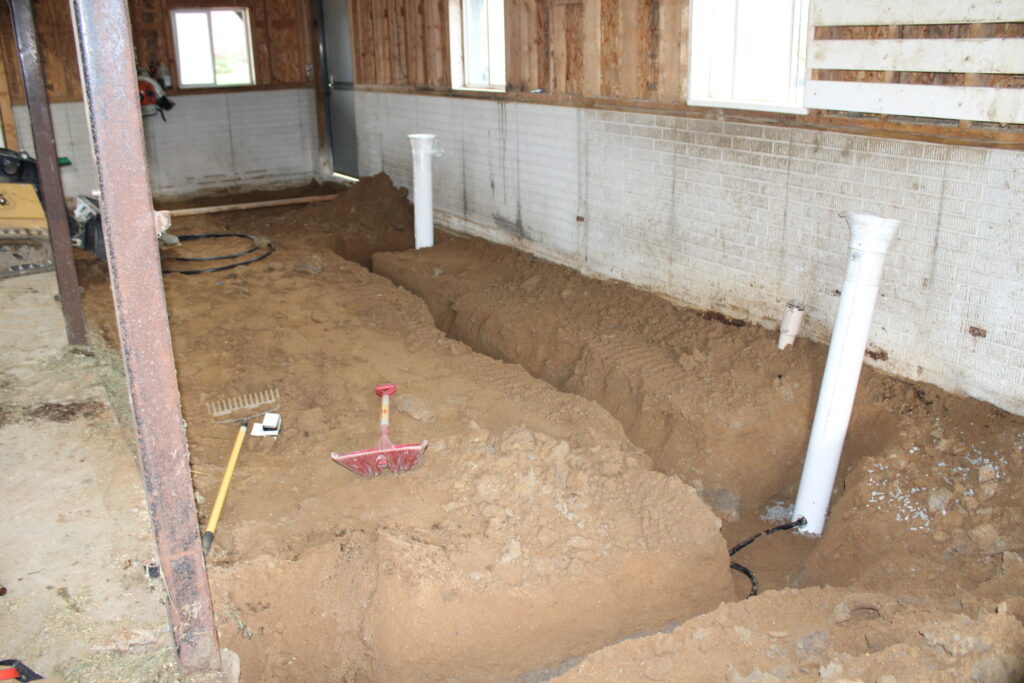
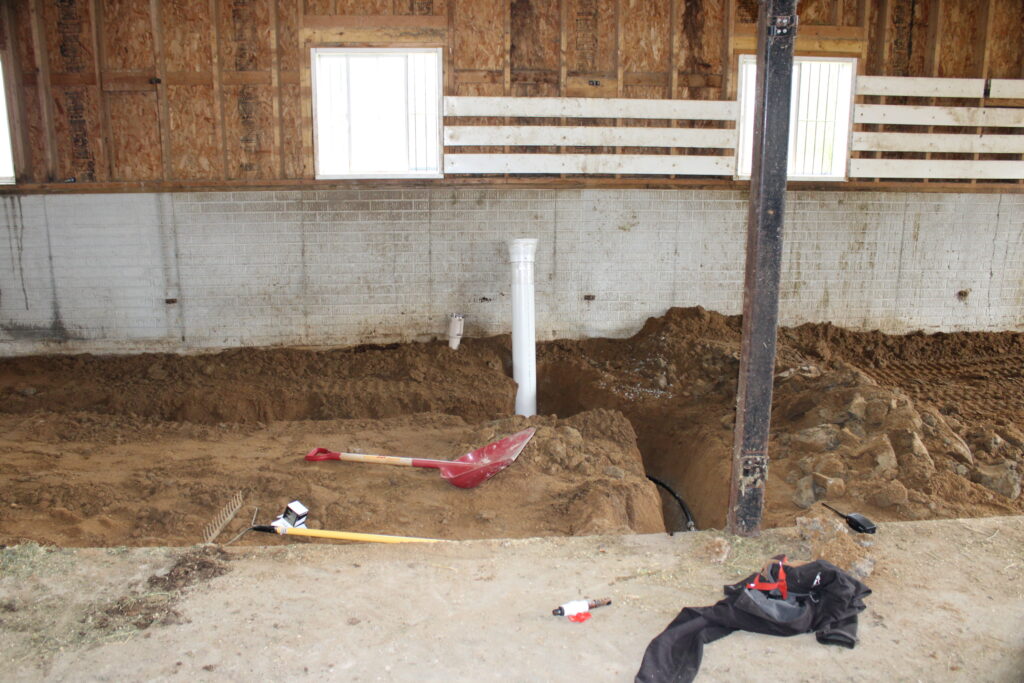
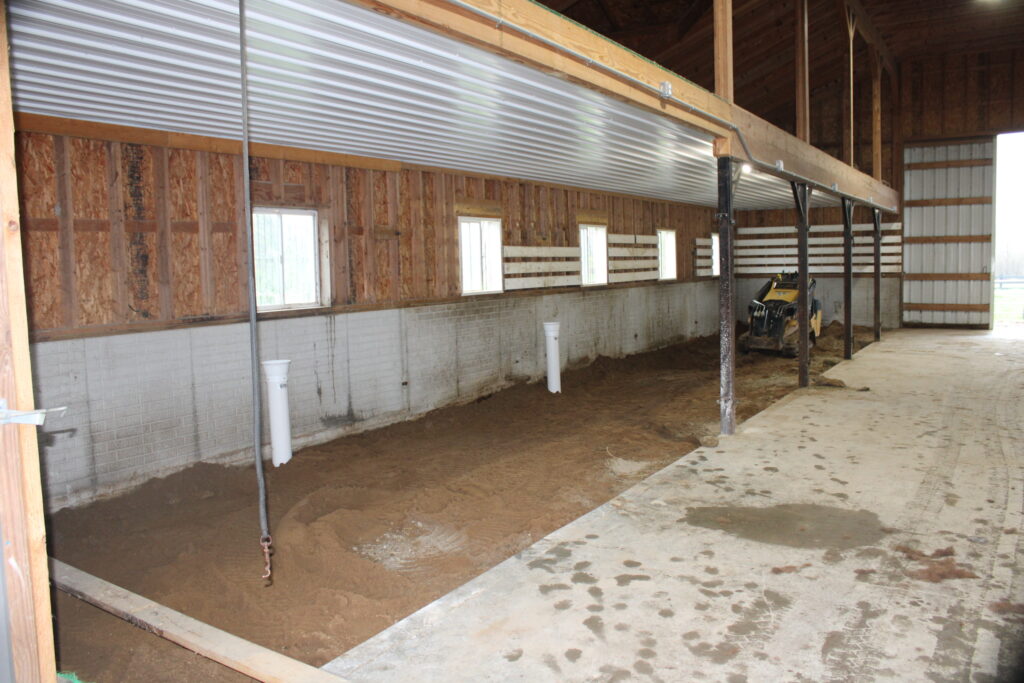
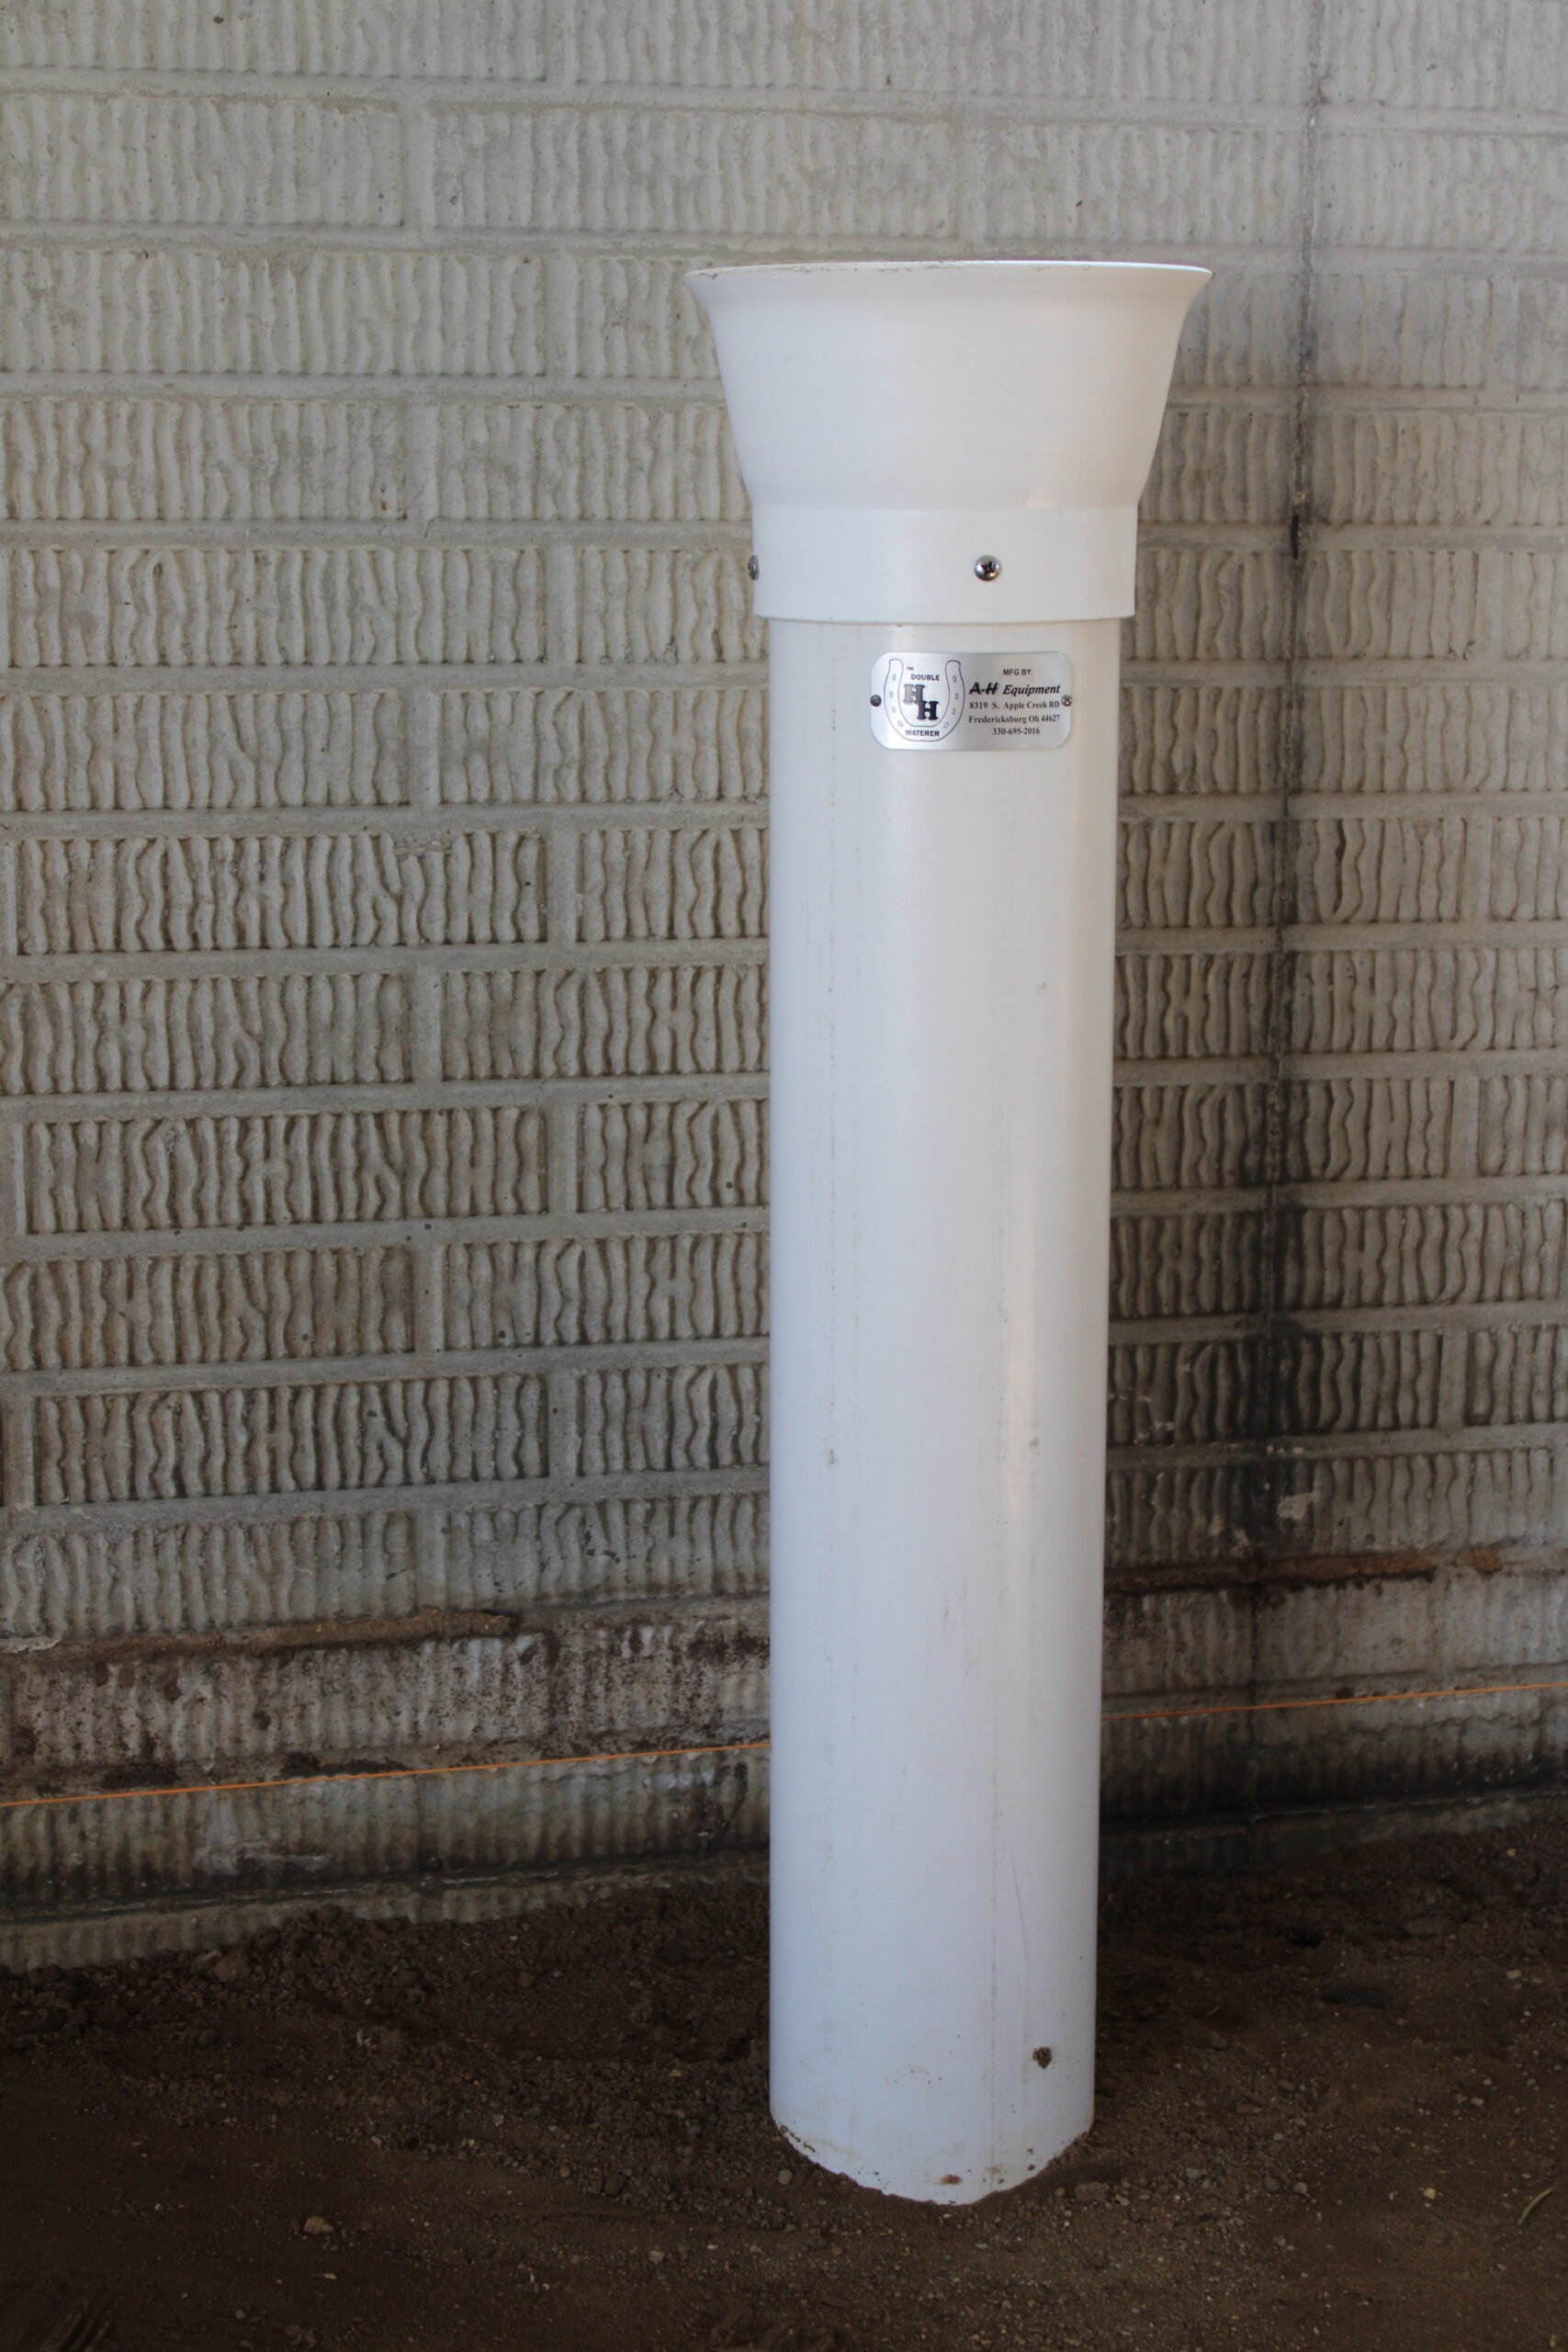
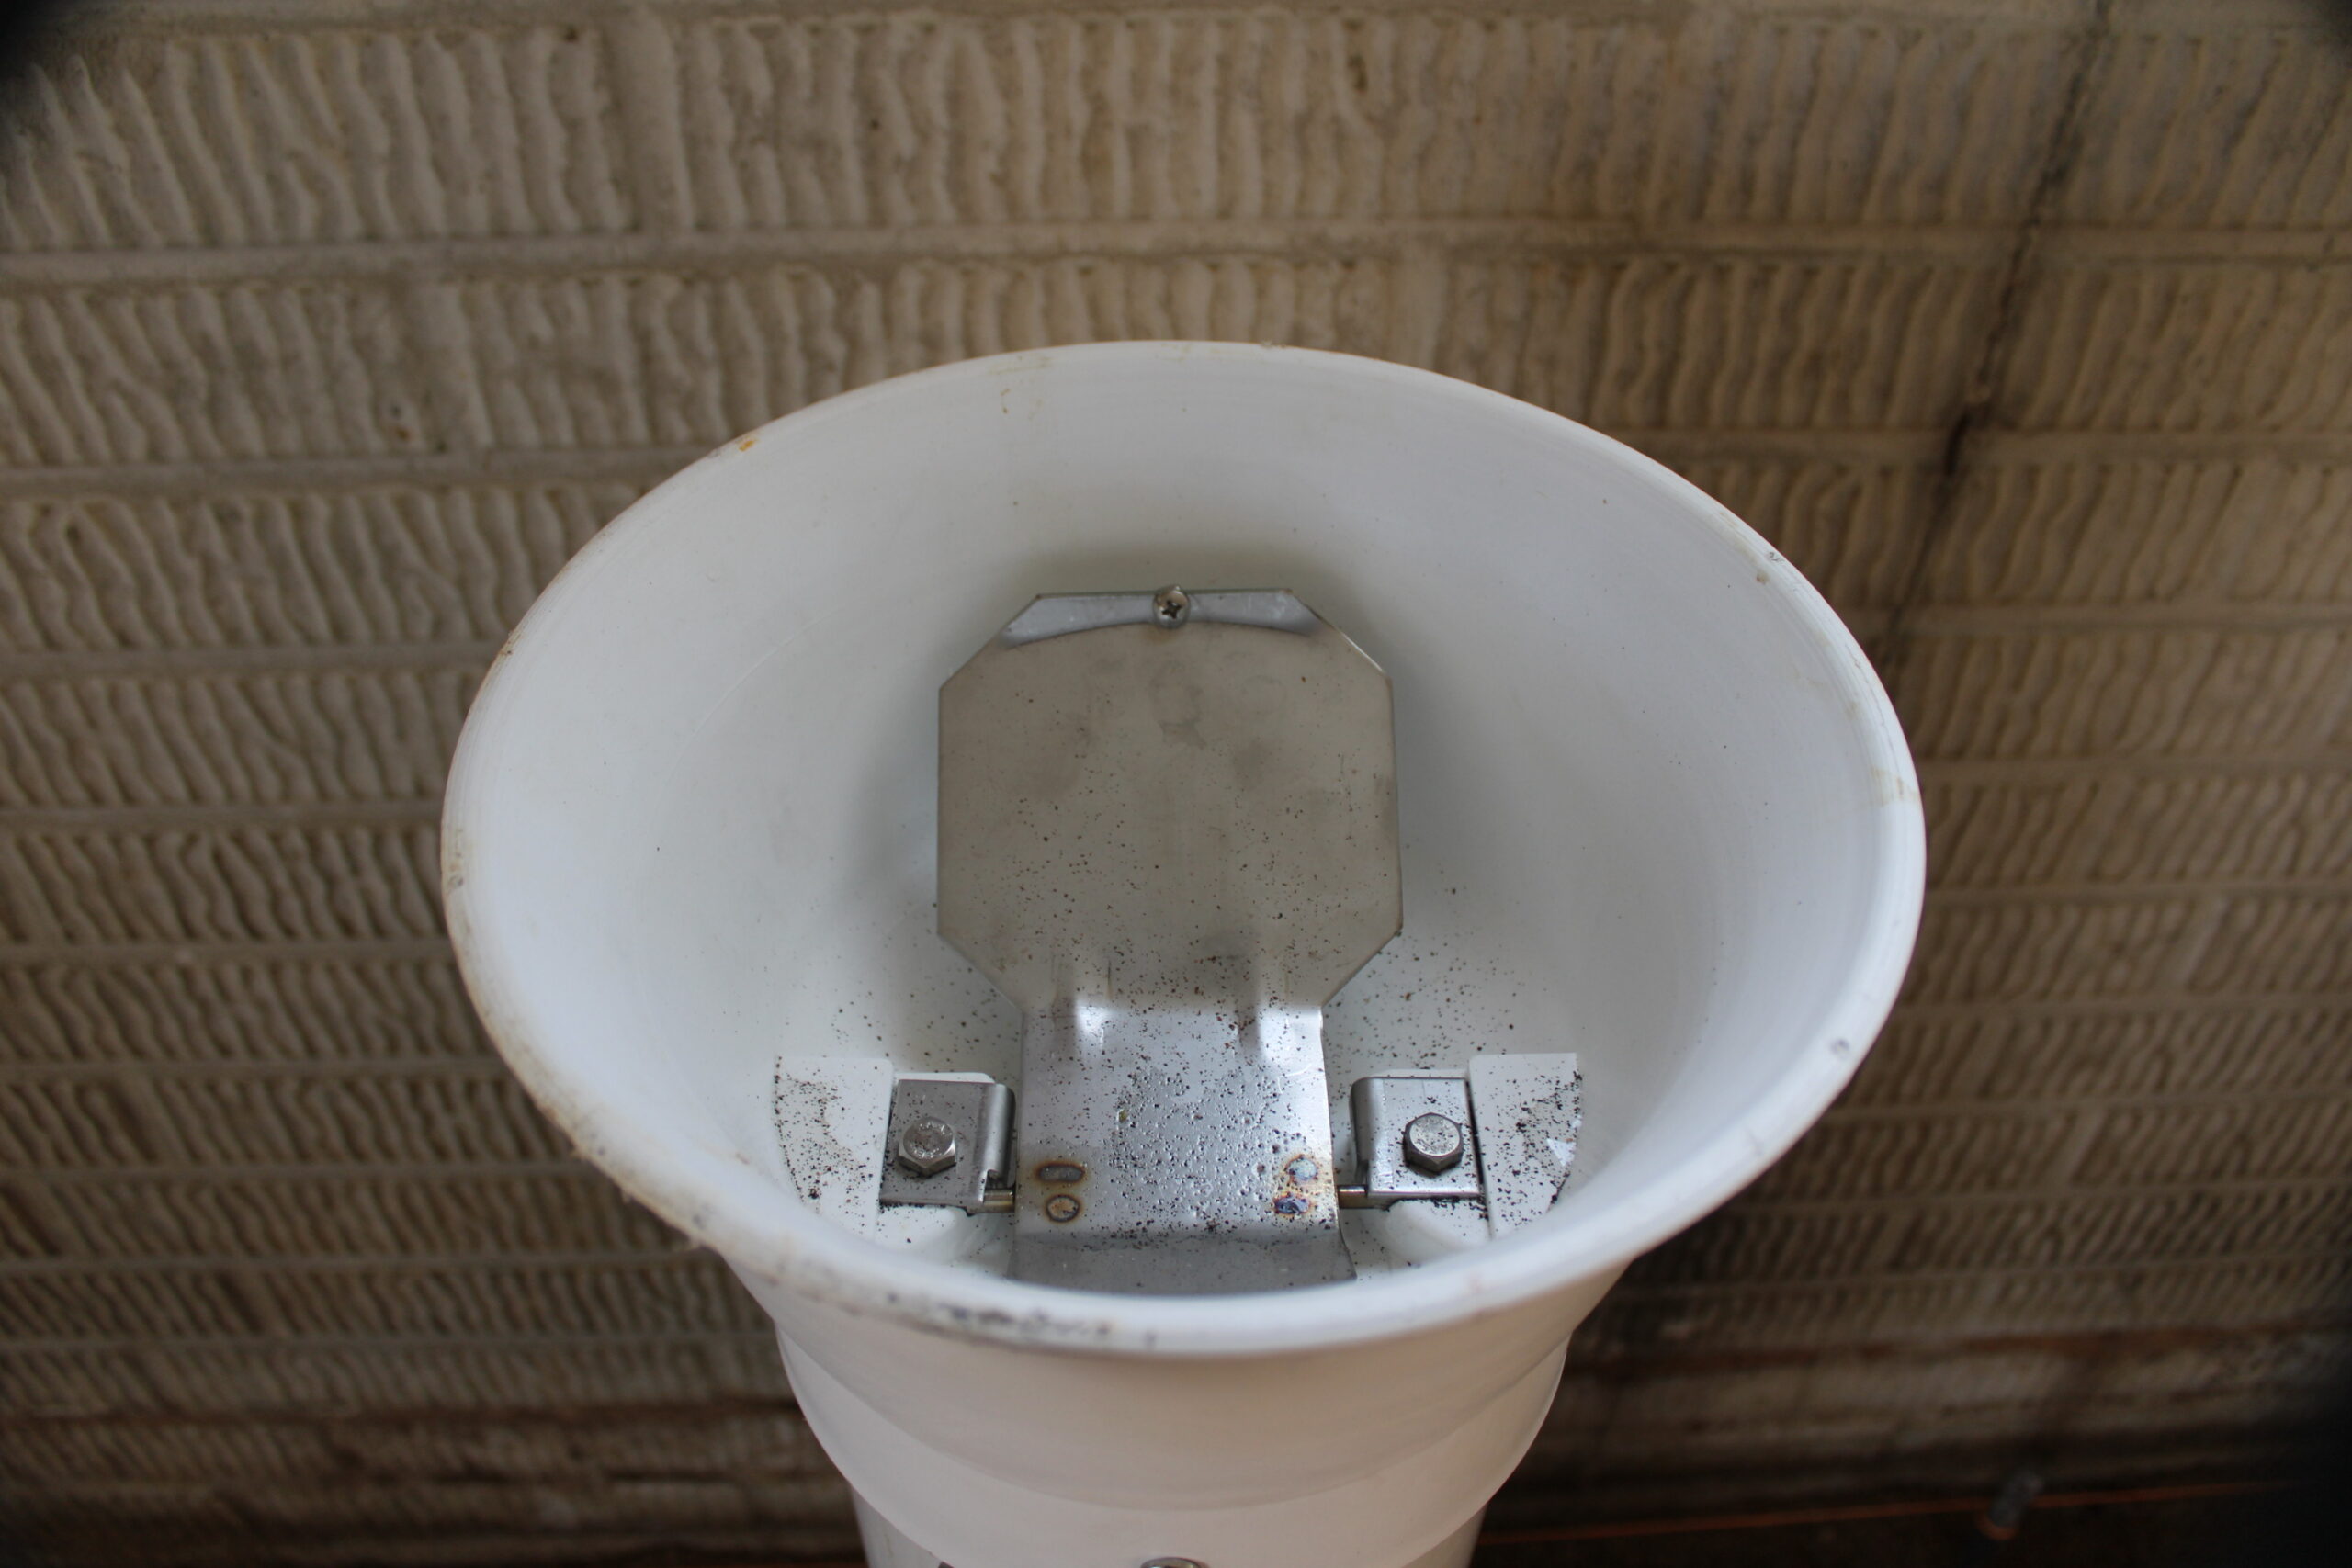
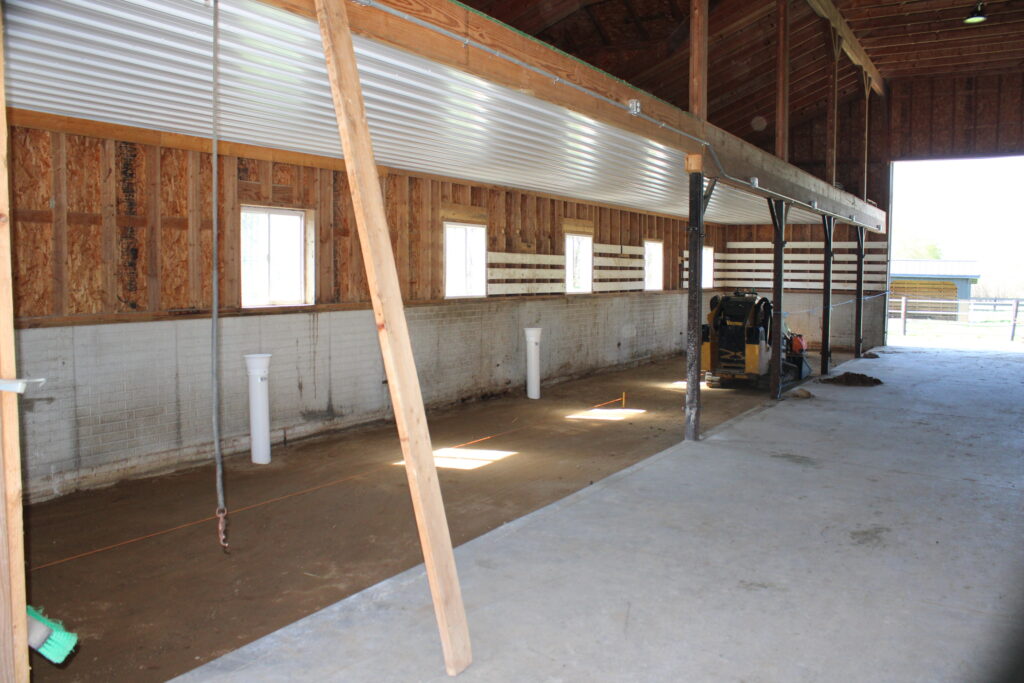
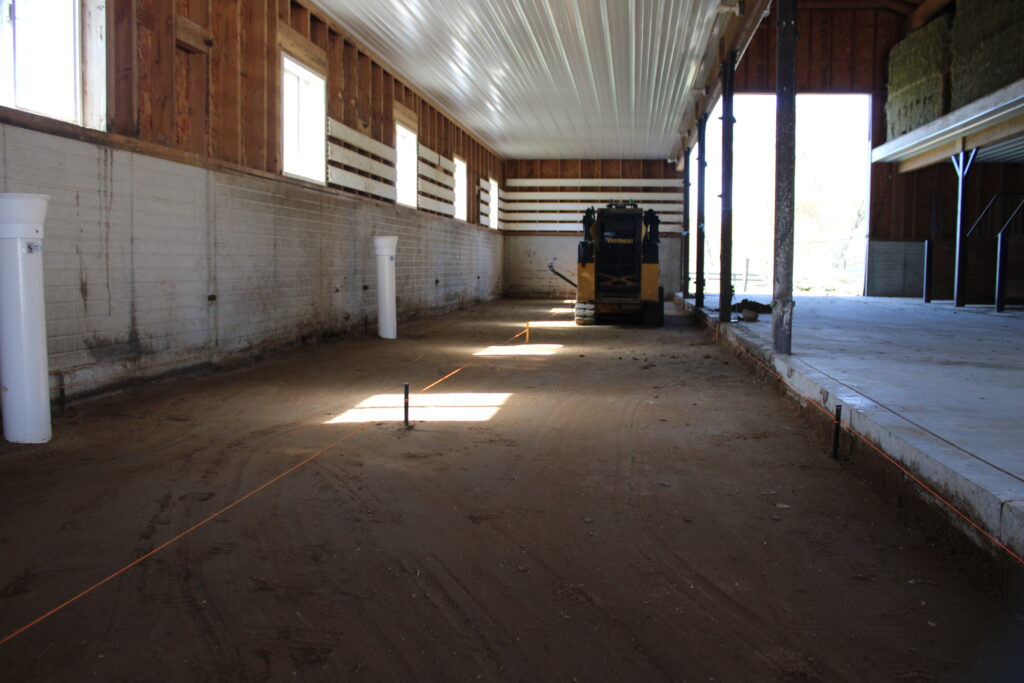
After all the stalls were removed and the flooring was ripped out, my most dreaded task began. Installing the automatic waterers. These waterers are installed similar to a hydrant with a leech bed on the bottom. Luckily I had water plumbed out to the stalls already so I just need to extend them to where I wanted the new waterers. The old Miraco waterers were located in the front of the stalls. I did not like that location because I also feed them in the front of the stalls so they would always dribble their feed into the waterer resulting in a nasty, smelly mess. I put automatic waterers in only the first 2 stalls because those are the only stalls where I regularly keep horses in for an extended period of time. I rented a small Vermeer stand-on skid steer that had a trencher attachment so the trenching wasn’t too bad. Overall, plumbing the water lines and installing the waterers wasn’t as bad as I had anticipated. The brand of frost free automatic waterer that I went with is called The Double H Water manufactured by A-H Equipment in Fredericksburg Ohio. It is a high quality drinking post that is made of all stainless steel components. Similar to a hydrant, the valves are deep in the ground where they do not freeze and the drinking cup itself drains dry to prevent freezing. I purchased these waterers through Trail Farm Supply in Millersburg Ohio (Phone number: 330-893-3086). Edwin at TFS is great to deal with and made my decision easy. When these were purchased in the Spring of 2022, the cost was $319 each.
PHASE 4: FLOORING
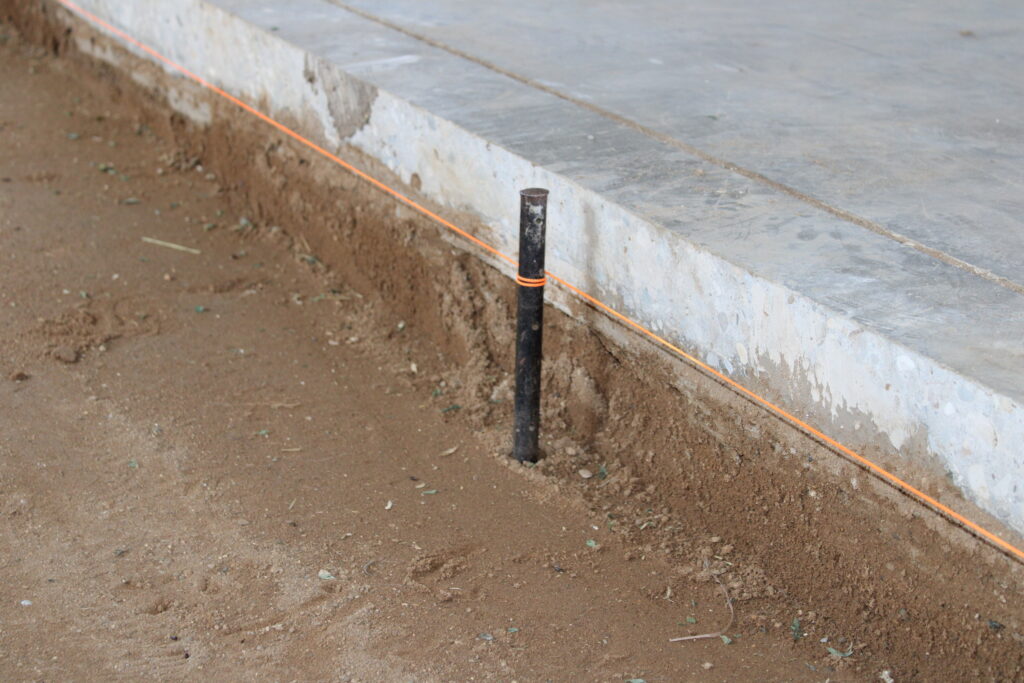
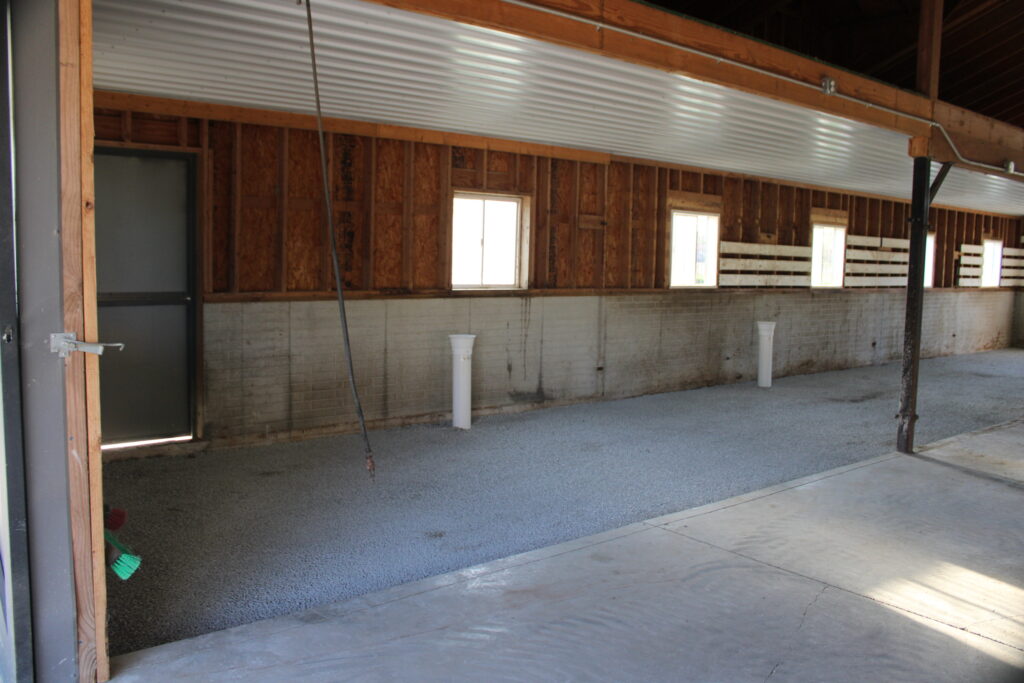
For the flooring of the boxstalls, I went with a product that is called Hoofgrid by Ecoraster. It is the ultimate solution for a dig free floor with superior drainage. The installation is pretty straightforward. The original gravel sub floor was graded to about 7″ under the intended finished height and compacted. Then 4″ of medium sized rocks were brought in and leveled out then compacted. After the installation of the medium sized rocks, the Hoofgrid is placed on top and compacted. For the final step, rock chips without fines were installed on top to fill in all the pockets of the Hoofgrid. The chips were screeted for a completely level final surface then compacted the final time.

PHASE 5: LINING THE BARN
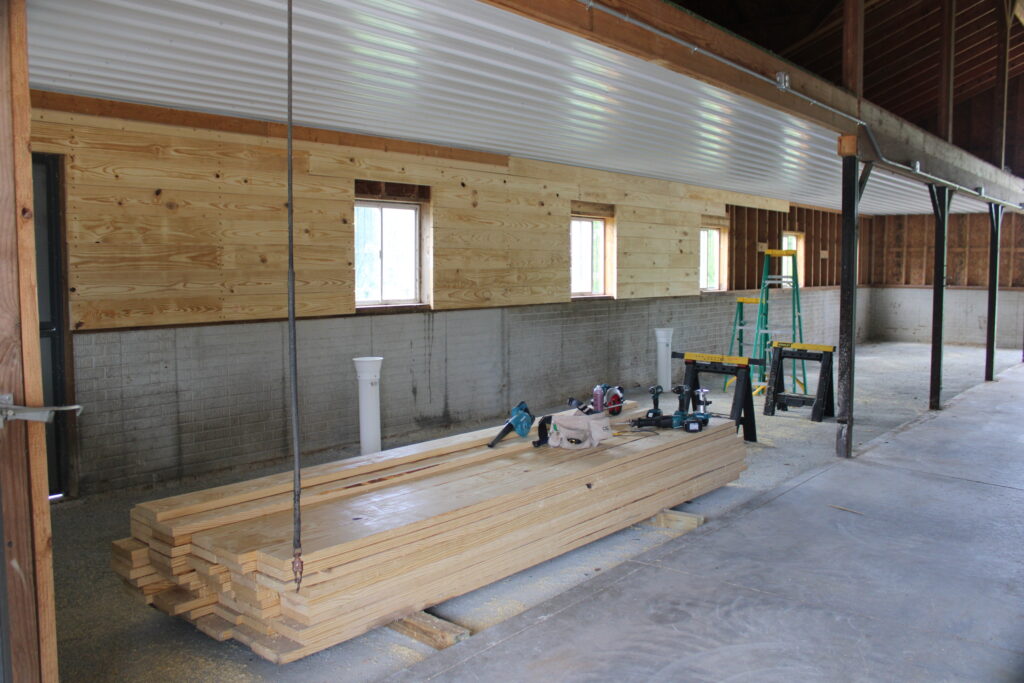
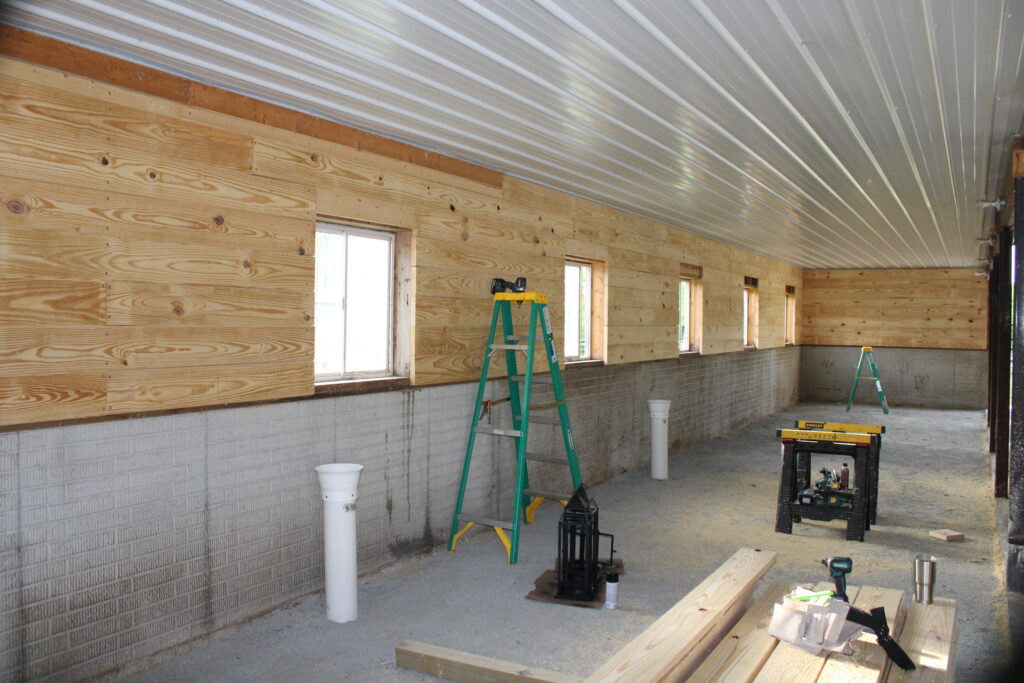
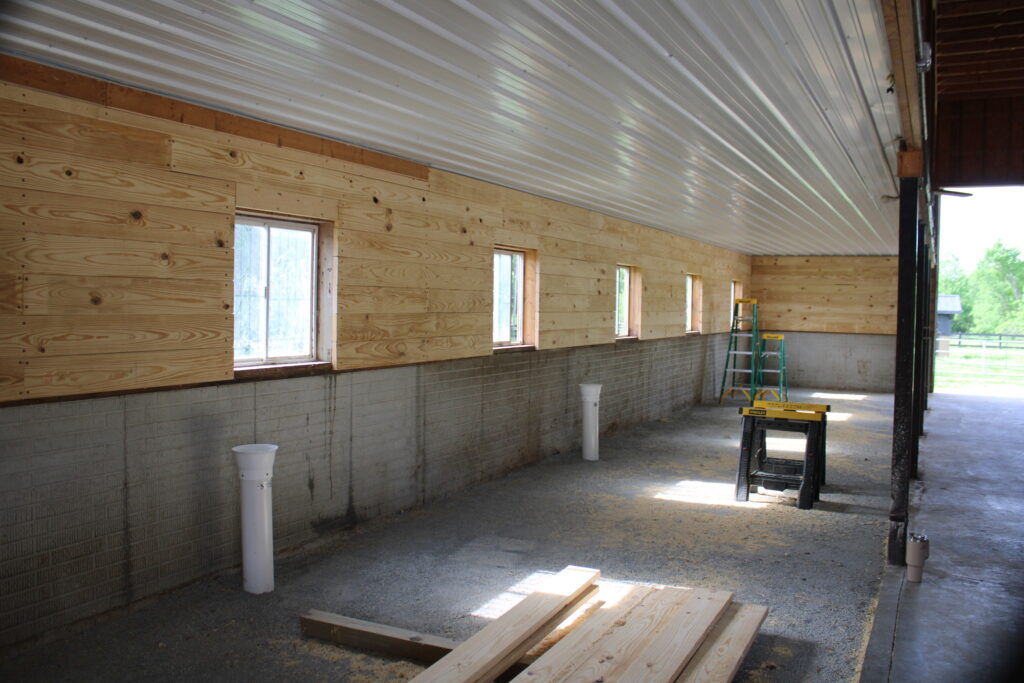
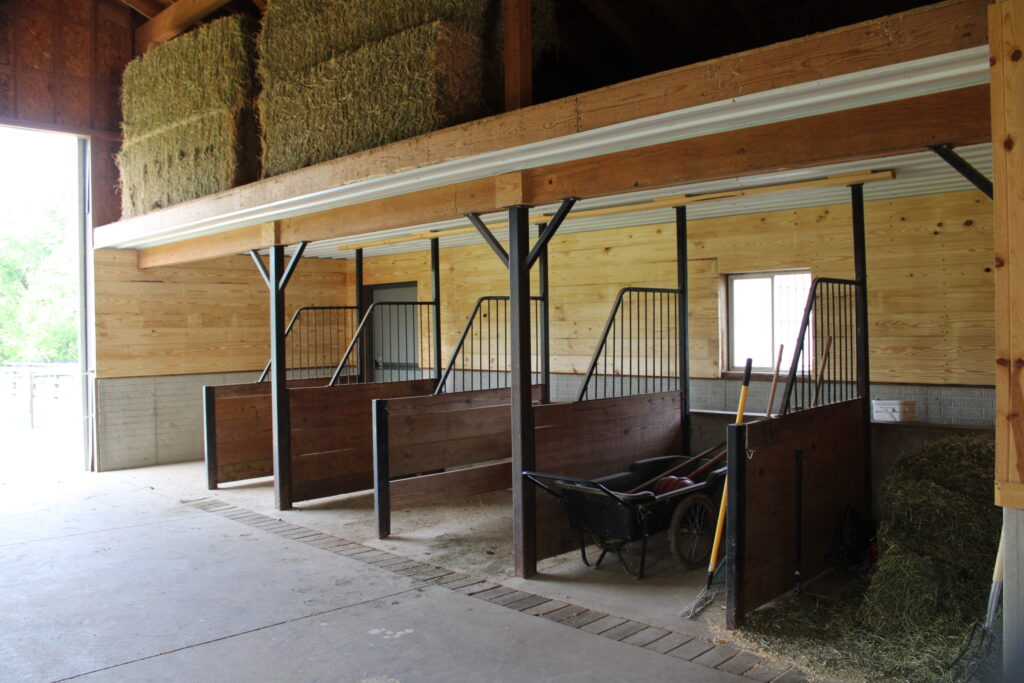
I lined all the walls in the barn with 2 x 8 x 12′ Pine lumber. This was done to provide protection to the wall studs (as you can see in previous pictures, the horses chewed on the studs) and also give a nice aesthetic look.
PHASE 6: FRAMING STALL FRONTS
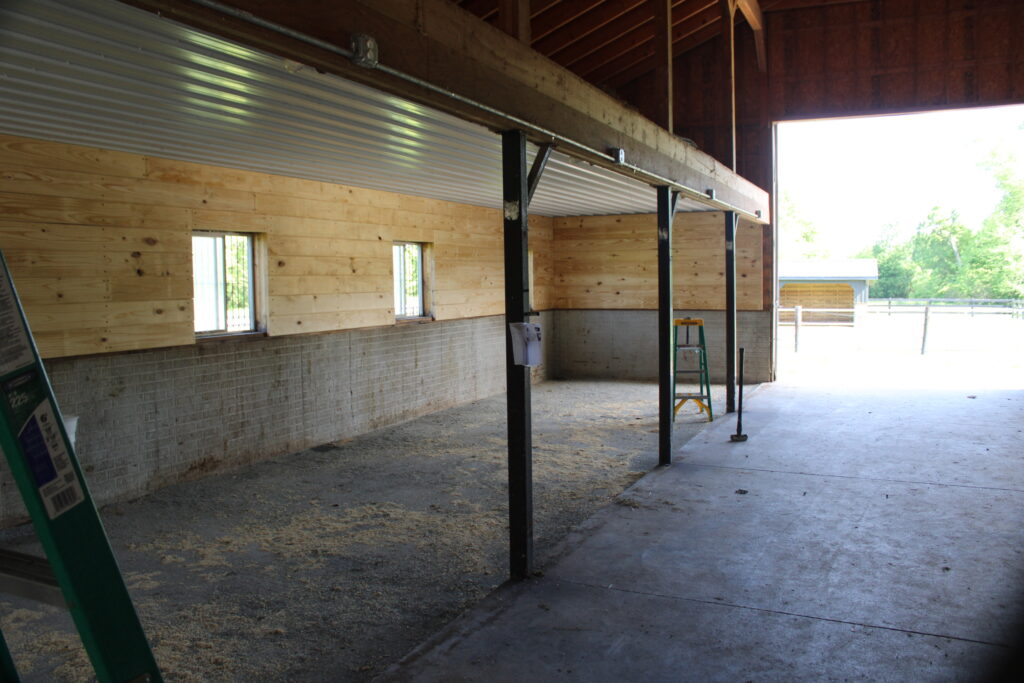
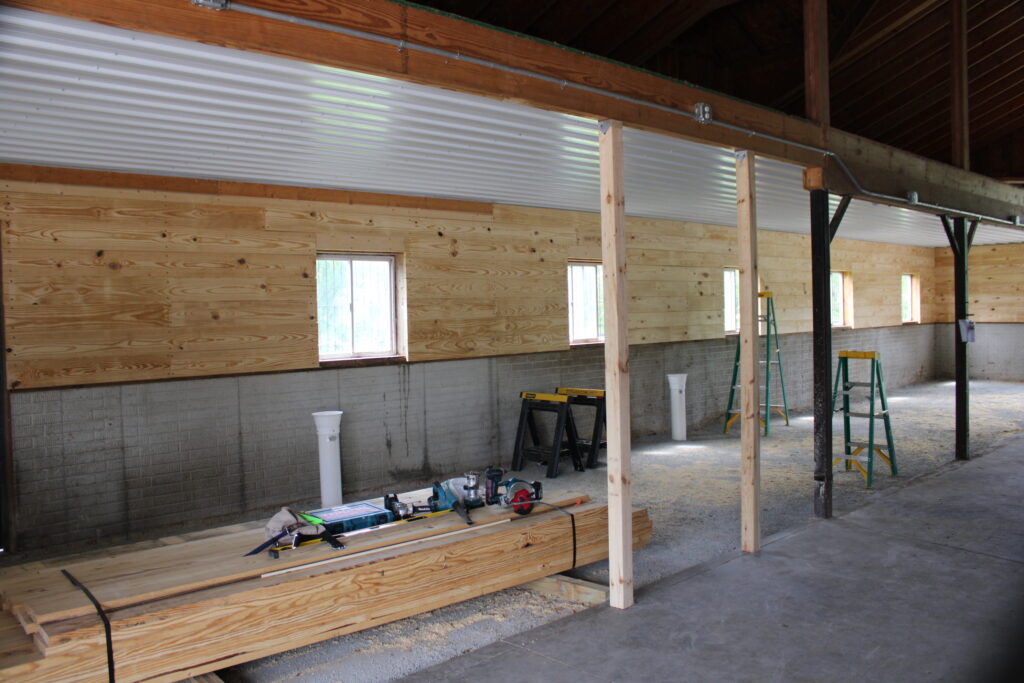
At about this stage I started getting a bit lazy about photographing all the steps so I missed a lot of the details. This step was really quite simple and didn’t take too long.
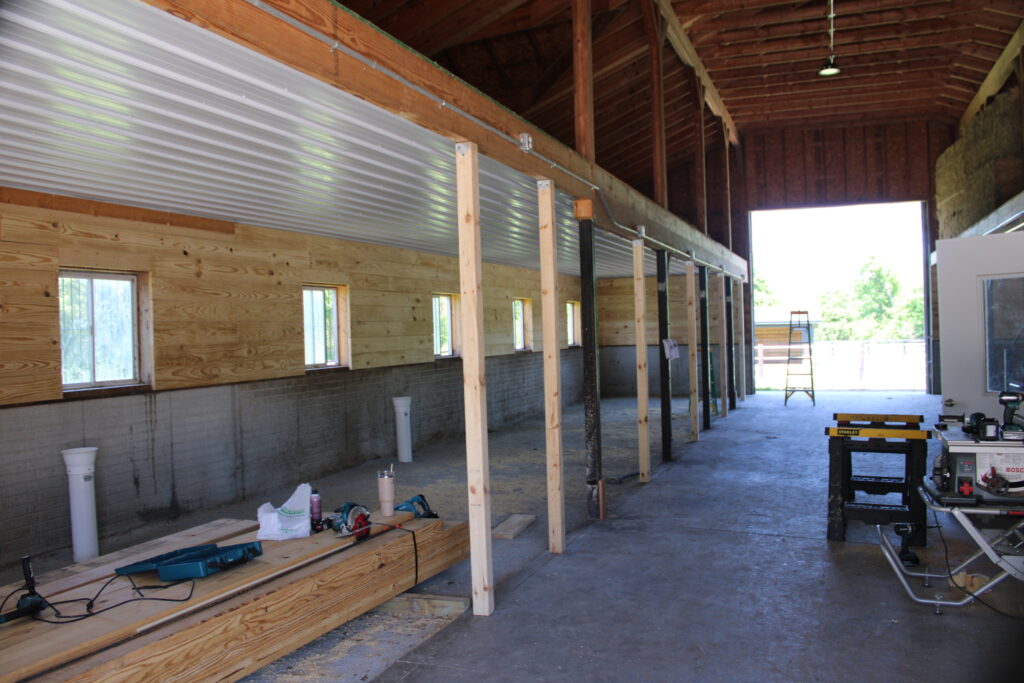
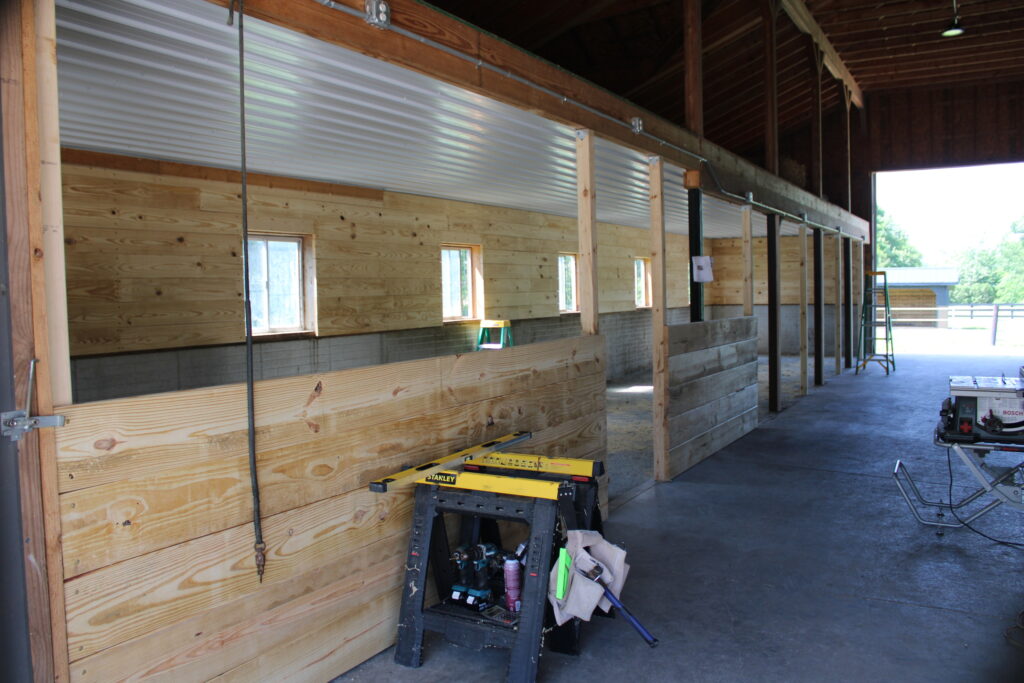
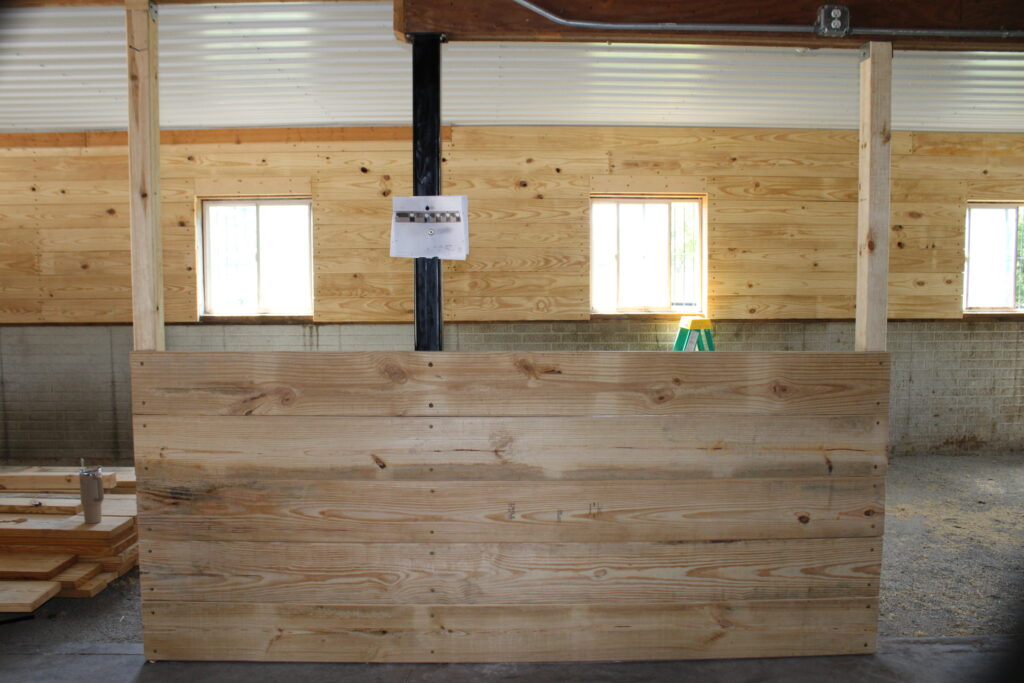
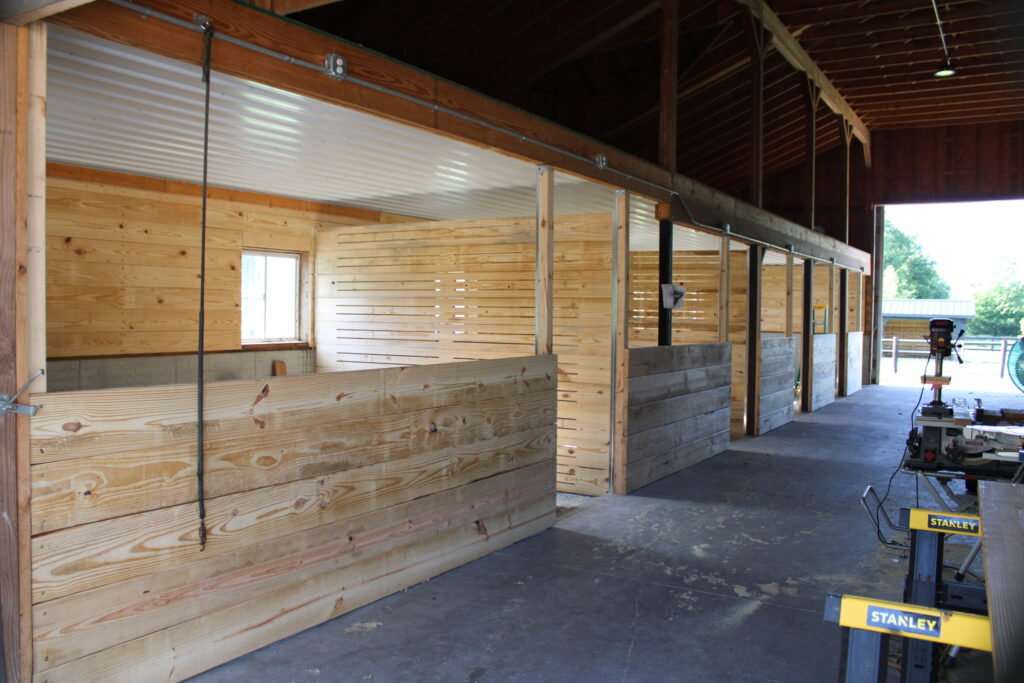
STALL DIVIDERS
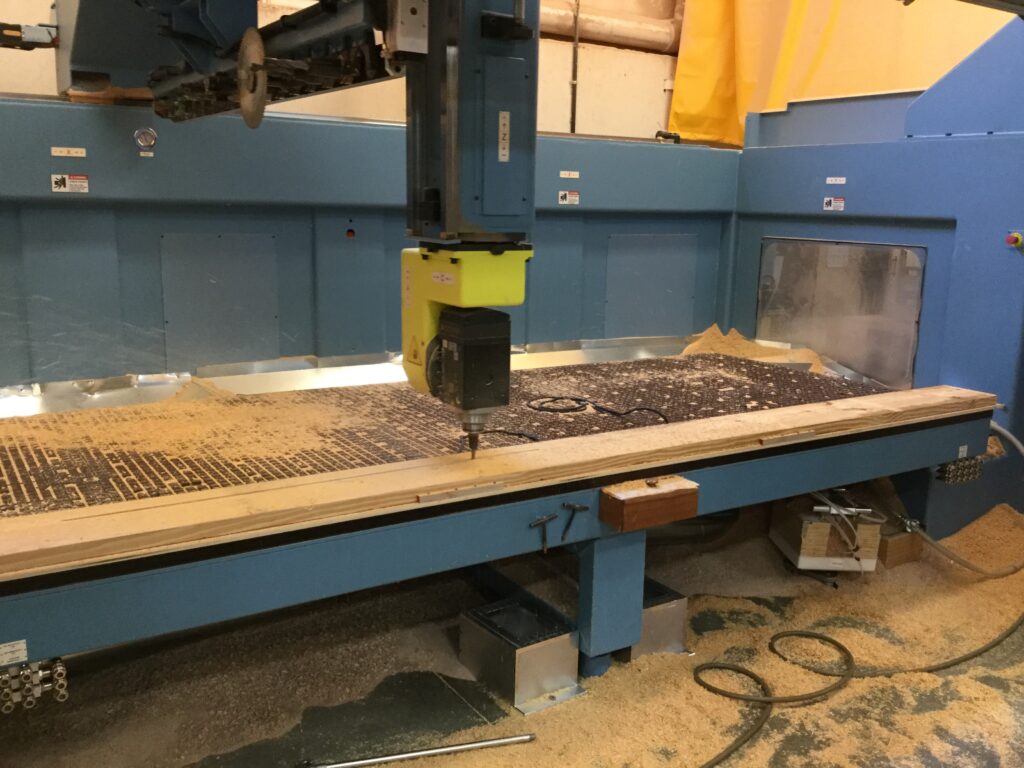
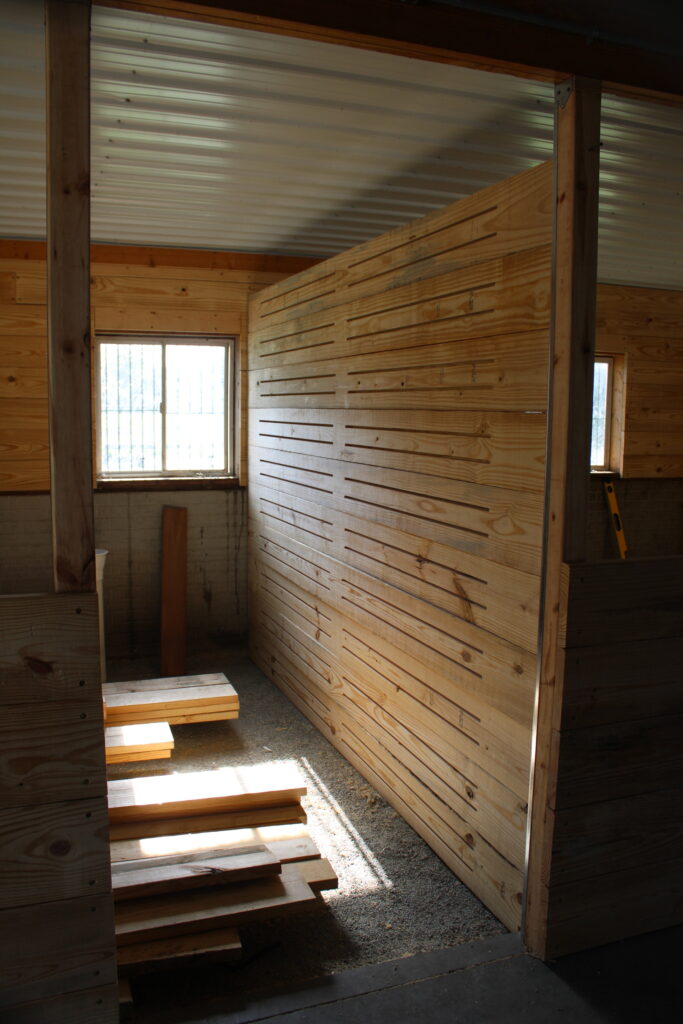
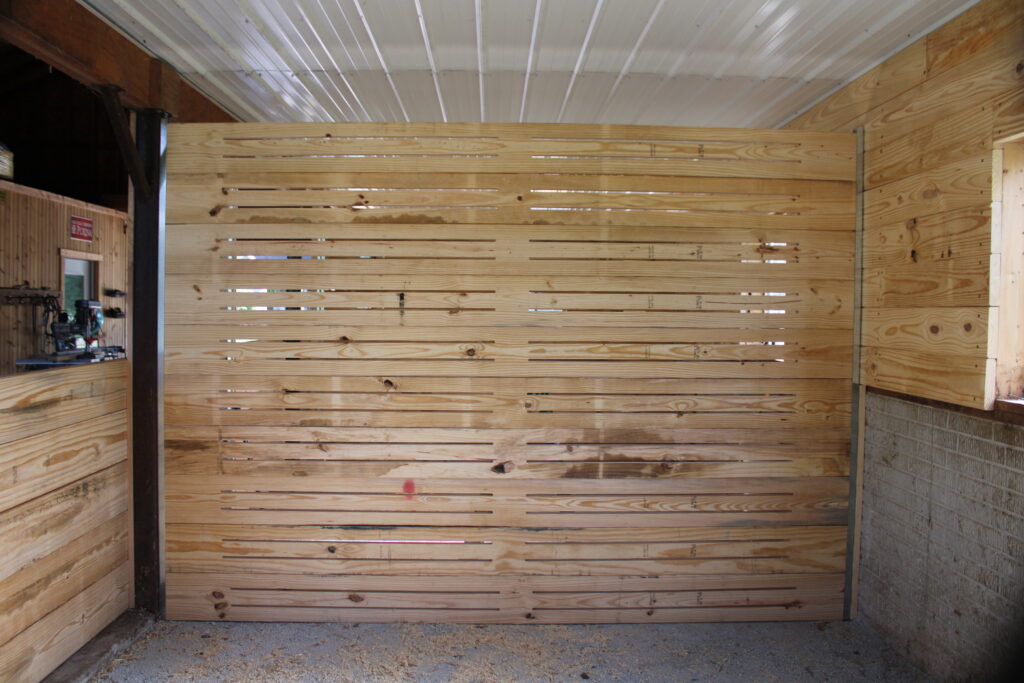
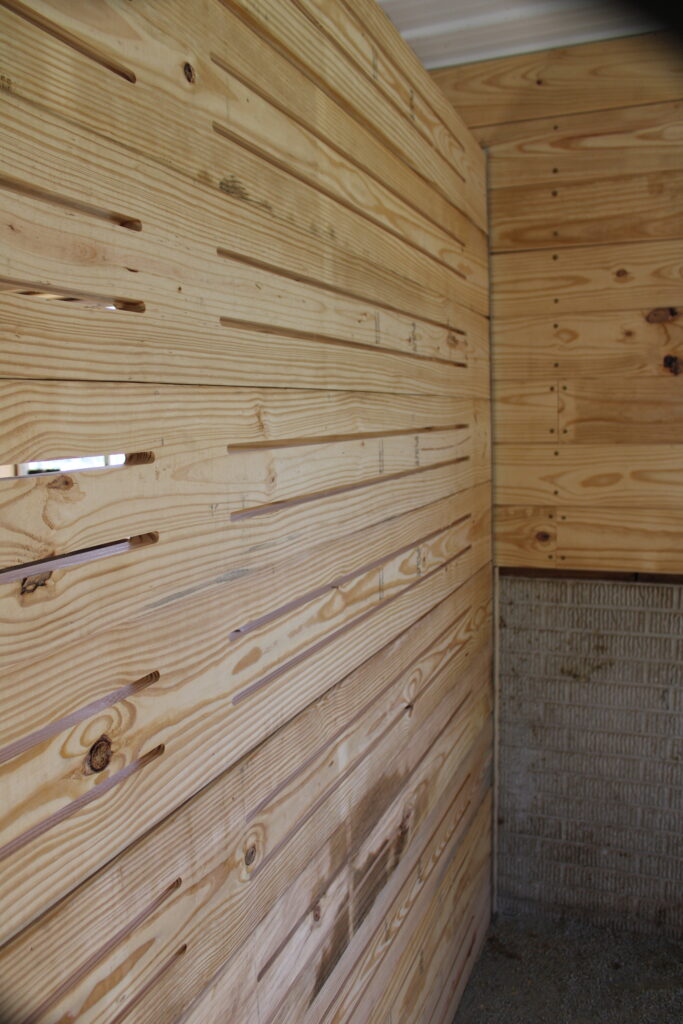
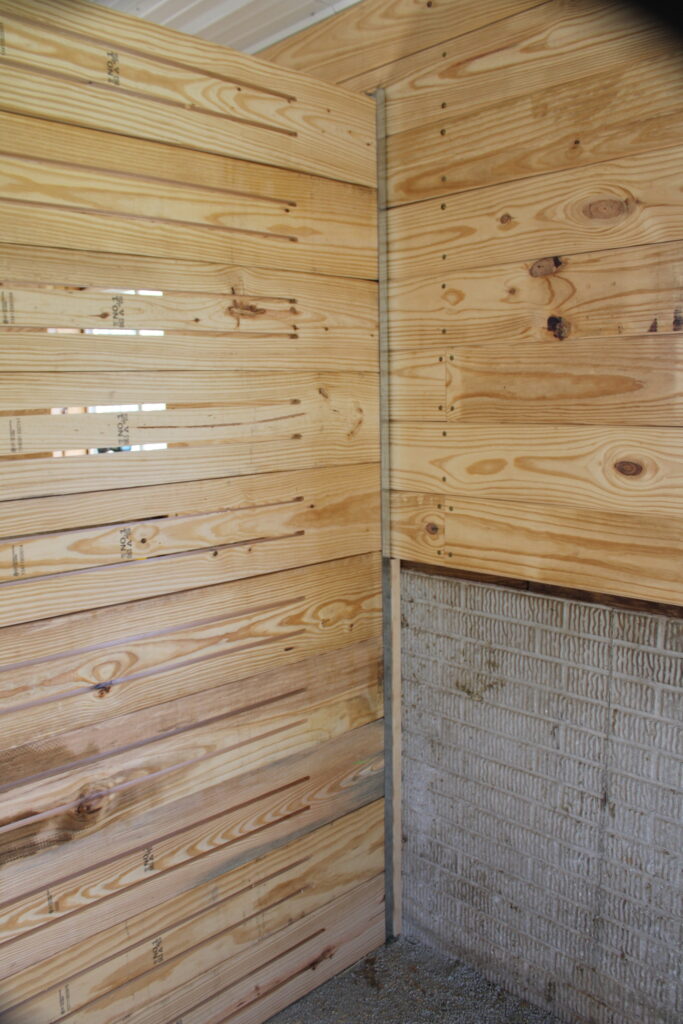
I was very undecided on what type or style of dividers that I want. I liked the idea of a solid wall that would allow the horses more privacy but I was concerned about air movement. I came up with the idea of routing 1/2″ slots into the divider boards. This allows air movement while also giving privacy. And since I have several CNC routers available, this was a really quick and easy project. The boards are 2 x 10 x 12′ Pine that slide into a Galvanized U Channel that is mounted to the posts & the rear wall.
PHASE 7: CHEW GUARDS
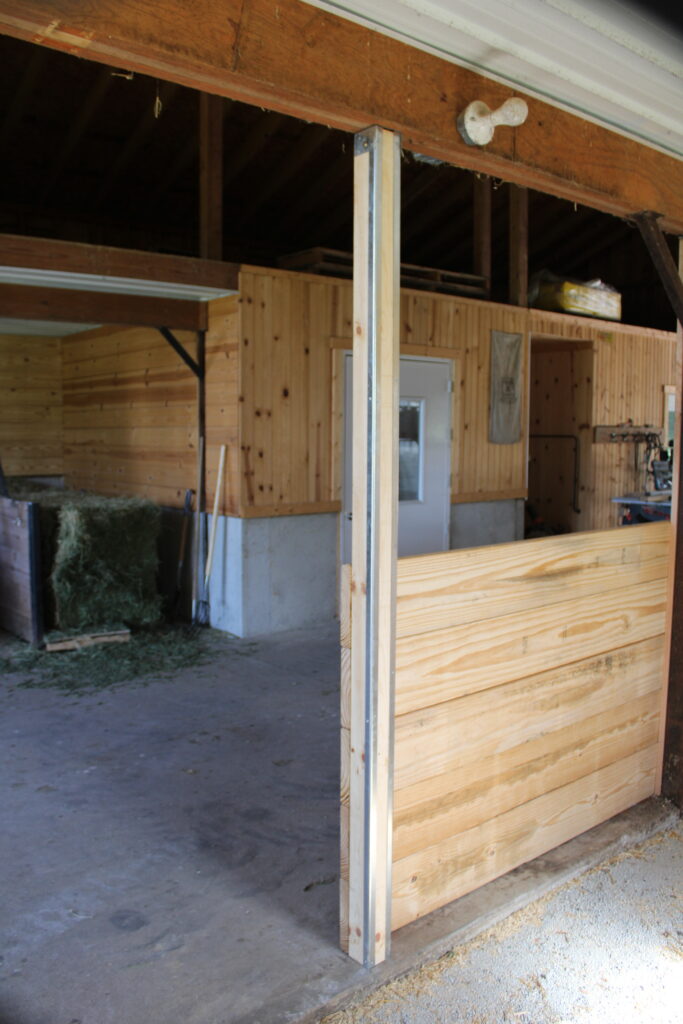
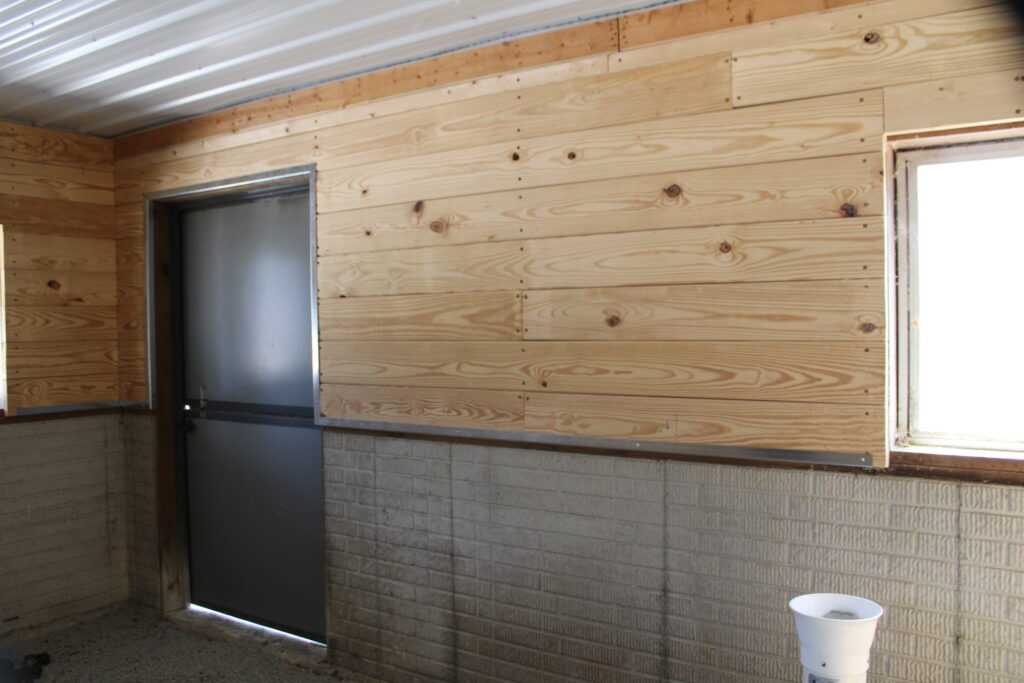
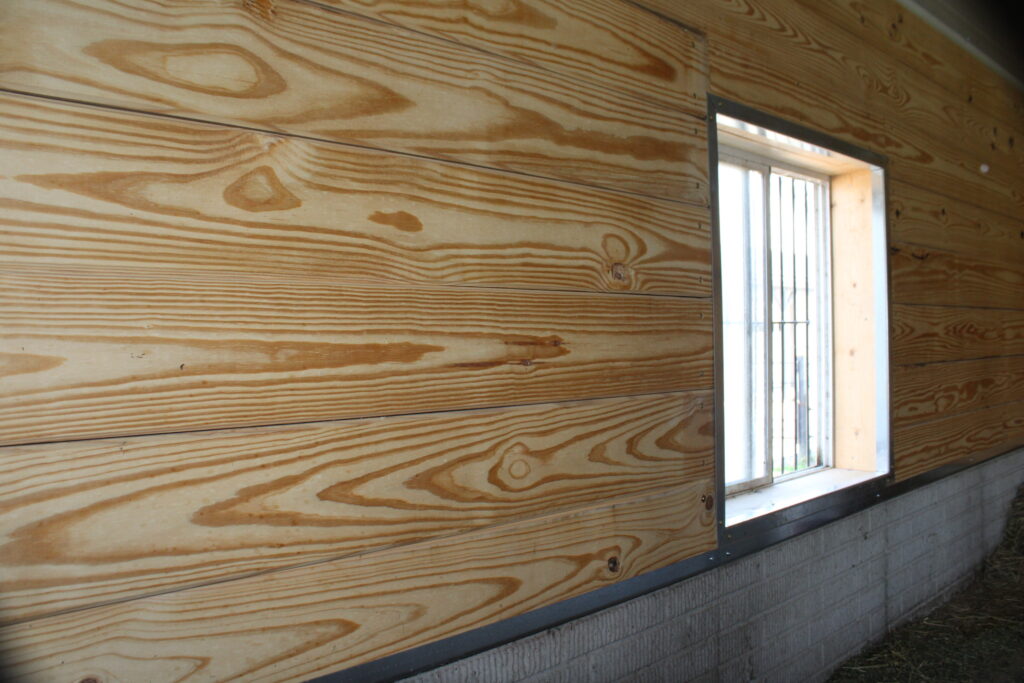
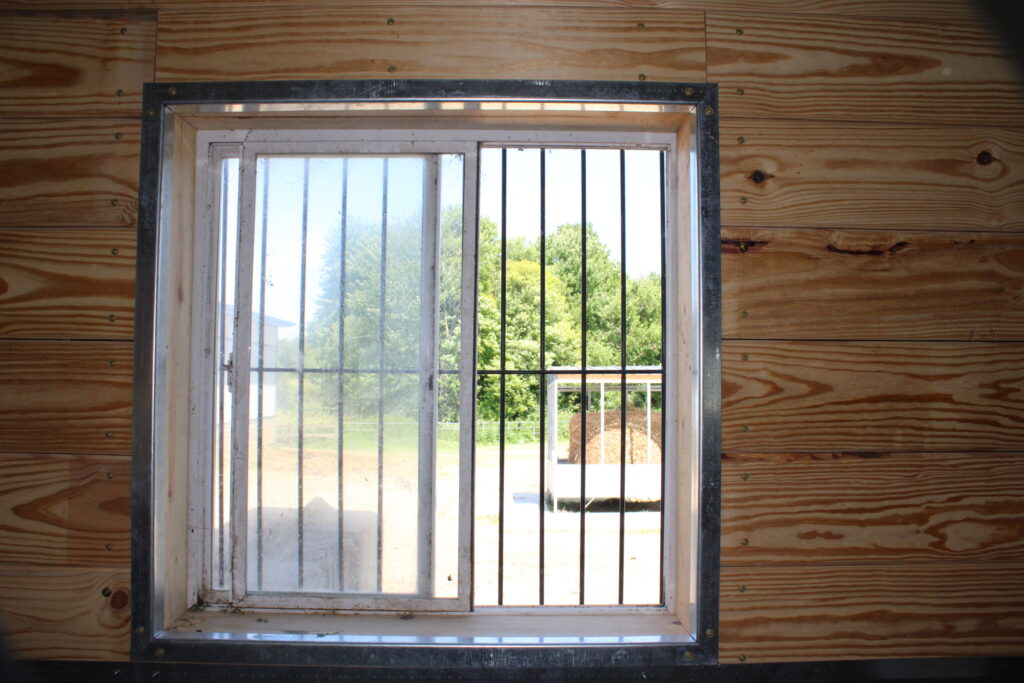
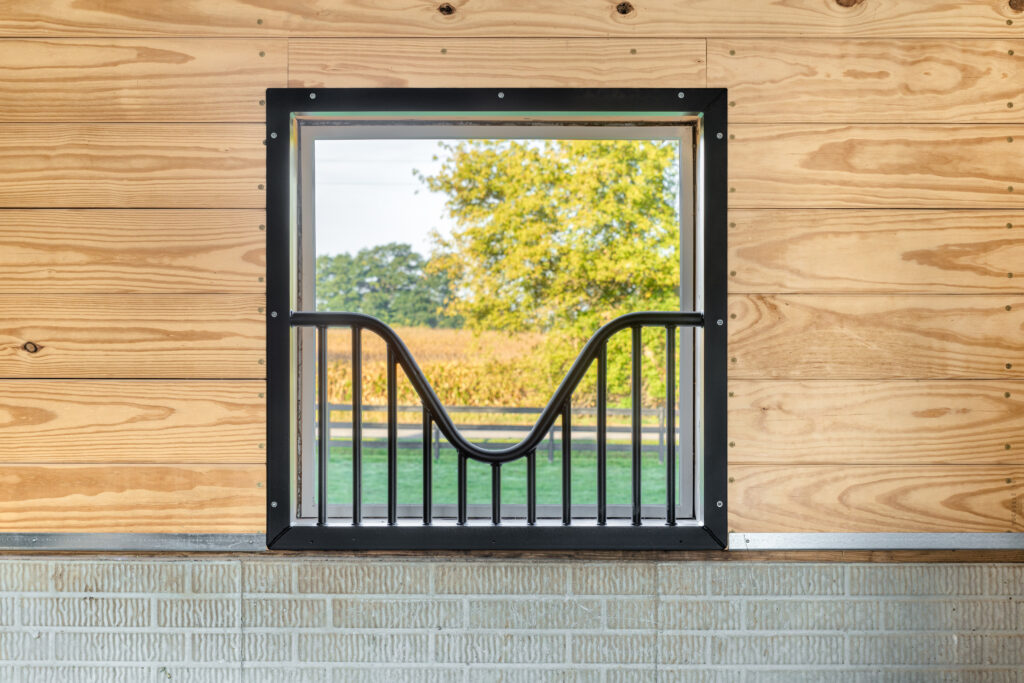
It’s no secret that horses just love chewing on anything that they’re not supposed to. I wrapped everything that is chewable with a Galvanized angle that I purchased through Trail Farm Supply. On the posts, I used a 3/4″ x 3/4″ angle and along the wall and around the doors/windows, I used a 1 1/2″ x 1 1/2″.
PHASE 8: STEEL COMPONENTS ARRIVE
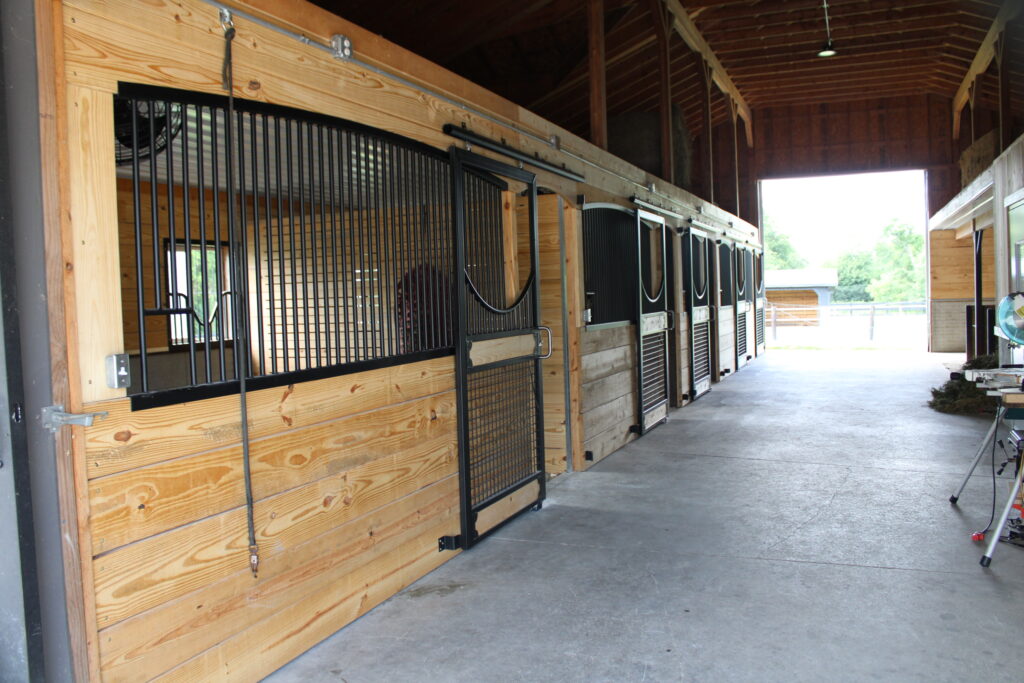
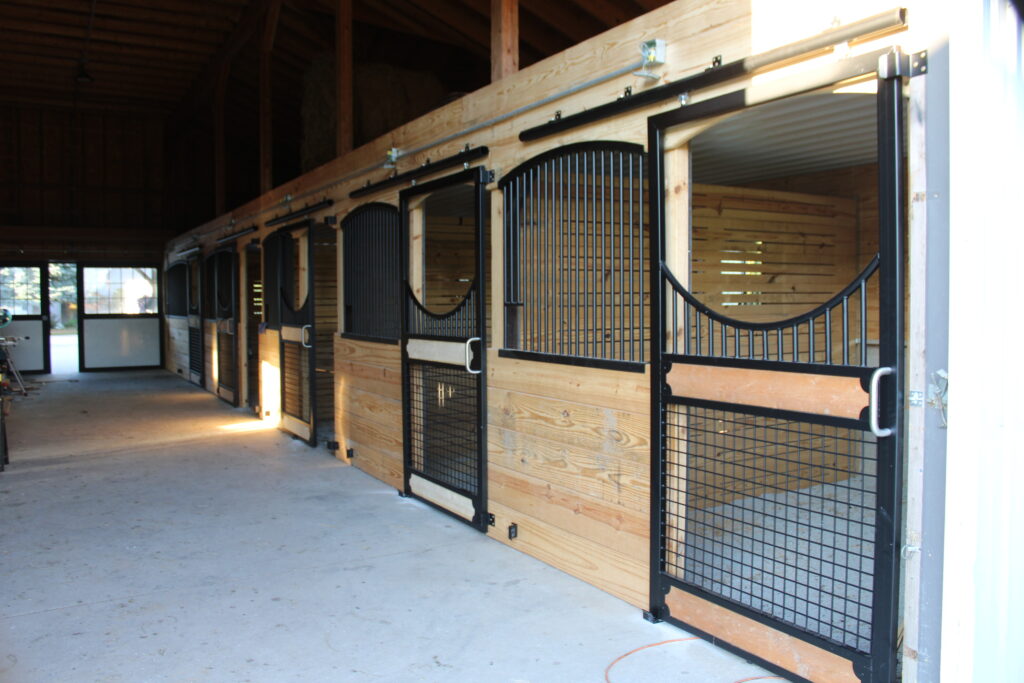
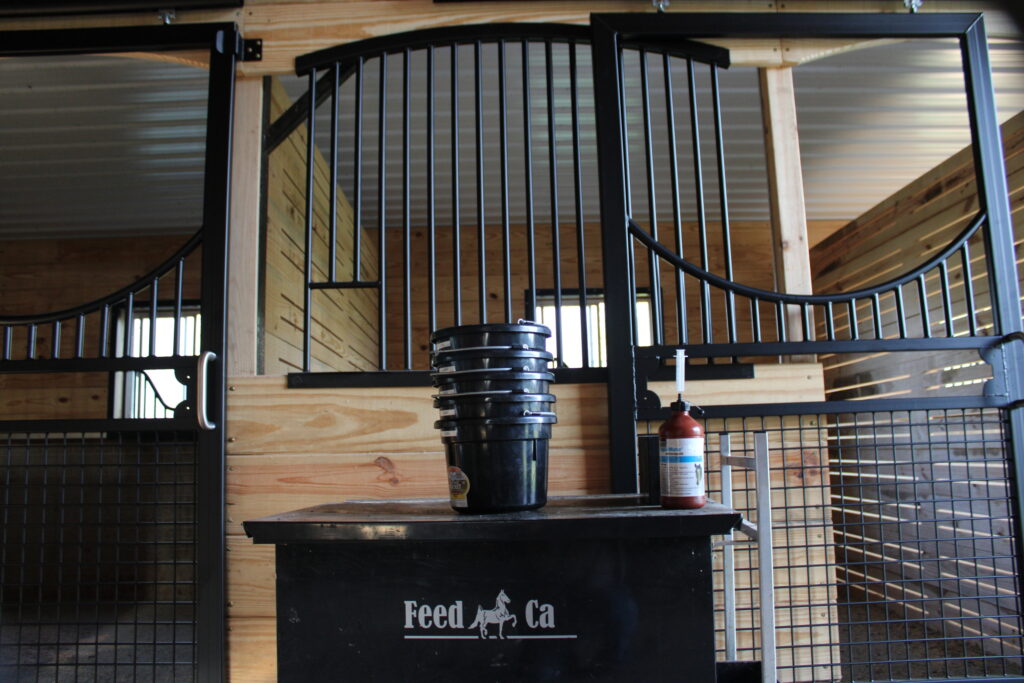
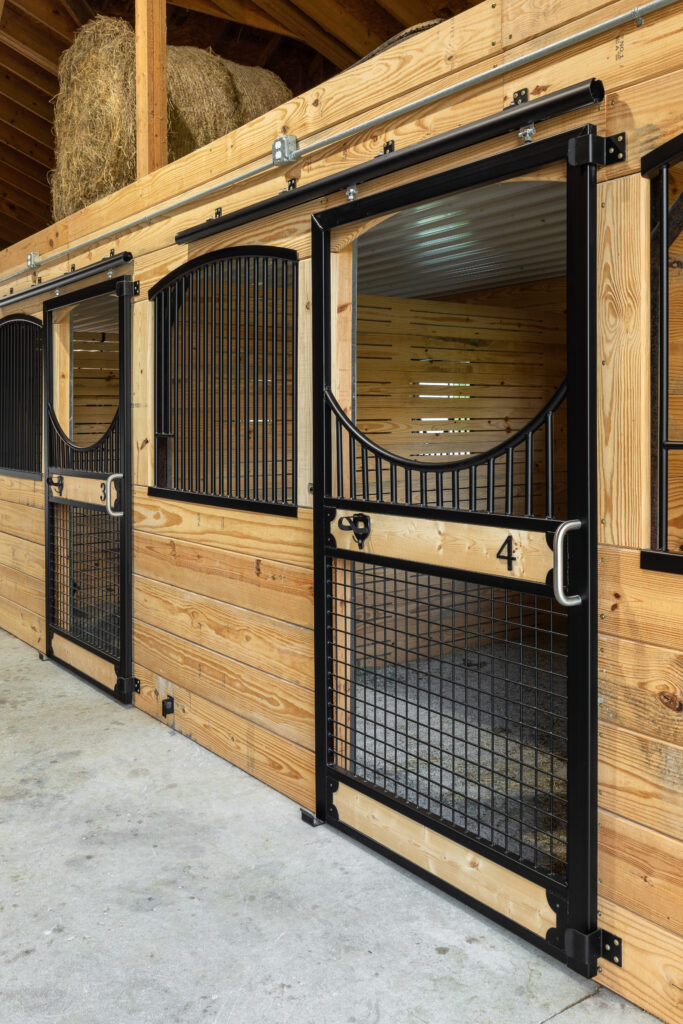
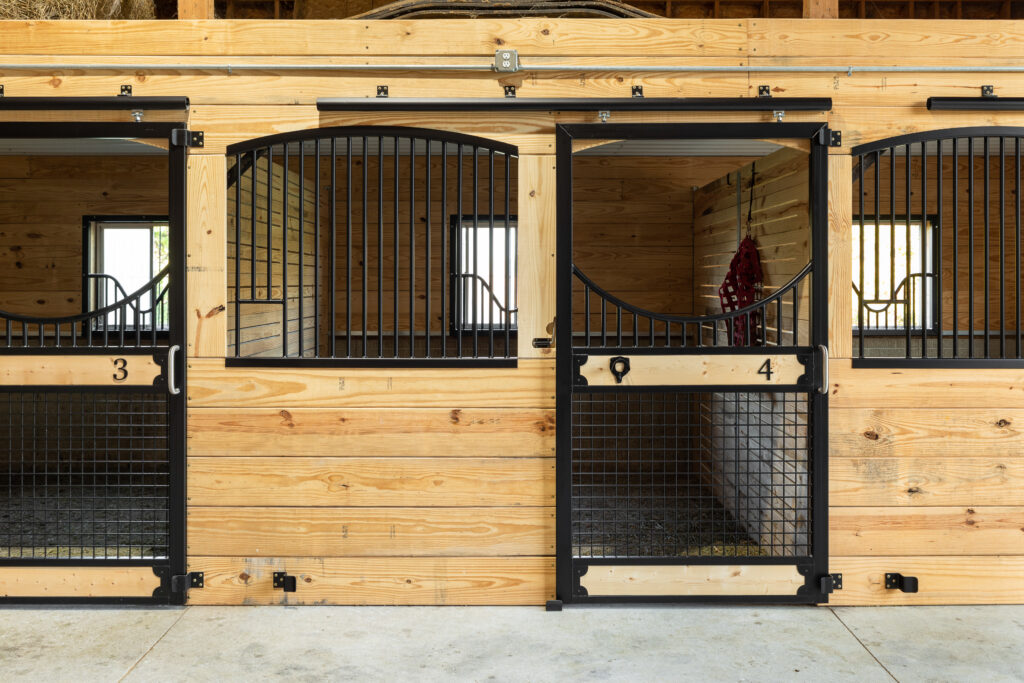
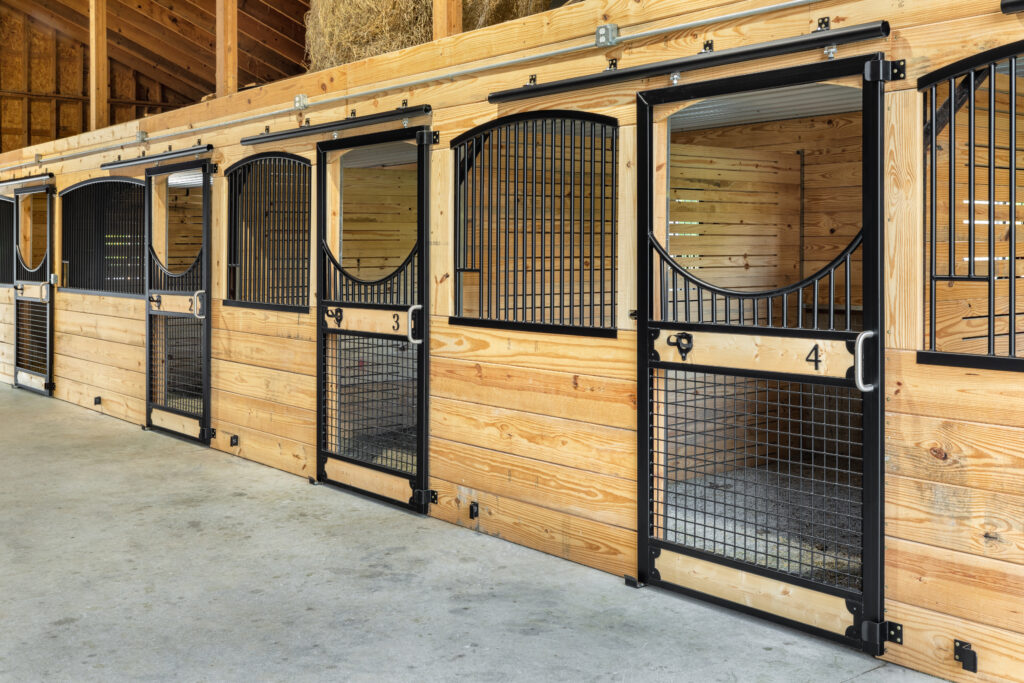
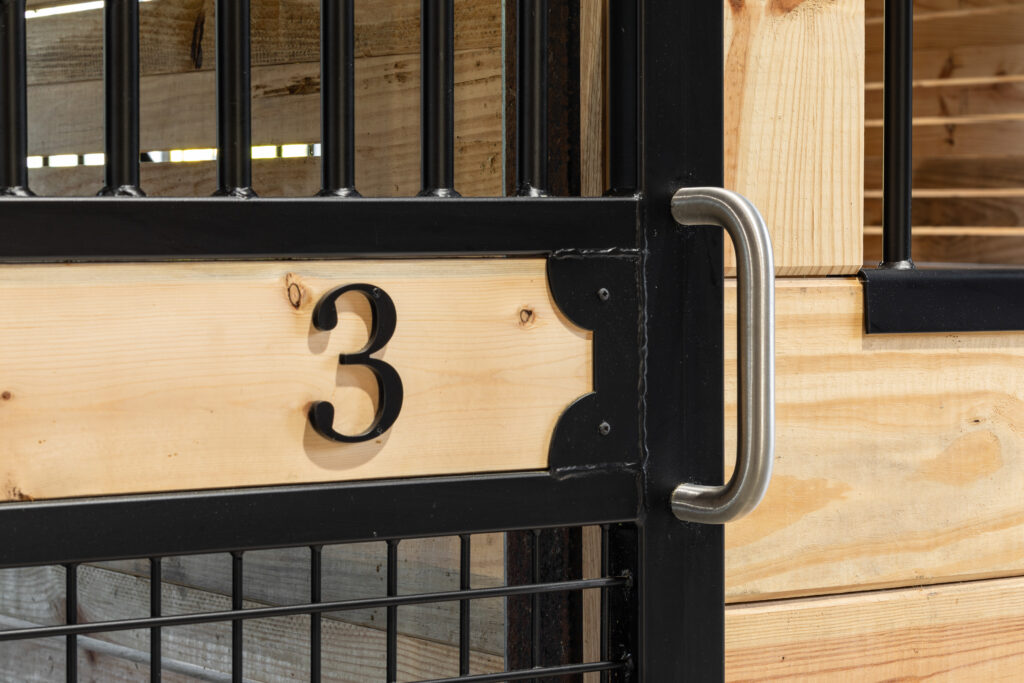
All the welded steel components were purchased from Floyd Graber at Premier Metal Works (Phone number (260) 854-2076). Floyd just recently began working at home full time producing custom, high quality horse stalls and stall components. HE DID A TOP-NOTCH JOB, WOW! I was very impressed by his workmanship and his attention to detail and his service was second to none. The grills were designed with a U-Channel on the top and bottom that slides onto the 2 x 10 Pine boards. Unfortunately I didn’t capture any footage of the install so here are some pictures with majority of the steel in place.
PHASE 9: FAN INSTALL
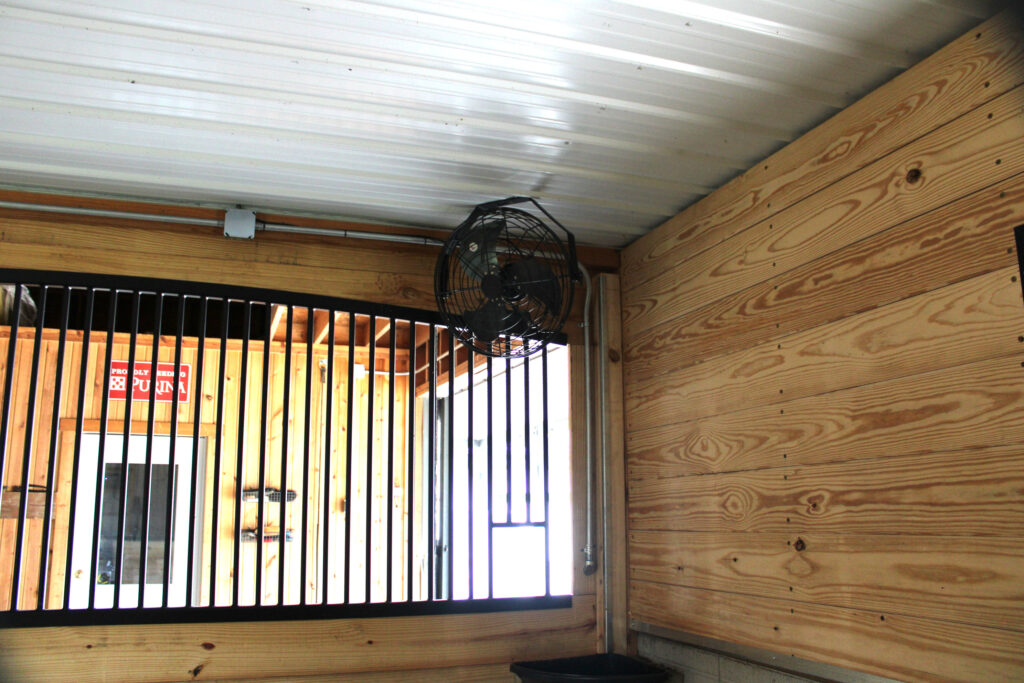
The 1st two boxstalls have permanently mounted, industrial-grade fans. These were purchased from Jay Dee Graber at Michiana Equipment (Part number 145-1007) for $133.58. They come standard with a 3 speed chain operated switch however, I rewired it so that I have an on/off switch on the outside of the stalls so that I can easily turn on the fan if necessary.
FINAL TOUR
I was fortunate that Floyd at Premier Metalworks wanted quality photos for his brochures so we killed 2 birds with one stone. He hired a photographer and we did a quick photo shoot and they were willing to share the photos with me.
FINAL THOUGHTS
Thanks for reading thus far, I hope you enjoyed it. It was a really fun project and now that the barn is in use again, I’m very thankful for the upgrades. As expected, things will start to show wear and the horses will probably break a few things along the way but this is a barn that gets used daily, not a show barn so I’m okay with that. If you have any questions regarding the products that I used, please feel free to contact me.
